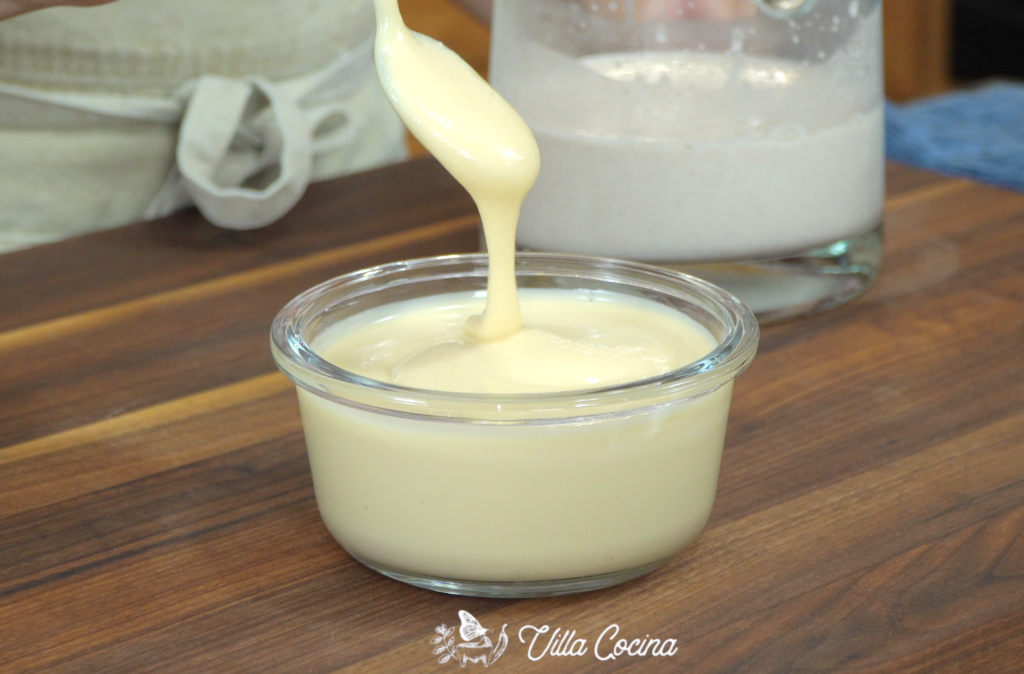
Sugar Free Sweetened Condensed Milk
Sweet, creamy, and essential in countless recipes, condensed milk is a kitchen favorite—this sugar-free version is versatile, tastier than store-bought, and the perfect substitute.
Why Make Homemade Condensed Milk?
Condensed milk is a staple in recipes worldwide, yet sugar-free versions are nearly impossible to find. As a type one diabetic, I love creating recipes that stay true—or close enough—to the original flavor. This way, I don’t have to miss out on my favorite drinks, desserts, or dishes.
The Joy of Making It Yourself
Making condensed milk at home is surprisingly simple, though it requires patience. The mixture needs to gently simmer to reduce and develop rich, concentrated milky flavors. Honestly, it tastes better than store-bought—my husband was amazed at the difference!
Tips
- Use quality ingredients: If possible, choose pasture-raised or organic milk. Make sure it is pasteurized, not ultra-pasteurized.
- Simmer gently: Never let the mixture boil; heat it slowly to thicken properly.
- Stir occasionally: Watch the milk while it simmers to prevent sticking and excessive browning.
- Enjoy the process: Cooking slowly allows the flavors to develop fully.
Why You’ll Love This Recipe
- Better than store-bought: Rich, creamy, and full of natural milky flavor.
- Diabetic-friendly: You can control sugar and still enjoy traditional taste.
- Simple process: Easy to make at home with patience and care.
- Versatile: Perfect for desserts, drinks, or any recipe that calls for condensed milk.
Sugar Free Sweetened Condensed Milk
Instructions
- Pour the milk into a medium non-stick pot. Heat over medium heat until it reaches a gentle simmer. Do not let it boil.
- Lower the heat to medium-low and let the milk simmer gently for about 50 minutes, stirring occasionally every 5–10 minutes with a spatula to prevent the bottom from browning. The milk will reduce slightly—about ¼—and remain runny.
- Whisk in the sweetener until completely dissolved. Continue simmering for about 1 hour, or until the milk has reduced by half, taken on a creamy color, and thickened slightly. Do not stir foam or residue around the pot sides into the milk.
- Remove the pot from heat immediately. Strain the condensed milk into a heatproof container and allow it to cool completely before sealing with an airtight lid.
- Label and store in the refrigerator. The milk will thicken further as it cools and can last up to 3-4 weeks in the fridge.
Nutrition
Did you make this recipe?
Show some love! Tag @villacocinaofficial on Instagram and drop a 5-star review. Your support means everything—thanks!


Lucy
This makes so much. Can it be frozen or do I need to cut recipe in half?
Villa Cocina
Unfortunately, it doesn’t freeze very well and the texture can change after thawing. Cutting the recipe in half sounds like a great option if you don’t think you’ll use it all.
Hortencia Rios
How many carbs in this recipe, and can you substitute half & half for the whole milk?
Villa Cocina
I added the nutritional information to the recipe card for your convenience. Thanks for pointing that out! 😊 As for substituting half-and-half, I haven’t personally tested it, so I wouldn’t be able to advise with confidence.