Mexican Conchas (Pan Dulce)
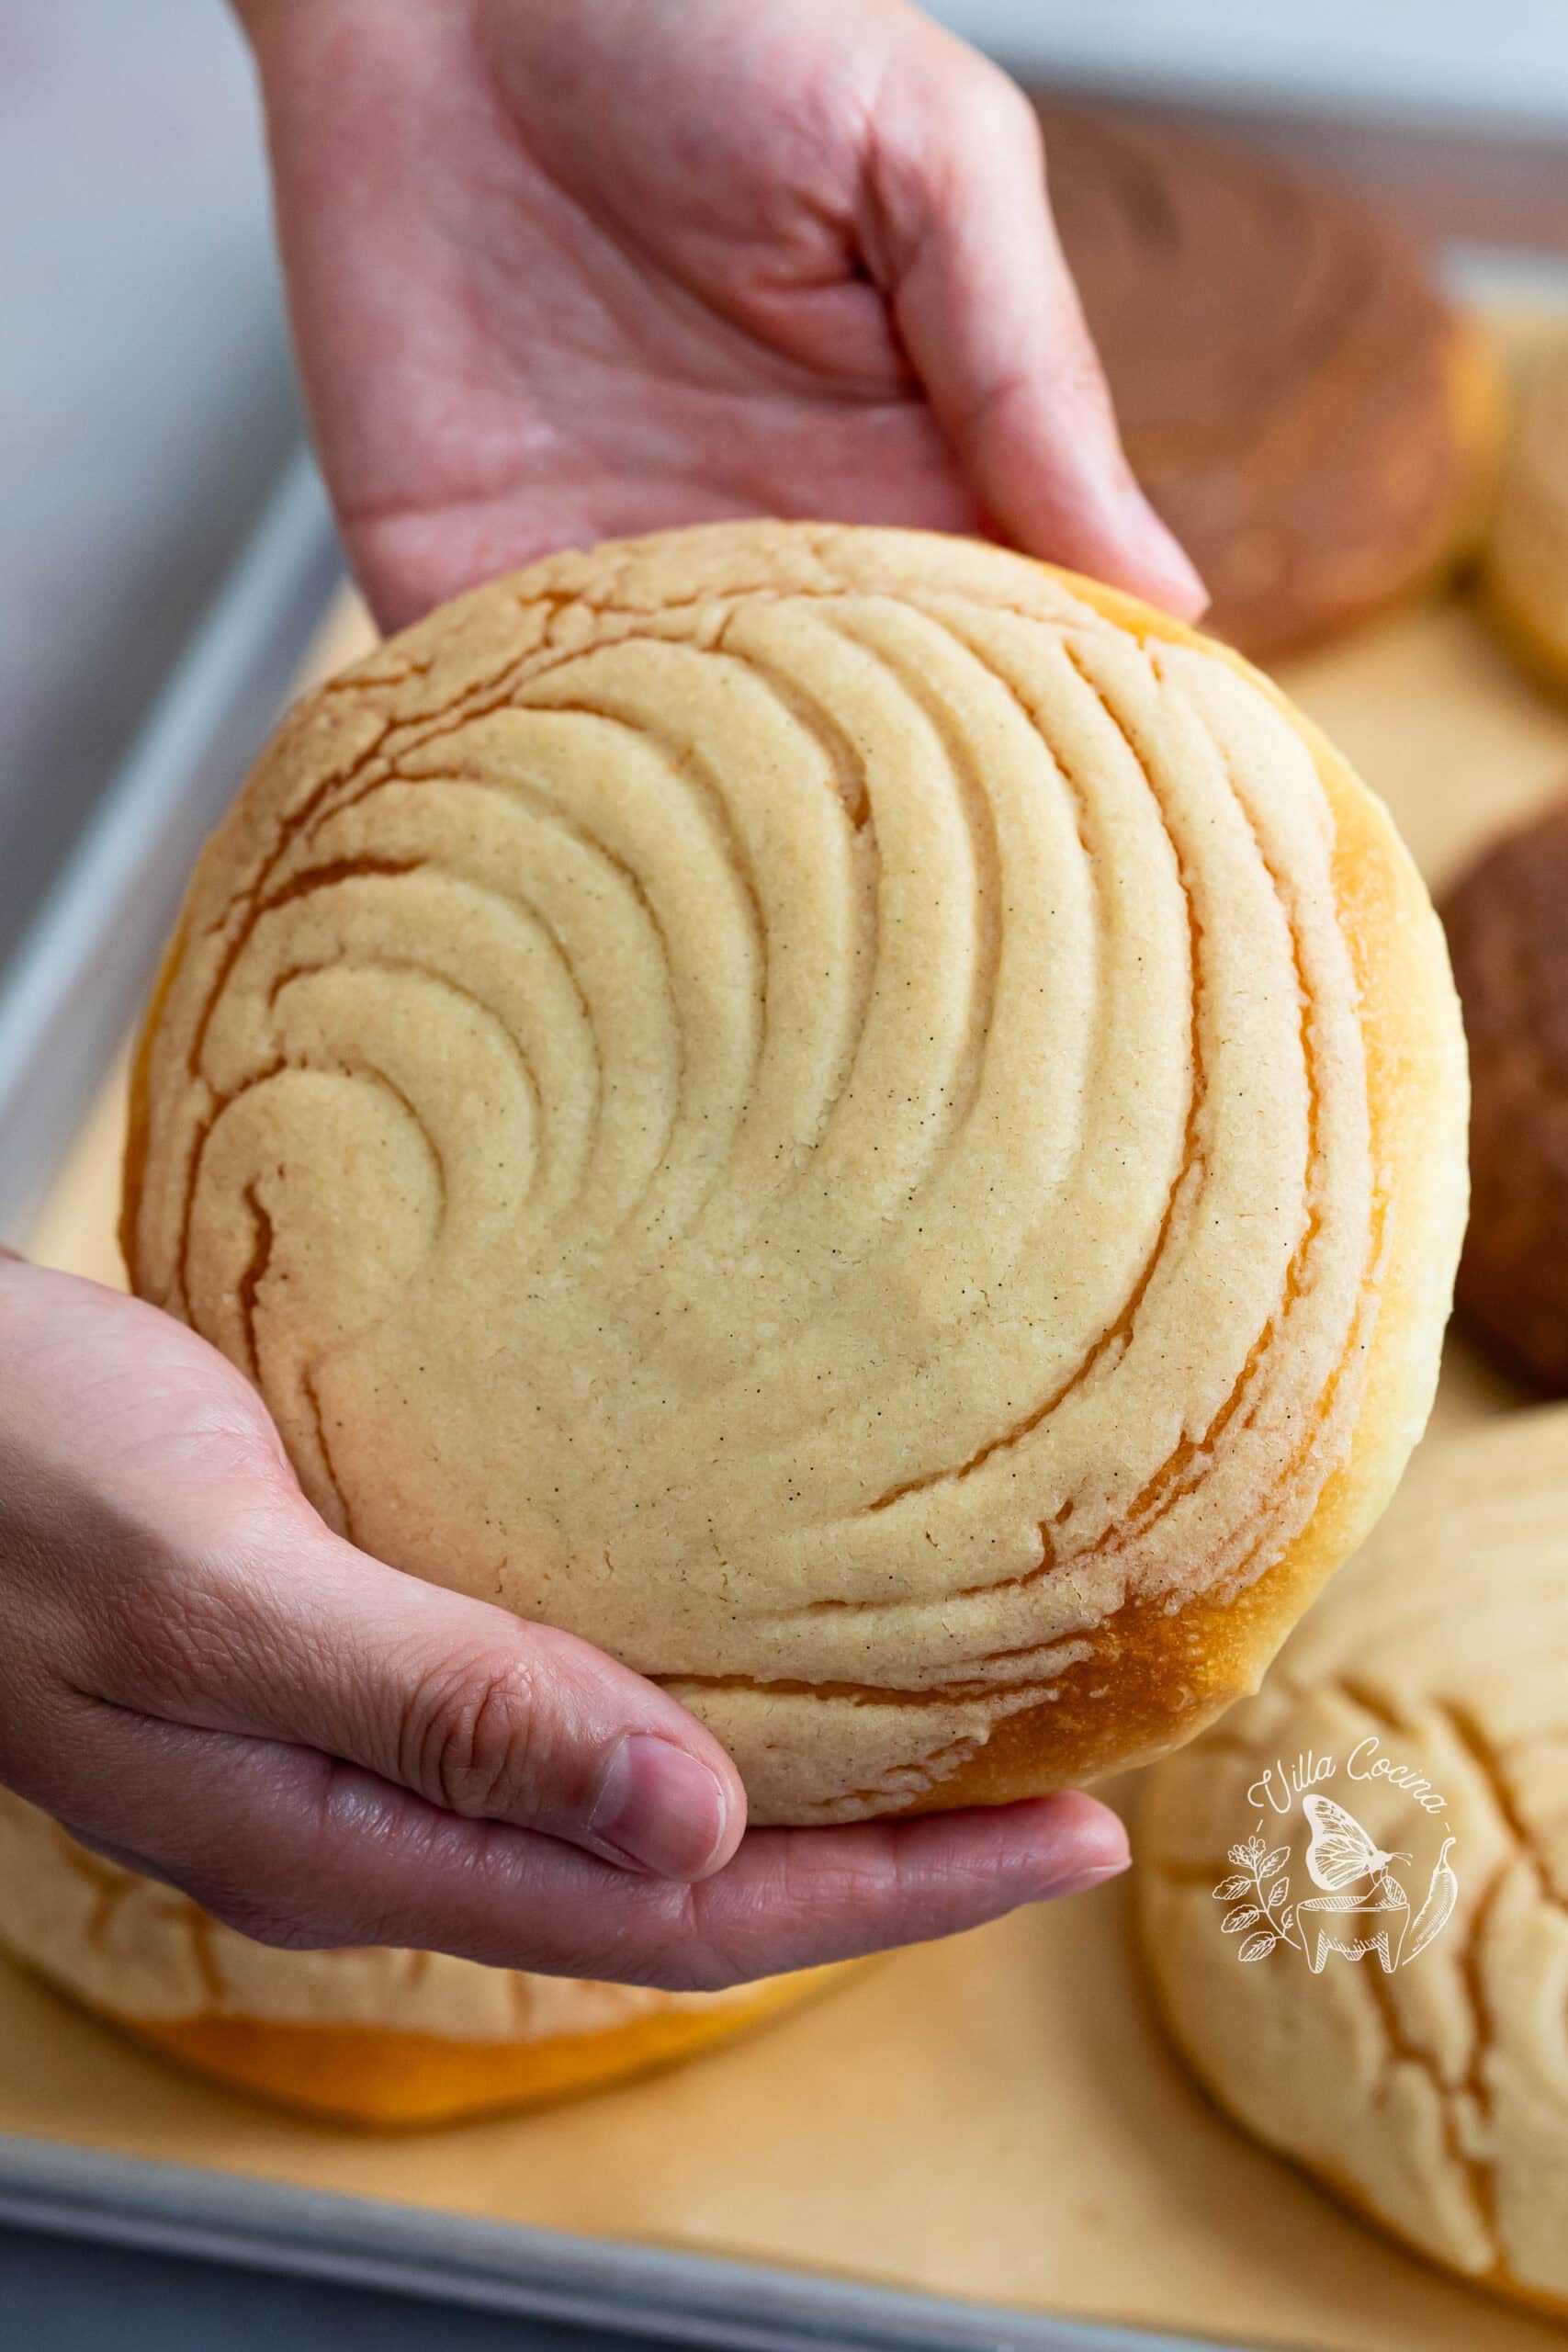
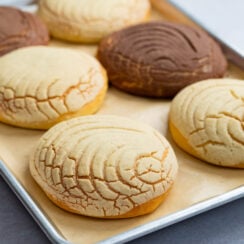
Nothing beats homemade Mexican conchas fresh from the oven, with soft, fluffy bread and a sweet vanilla or chocolate topping. That first warm bite brings back memories of home and makes every moment spent baking them worth it.
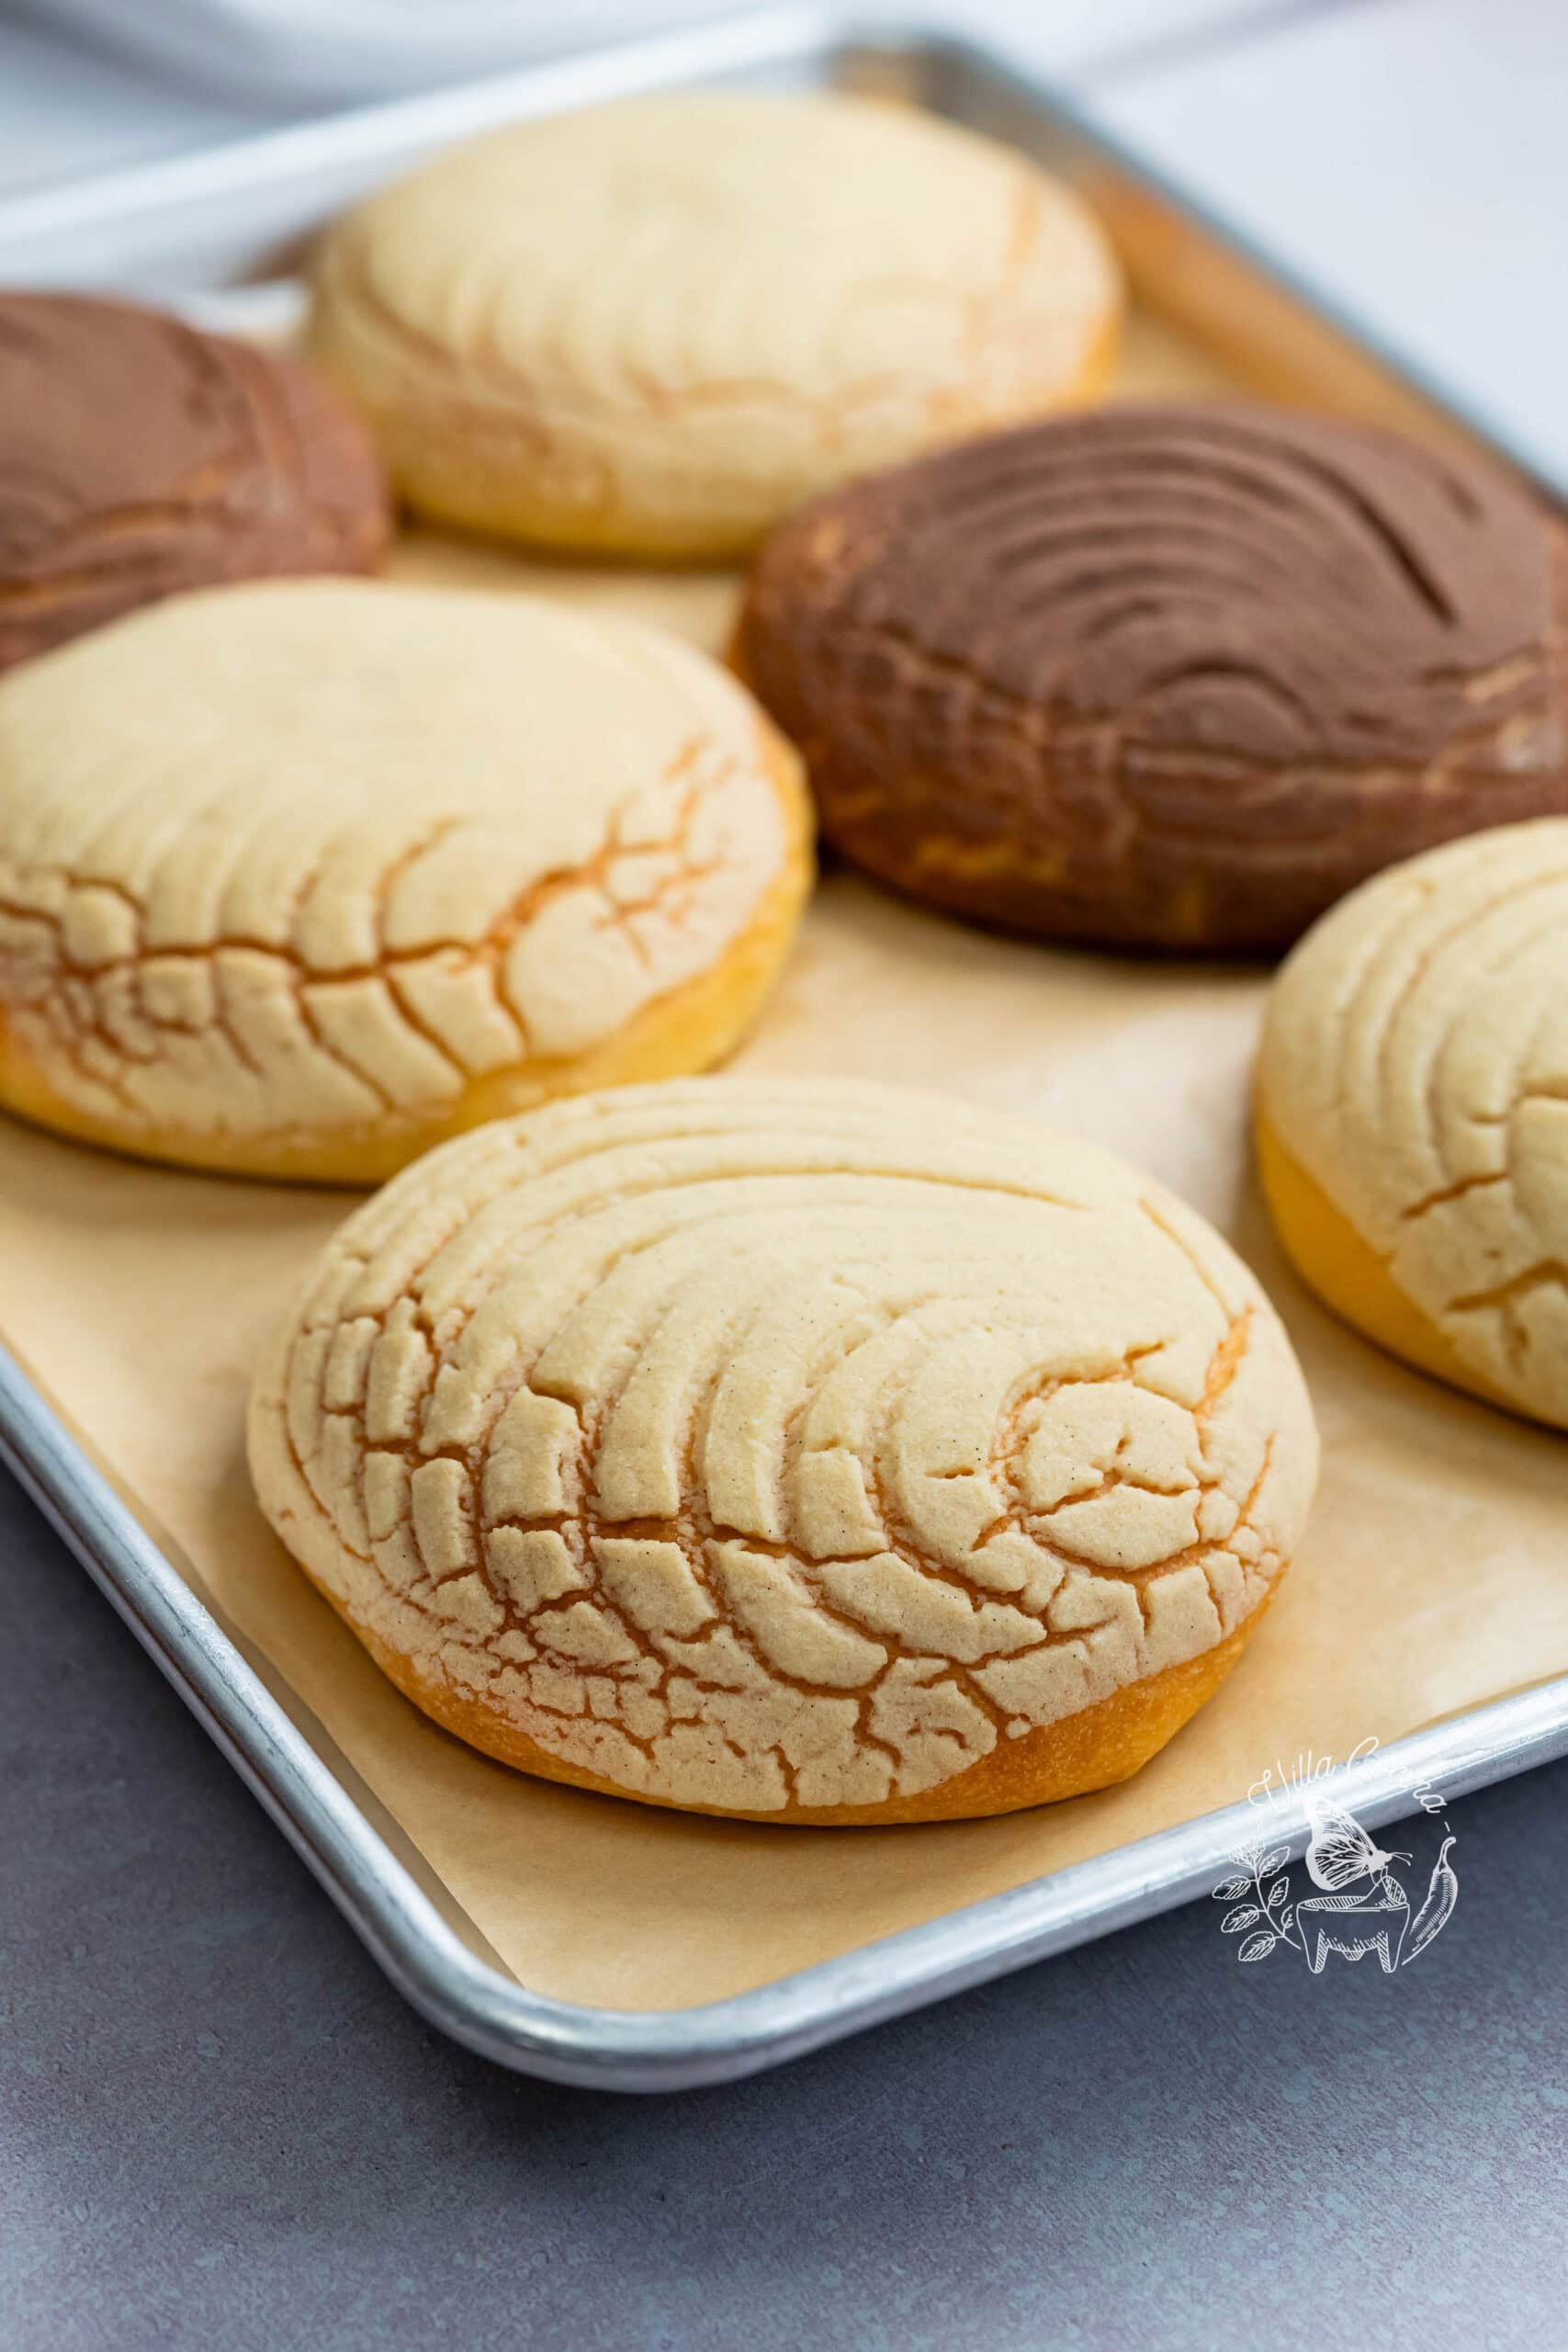
This recipe is easy to follow, so don’t let the steps intimidate you. You’ll make the dough, let it rise, prepare the sugar topping, then shape, proof, and bake. Simply set aside enough time to enjoy the process, since much of it is spent waiting for the dough to rise.
Growing up in Mexico, I lived close to a bakery, and the neighborhood stores received freshly baked bread every day. By the afternoon, most of it was gone, so fresh pan dulce was something we could always look forward to.
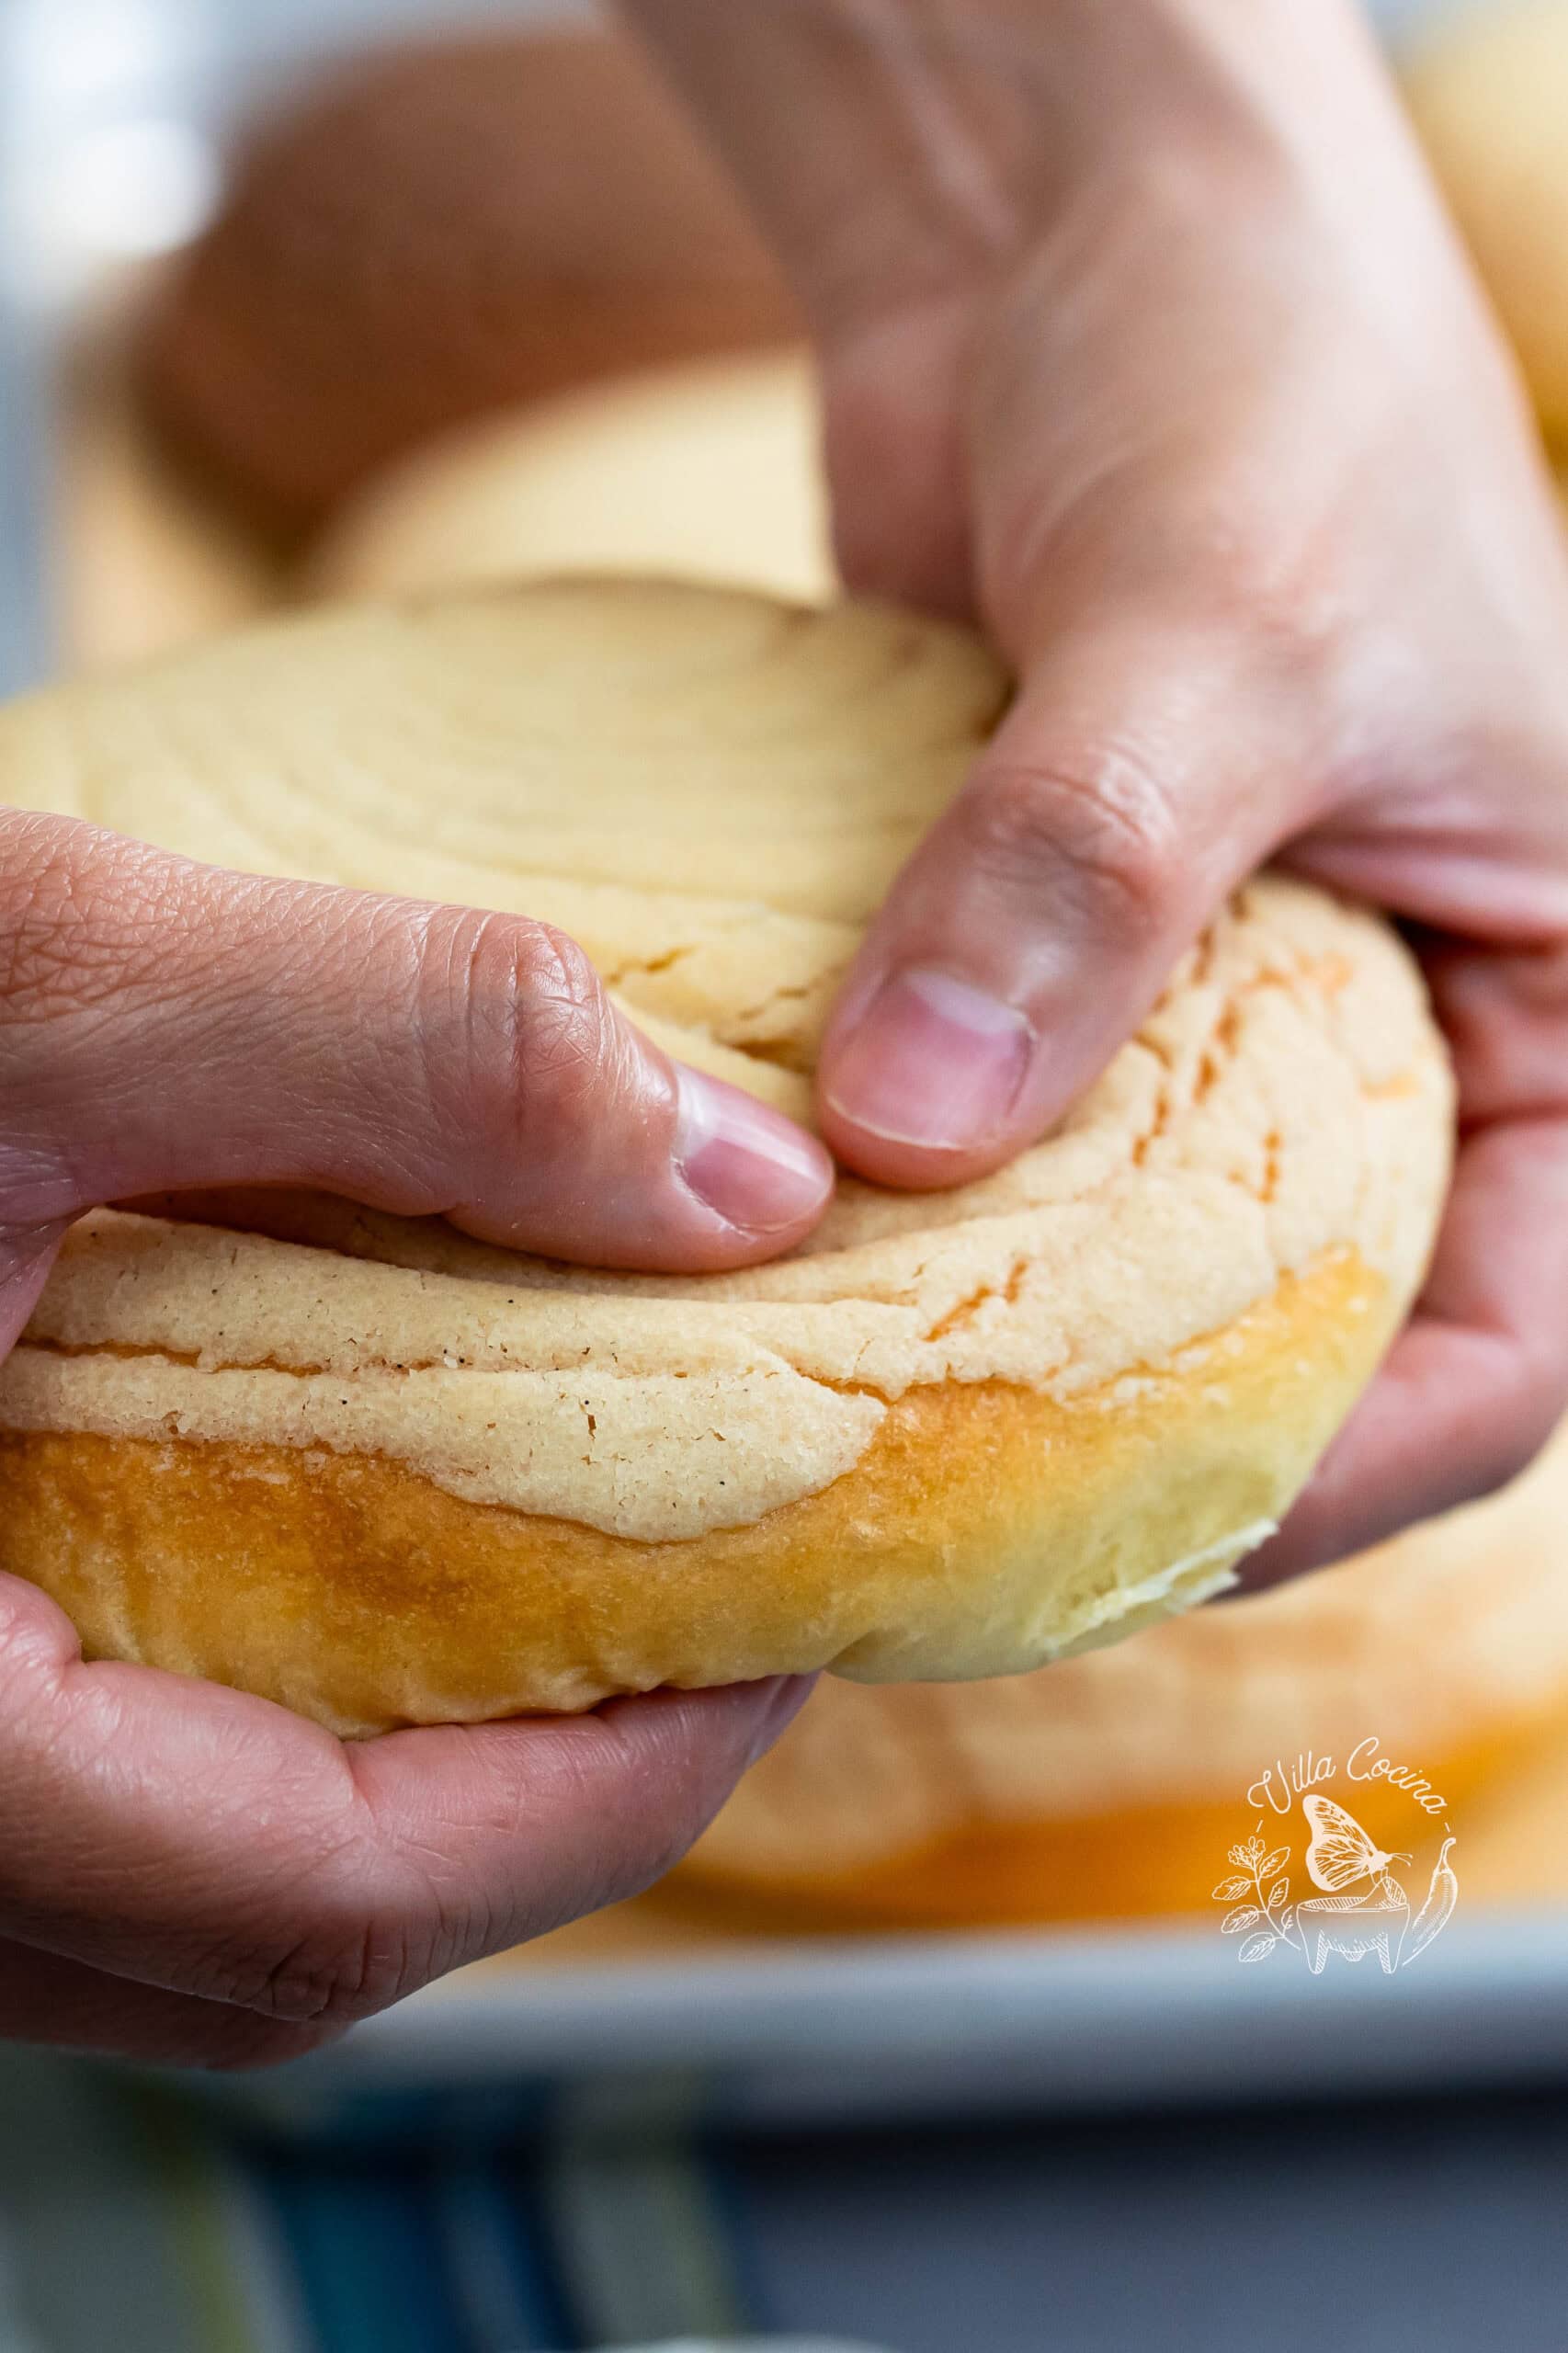
I still remember those textures and flavors, and that’s what I wanted to bring into my kitchen. When I took my first bite of these conchas, I knew I had it. The soft bread, sweet topping, and comfort of a freshly baked concha brought me right back home.
Ingredients
- Whole Milk & Yeast: Milk adds richness and moisture for soft, tender conchas. Warm it to 105–110°F to activate the yeast, which becomes foamy and helps the dough rise.
- Sugar: A pinch feeds the yeast, while the rest sweetens the dough and topping.
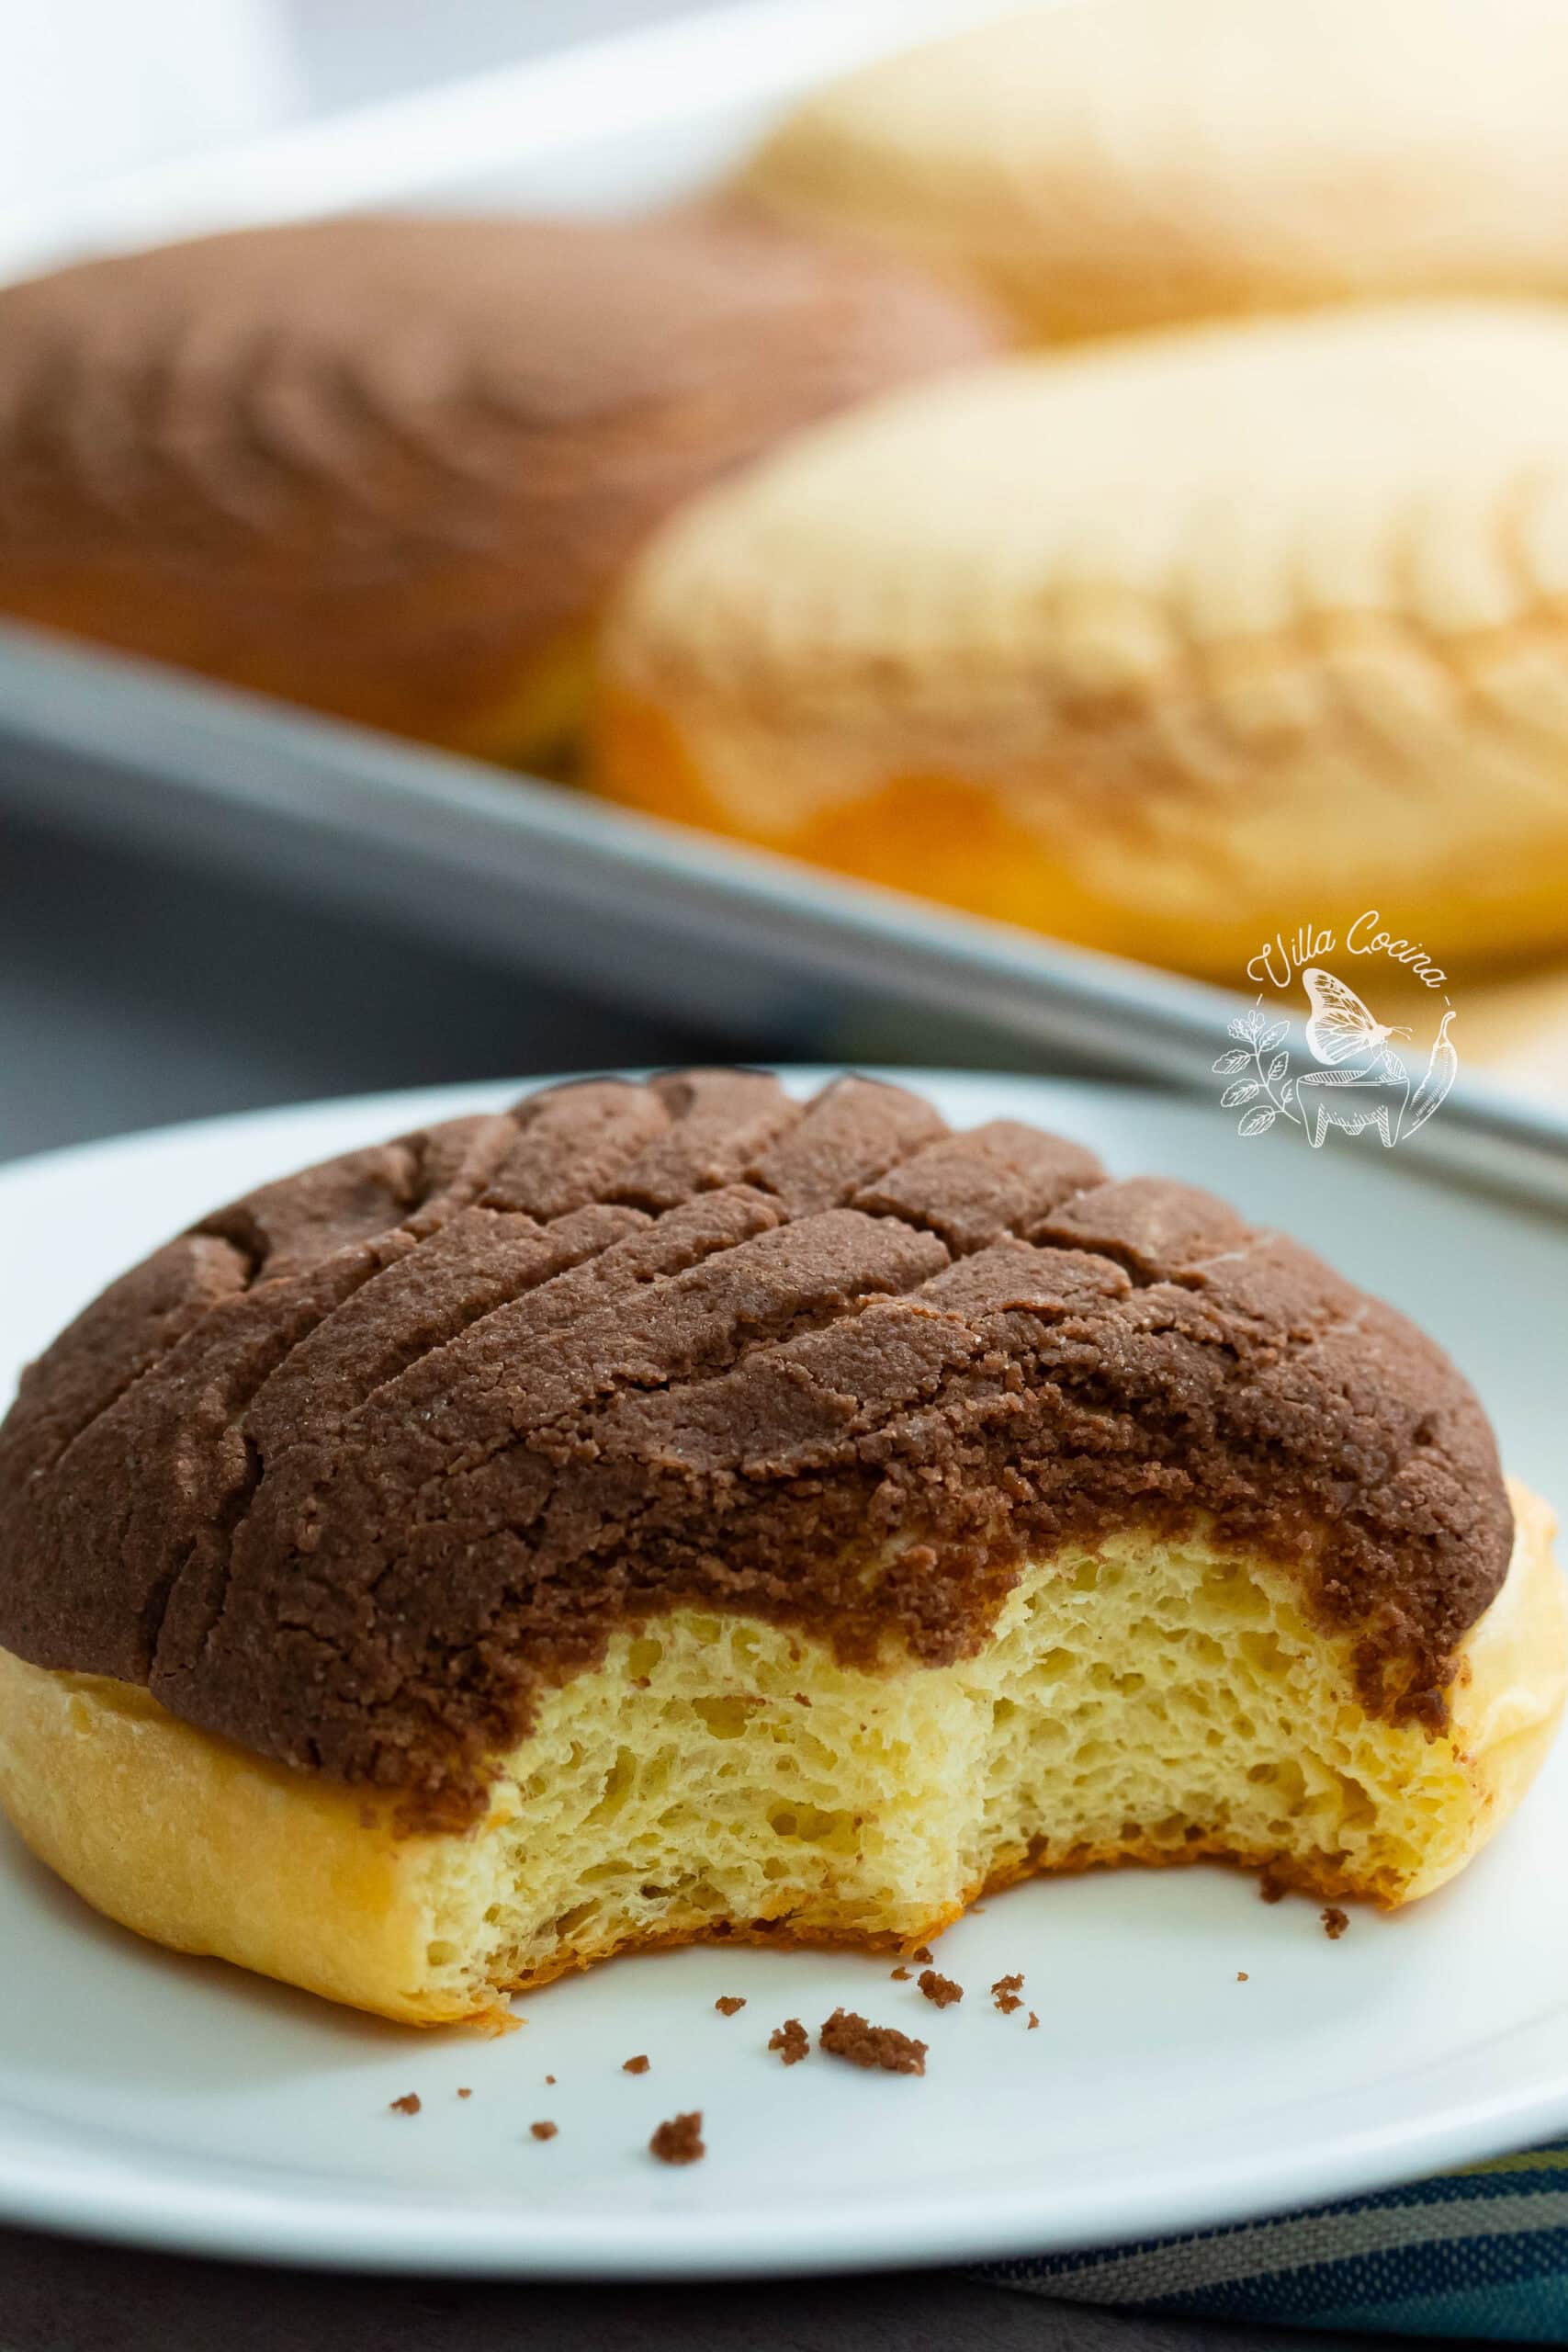
- Eggs & Unsalted Butter: Add richness, tenderness, and buttery flavor, giving the conchas a soft, brioche-like texture.
- Vanilla extract: Gives the bread a warm vanilla aroma and classic flavor.
- Kosher salt: Balances the sweetness and brings out the other flavors.
- All-purpose flour: Gives the bread structure while keeping it soft and tender, and helps the sugar topping hold its shape.
- Vegetable shortening: Creates a pliable topping that’s easy to shape.
- Vanilla bean paste: Adds flavor and little flecks of vanilla bean.
- Cocoa powder: Turns half the topping into chocolate.
How to Make Conchas
Here’s a quick overview of how everything comes together. For full, step-by-step instructions, be sure to check out the recipe card below.
Make the Dough
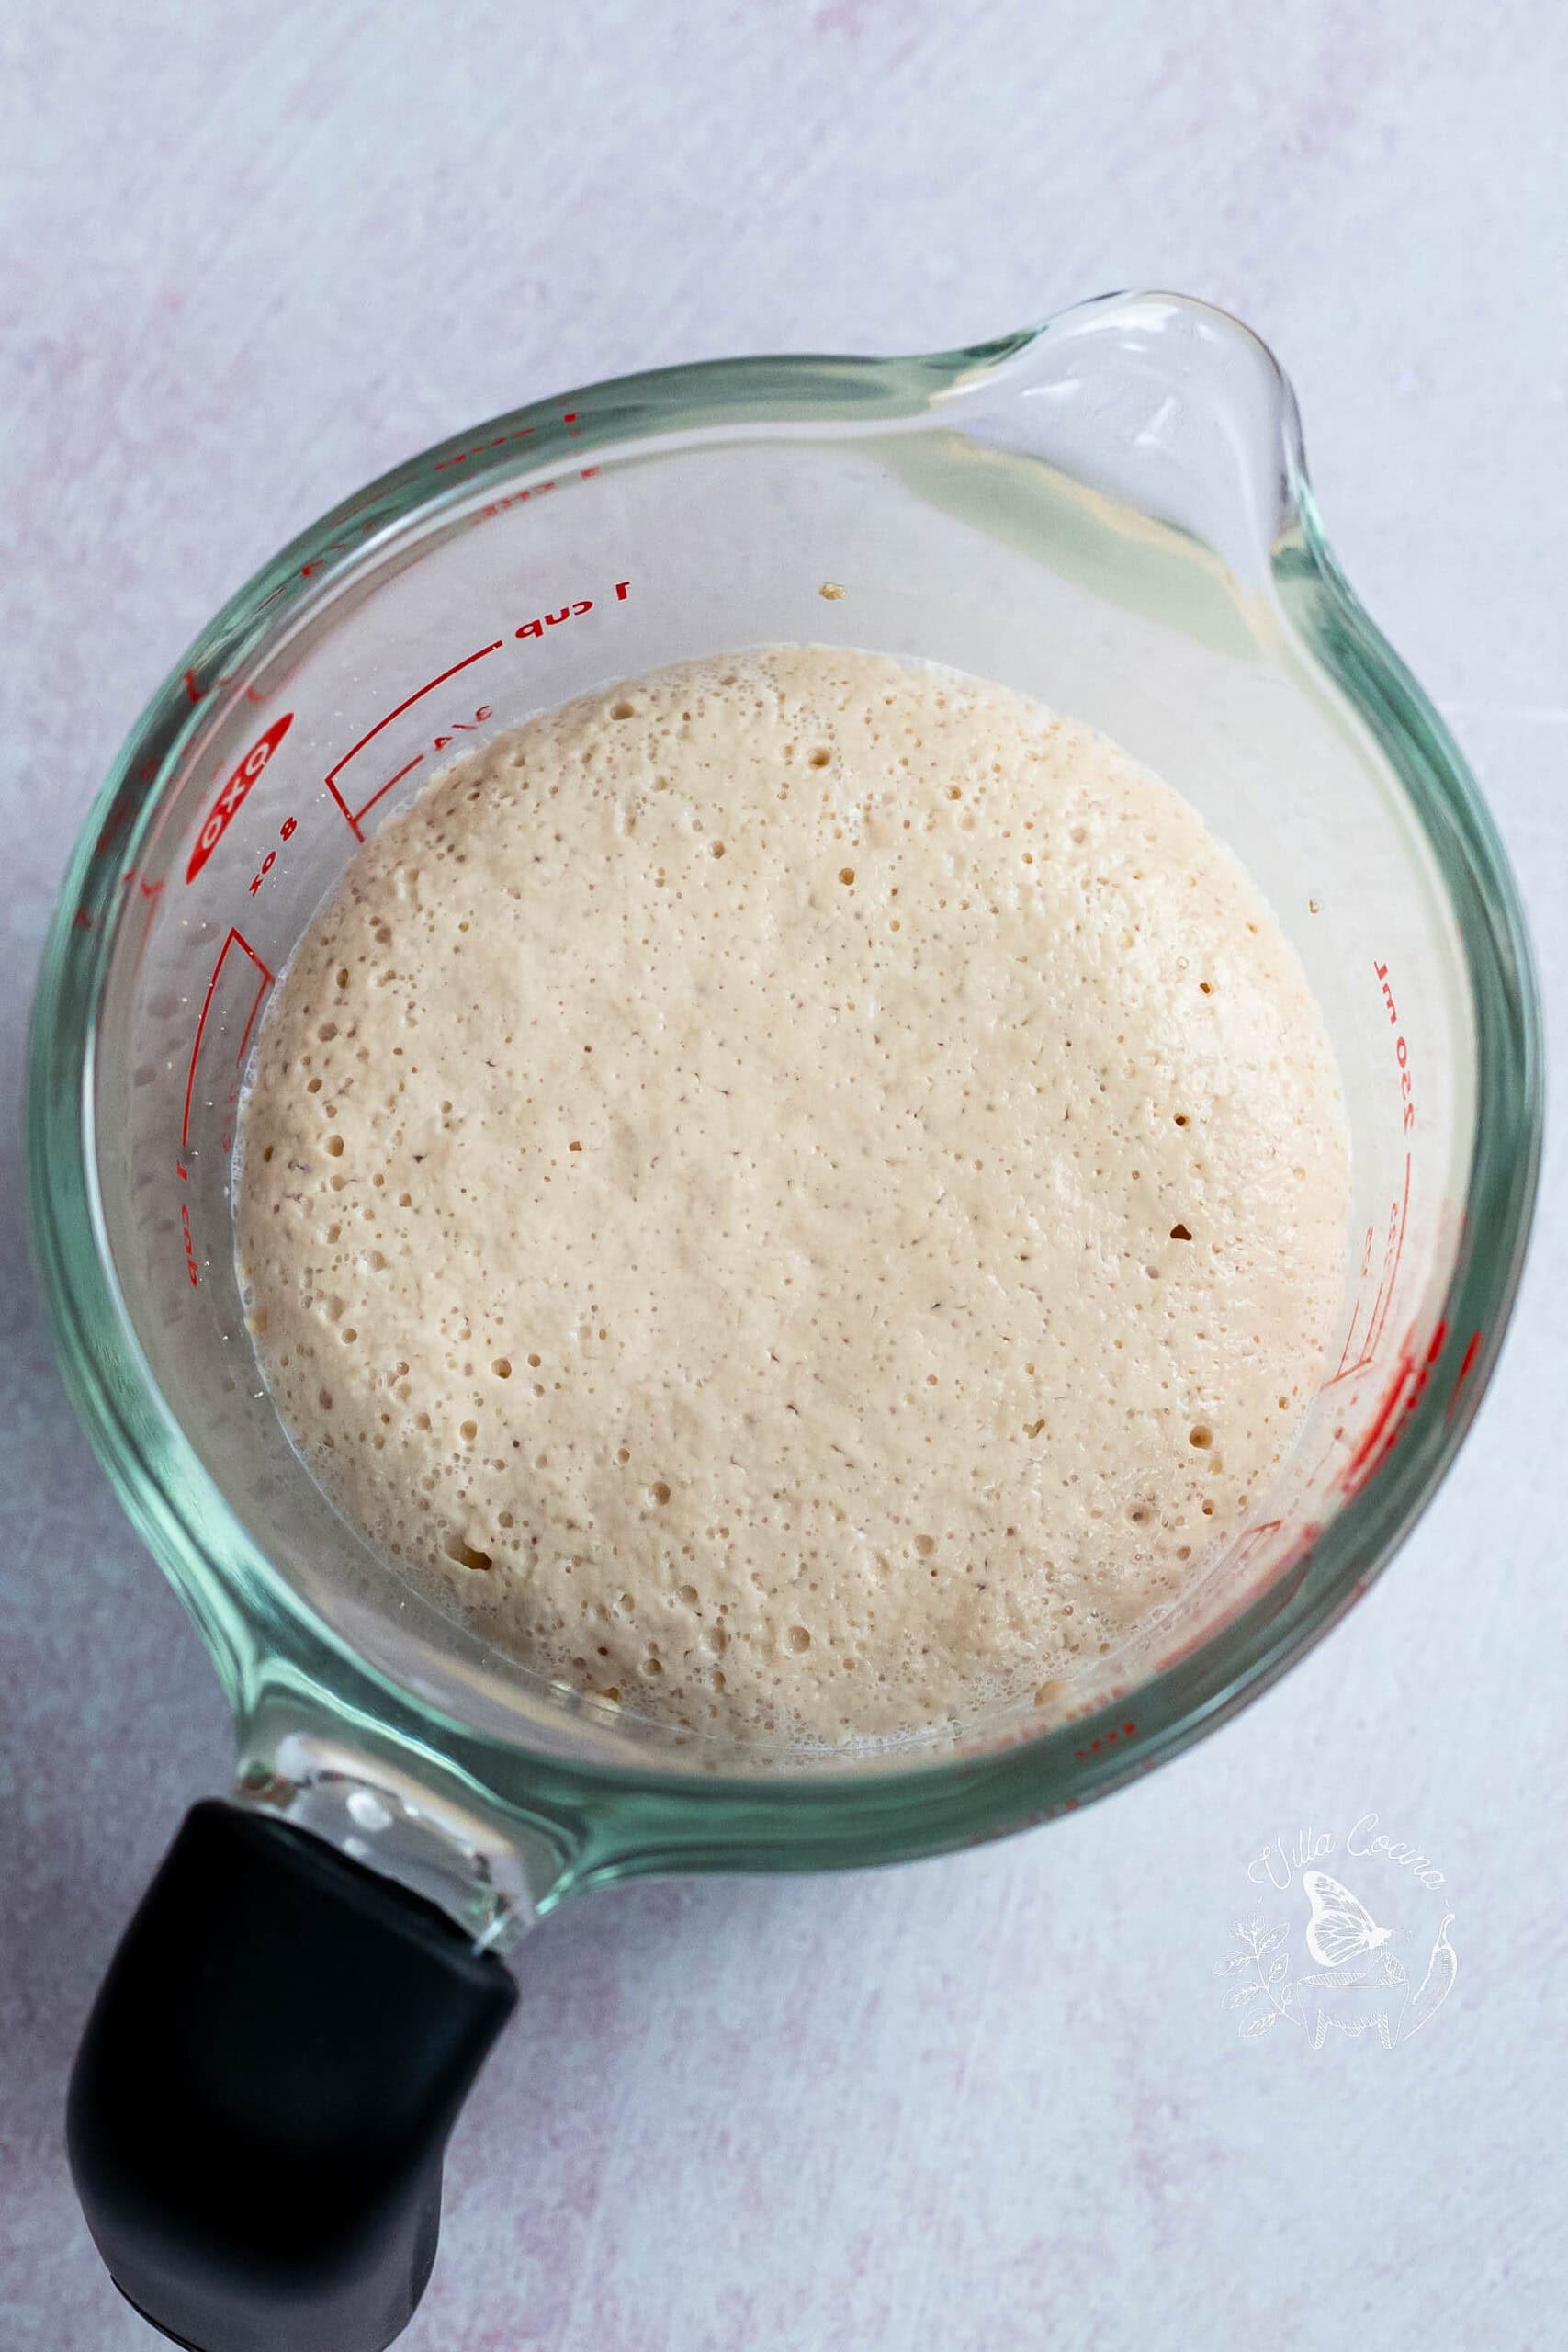
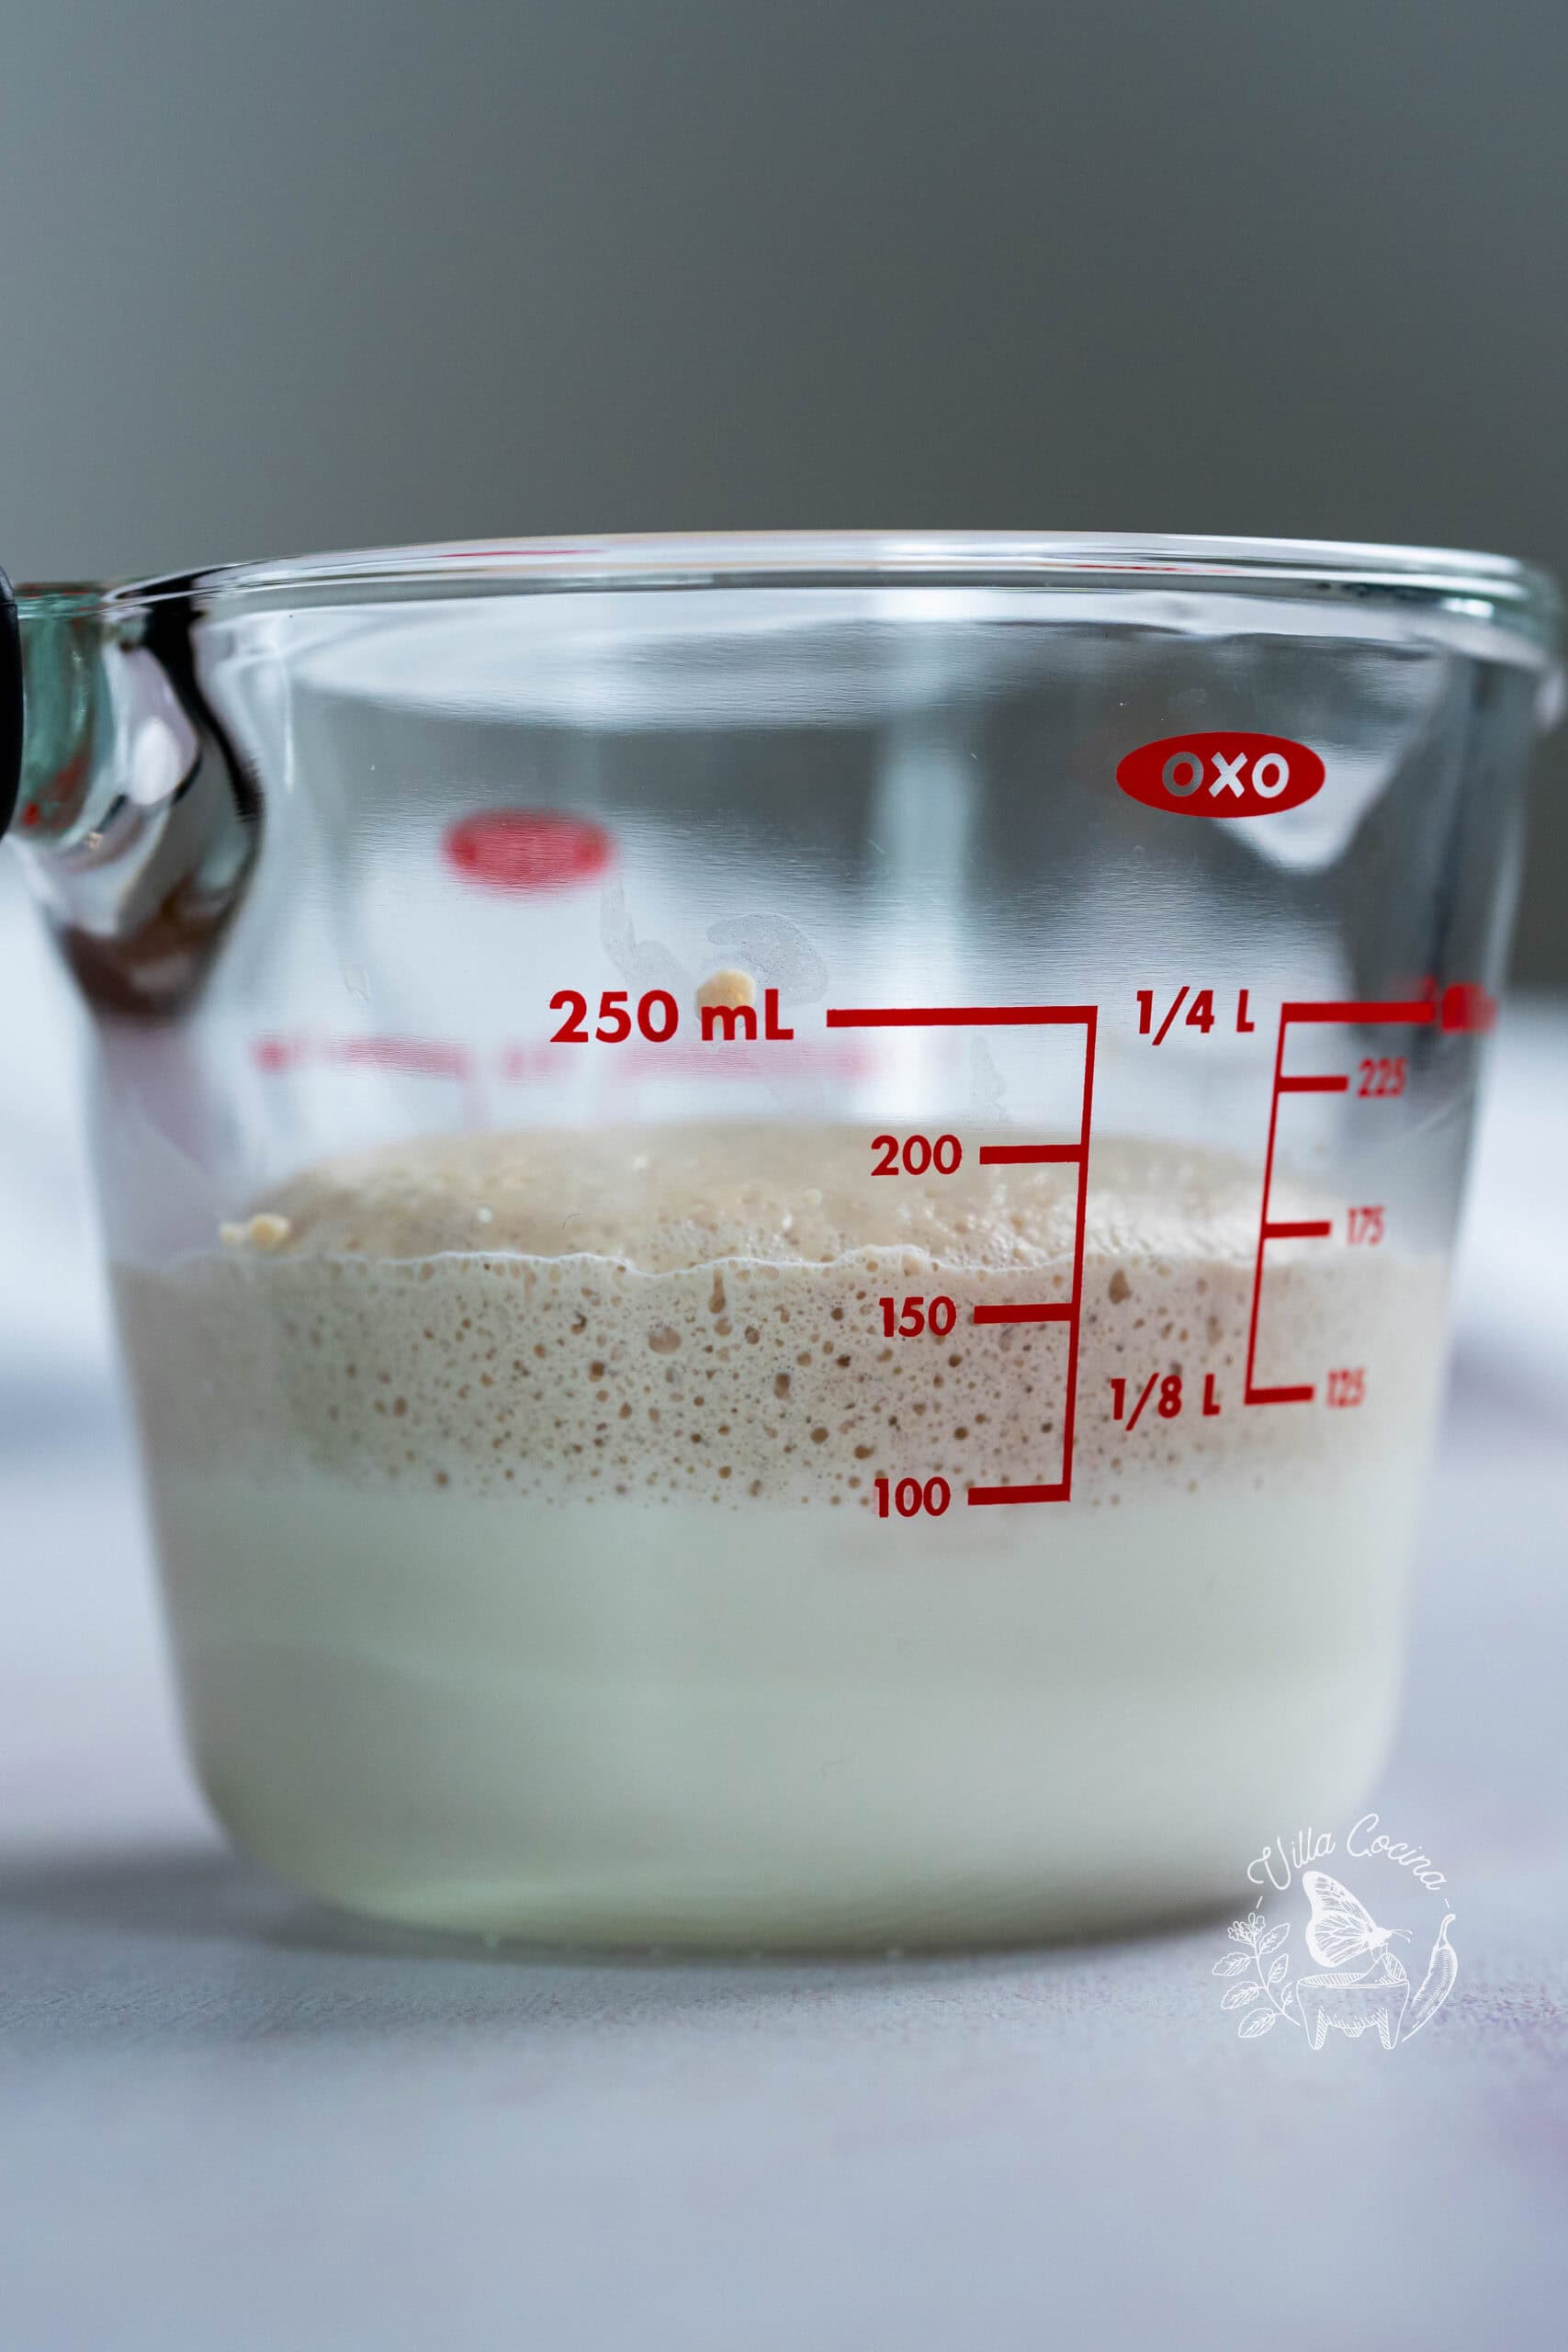
Activate the yeast by whisking it with a pinch of sugar into warm milk (105–110°F). Let stand until foamy.
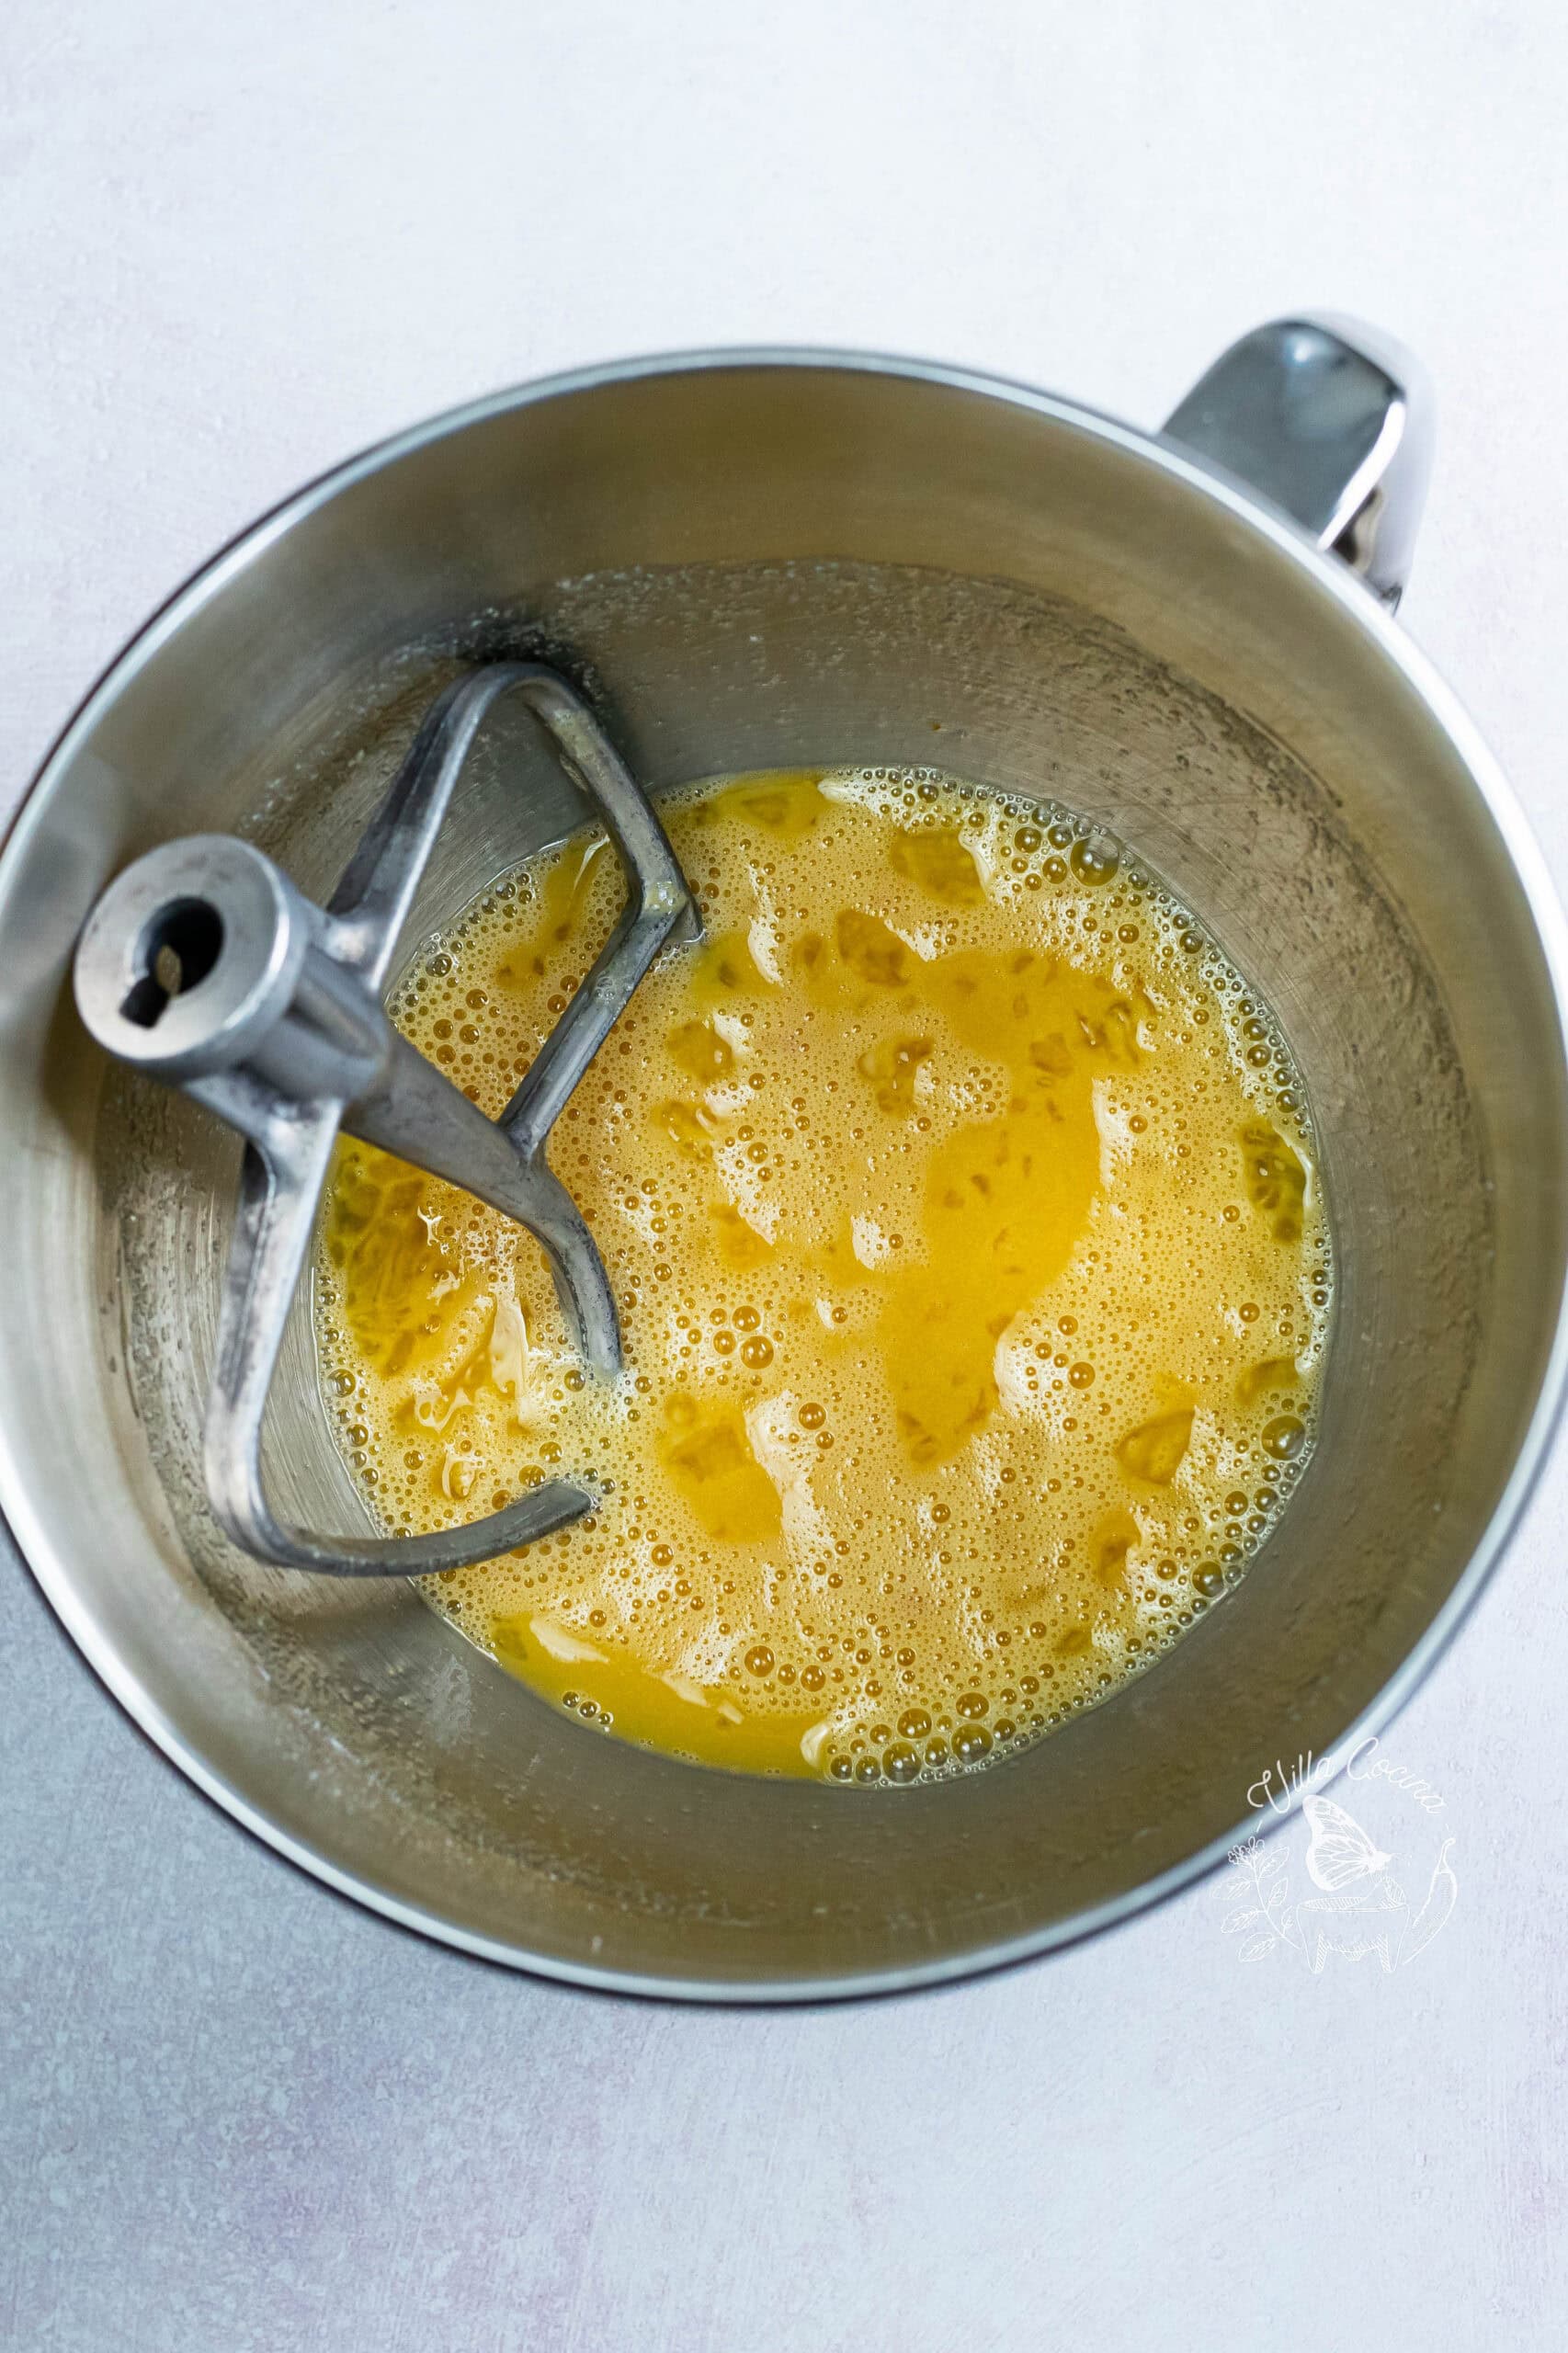
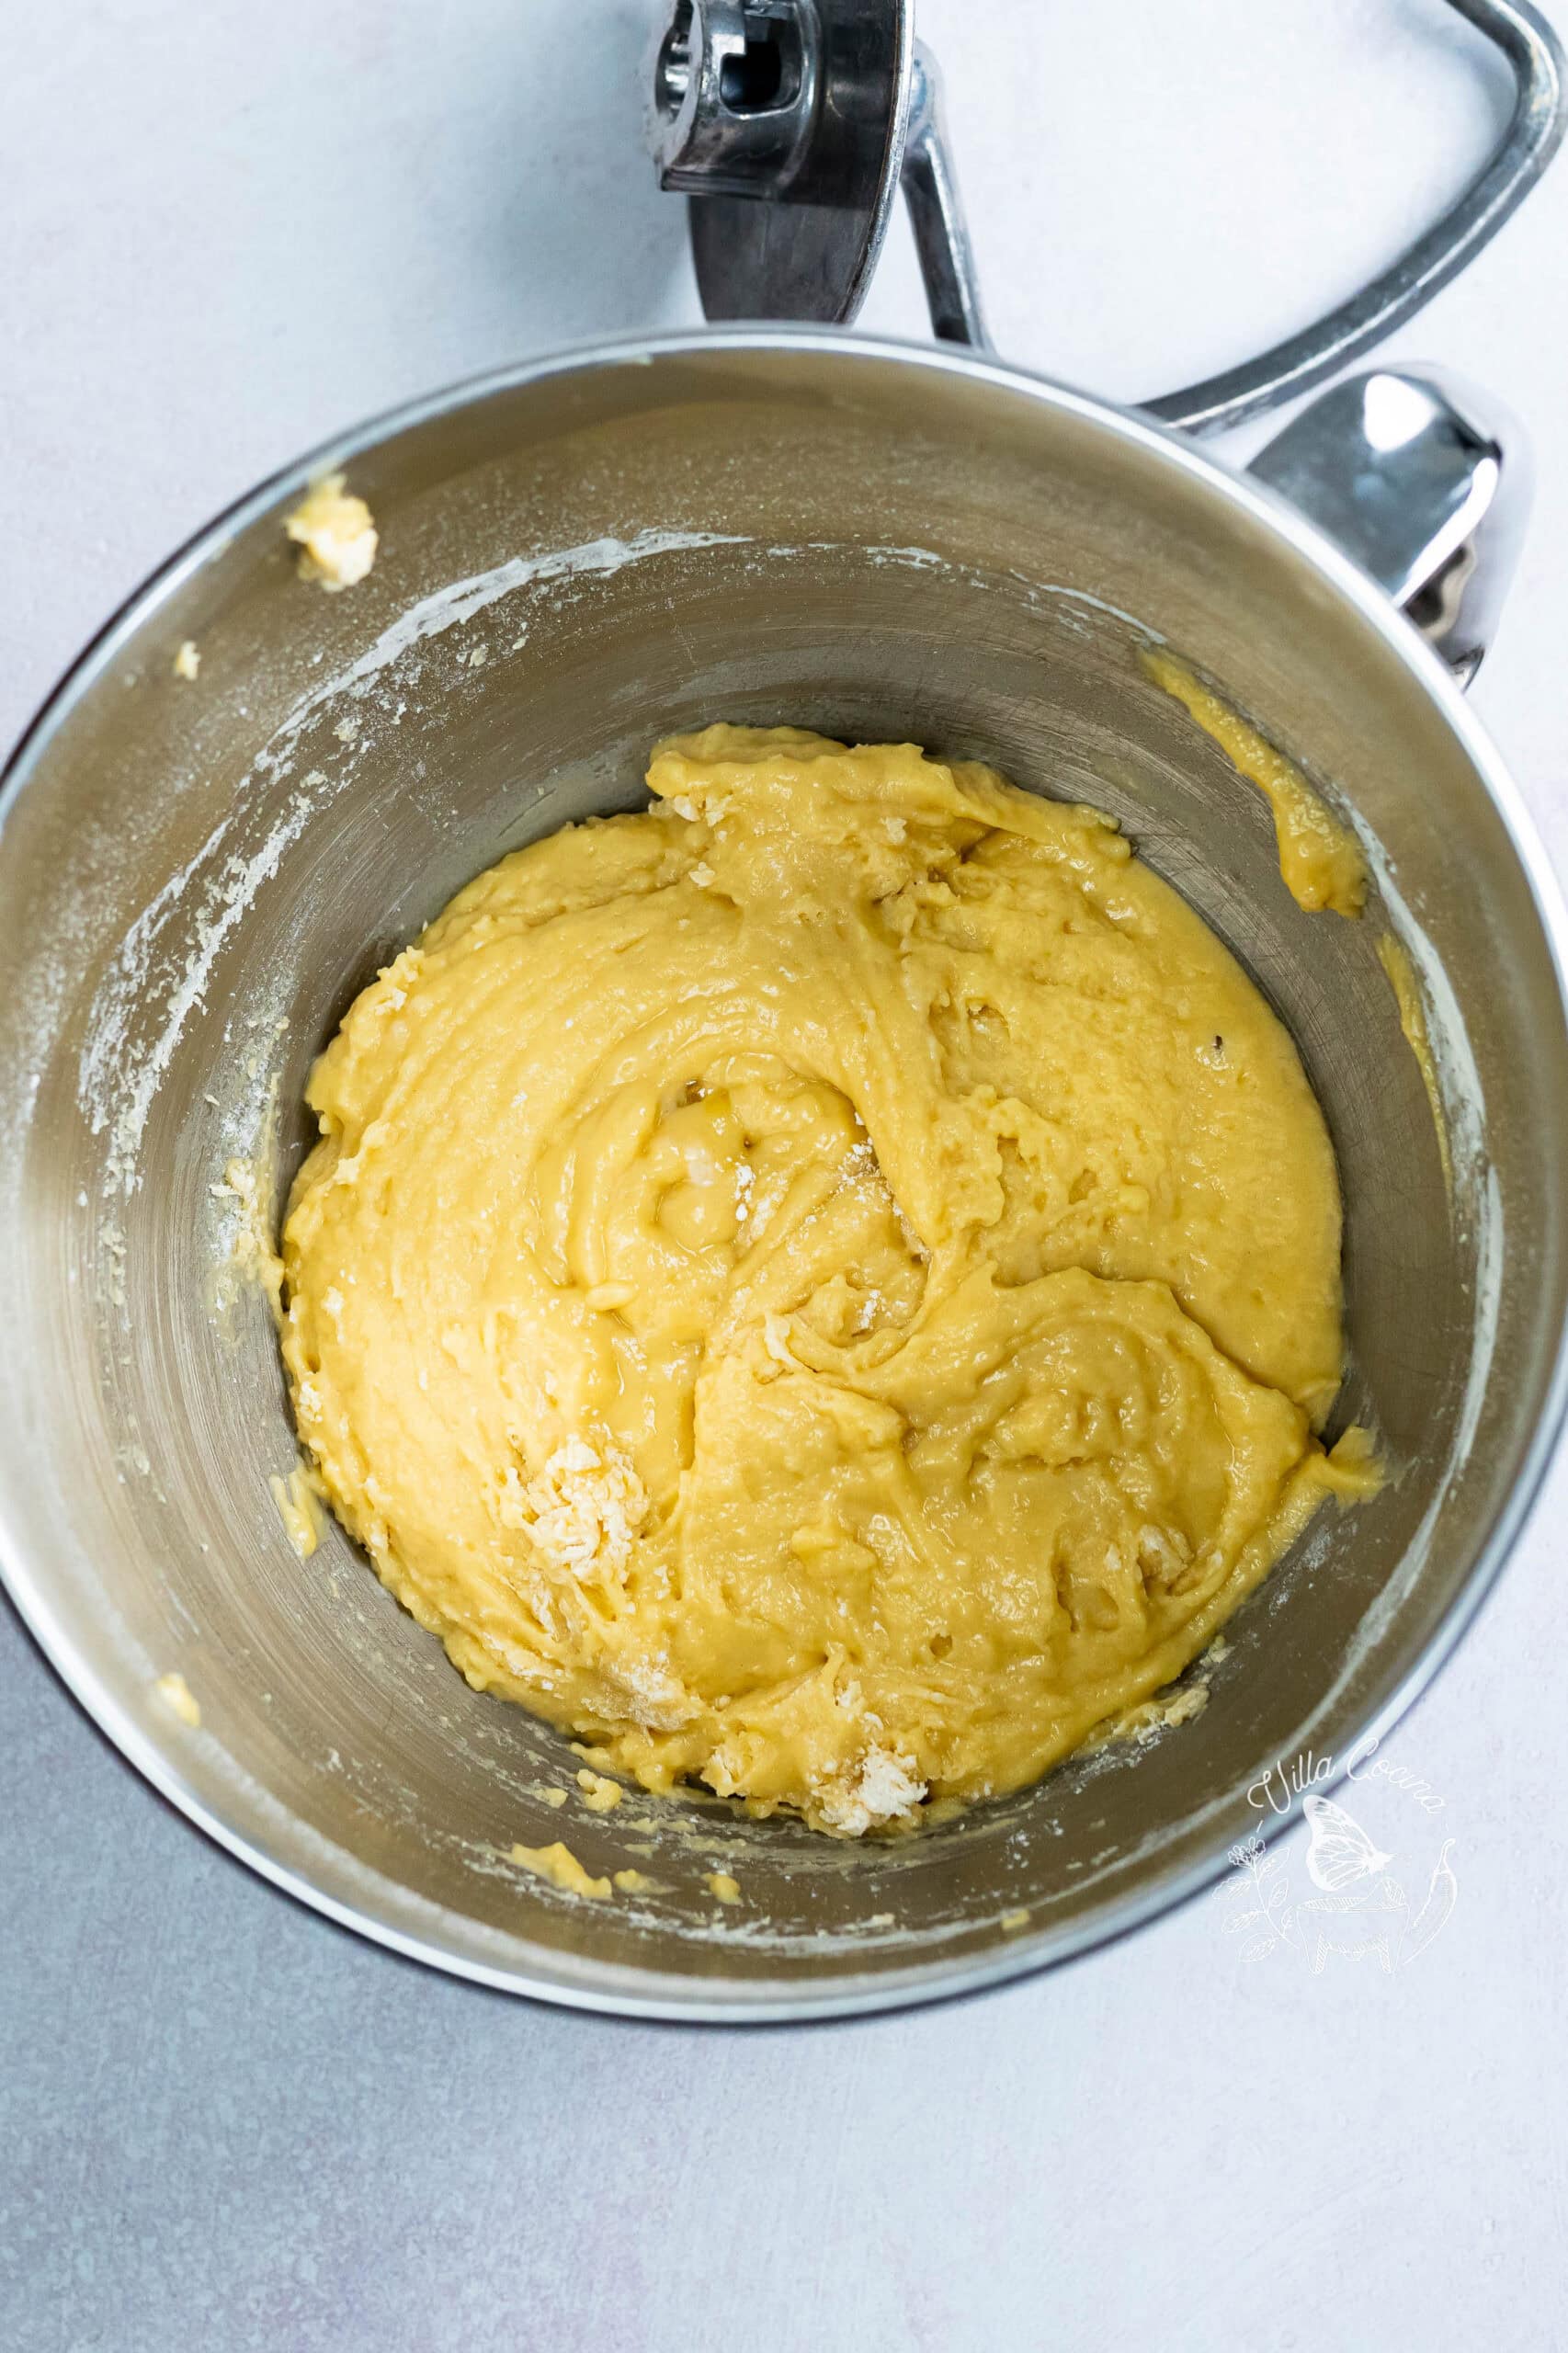
Using the paddle attachment on low speed, mix the eggs, yeast mixture, and vanilla, followed by the sugar, salt, and some of the flour. Once the mixture thickens, switch to the dough hook, continue adding the flour, and knead until it comes together.
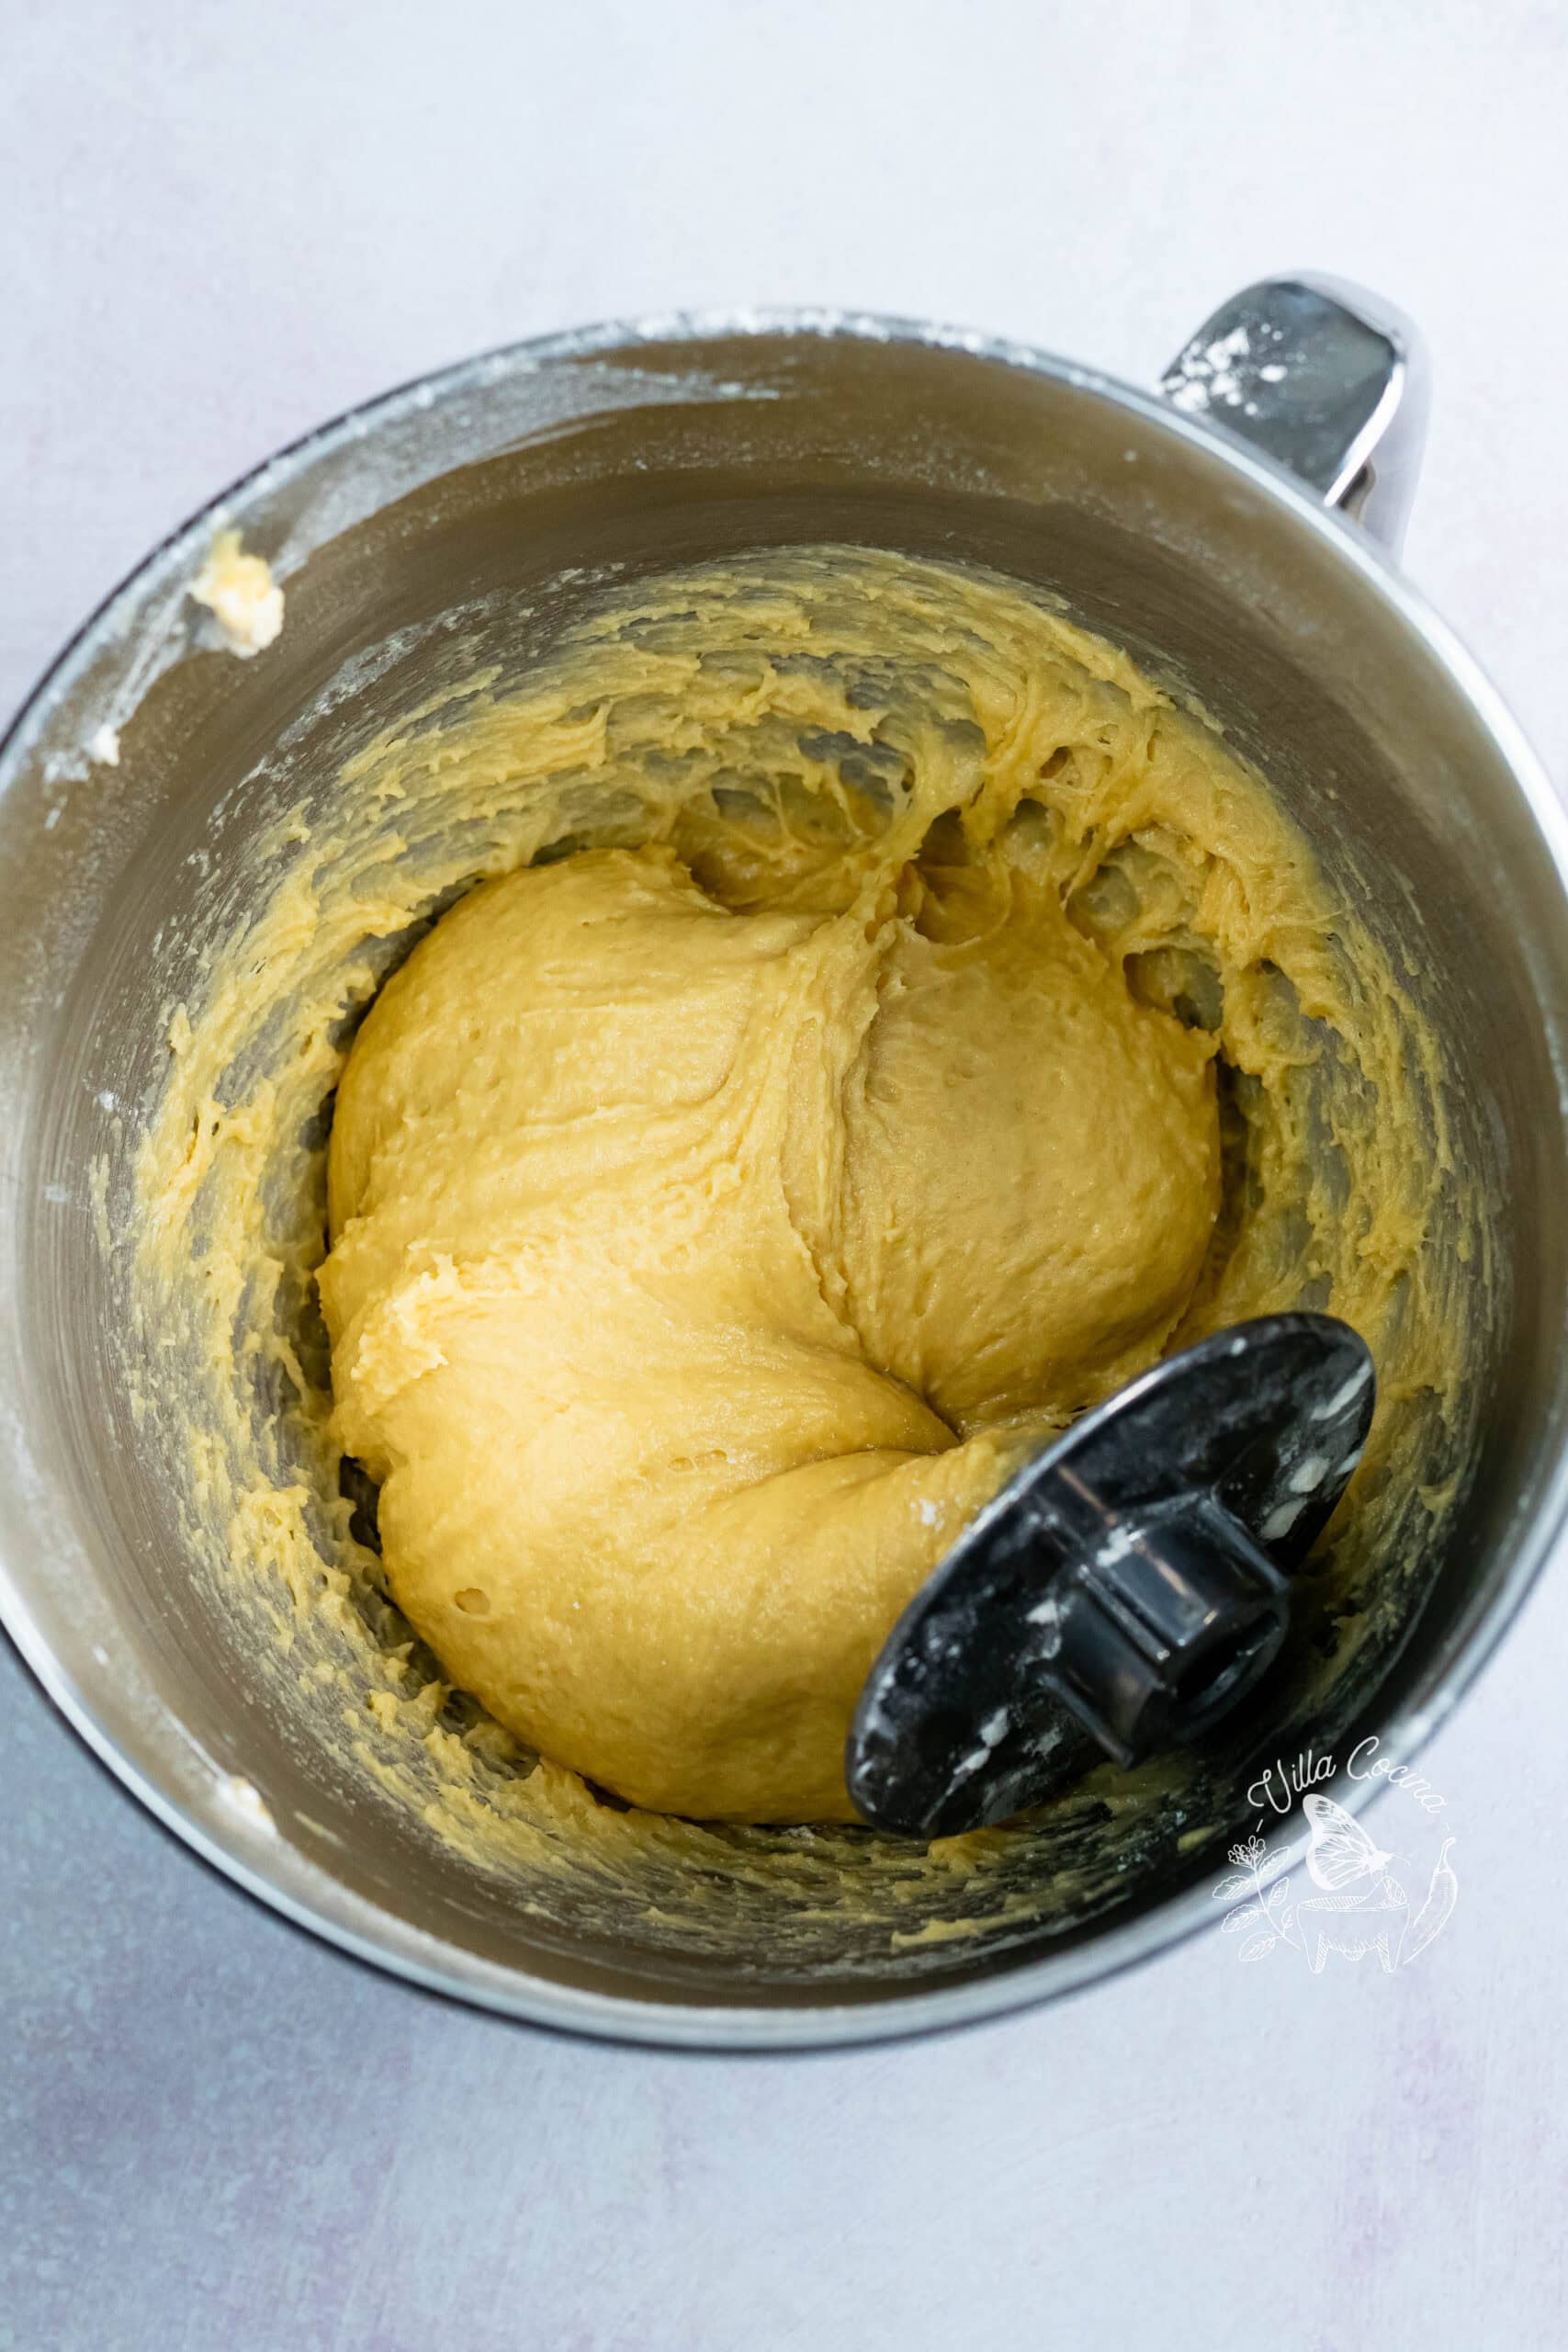
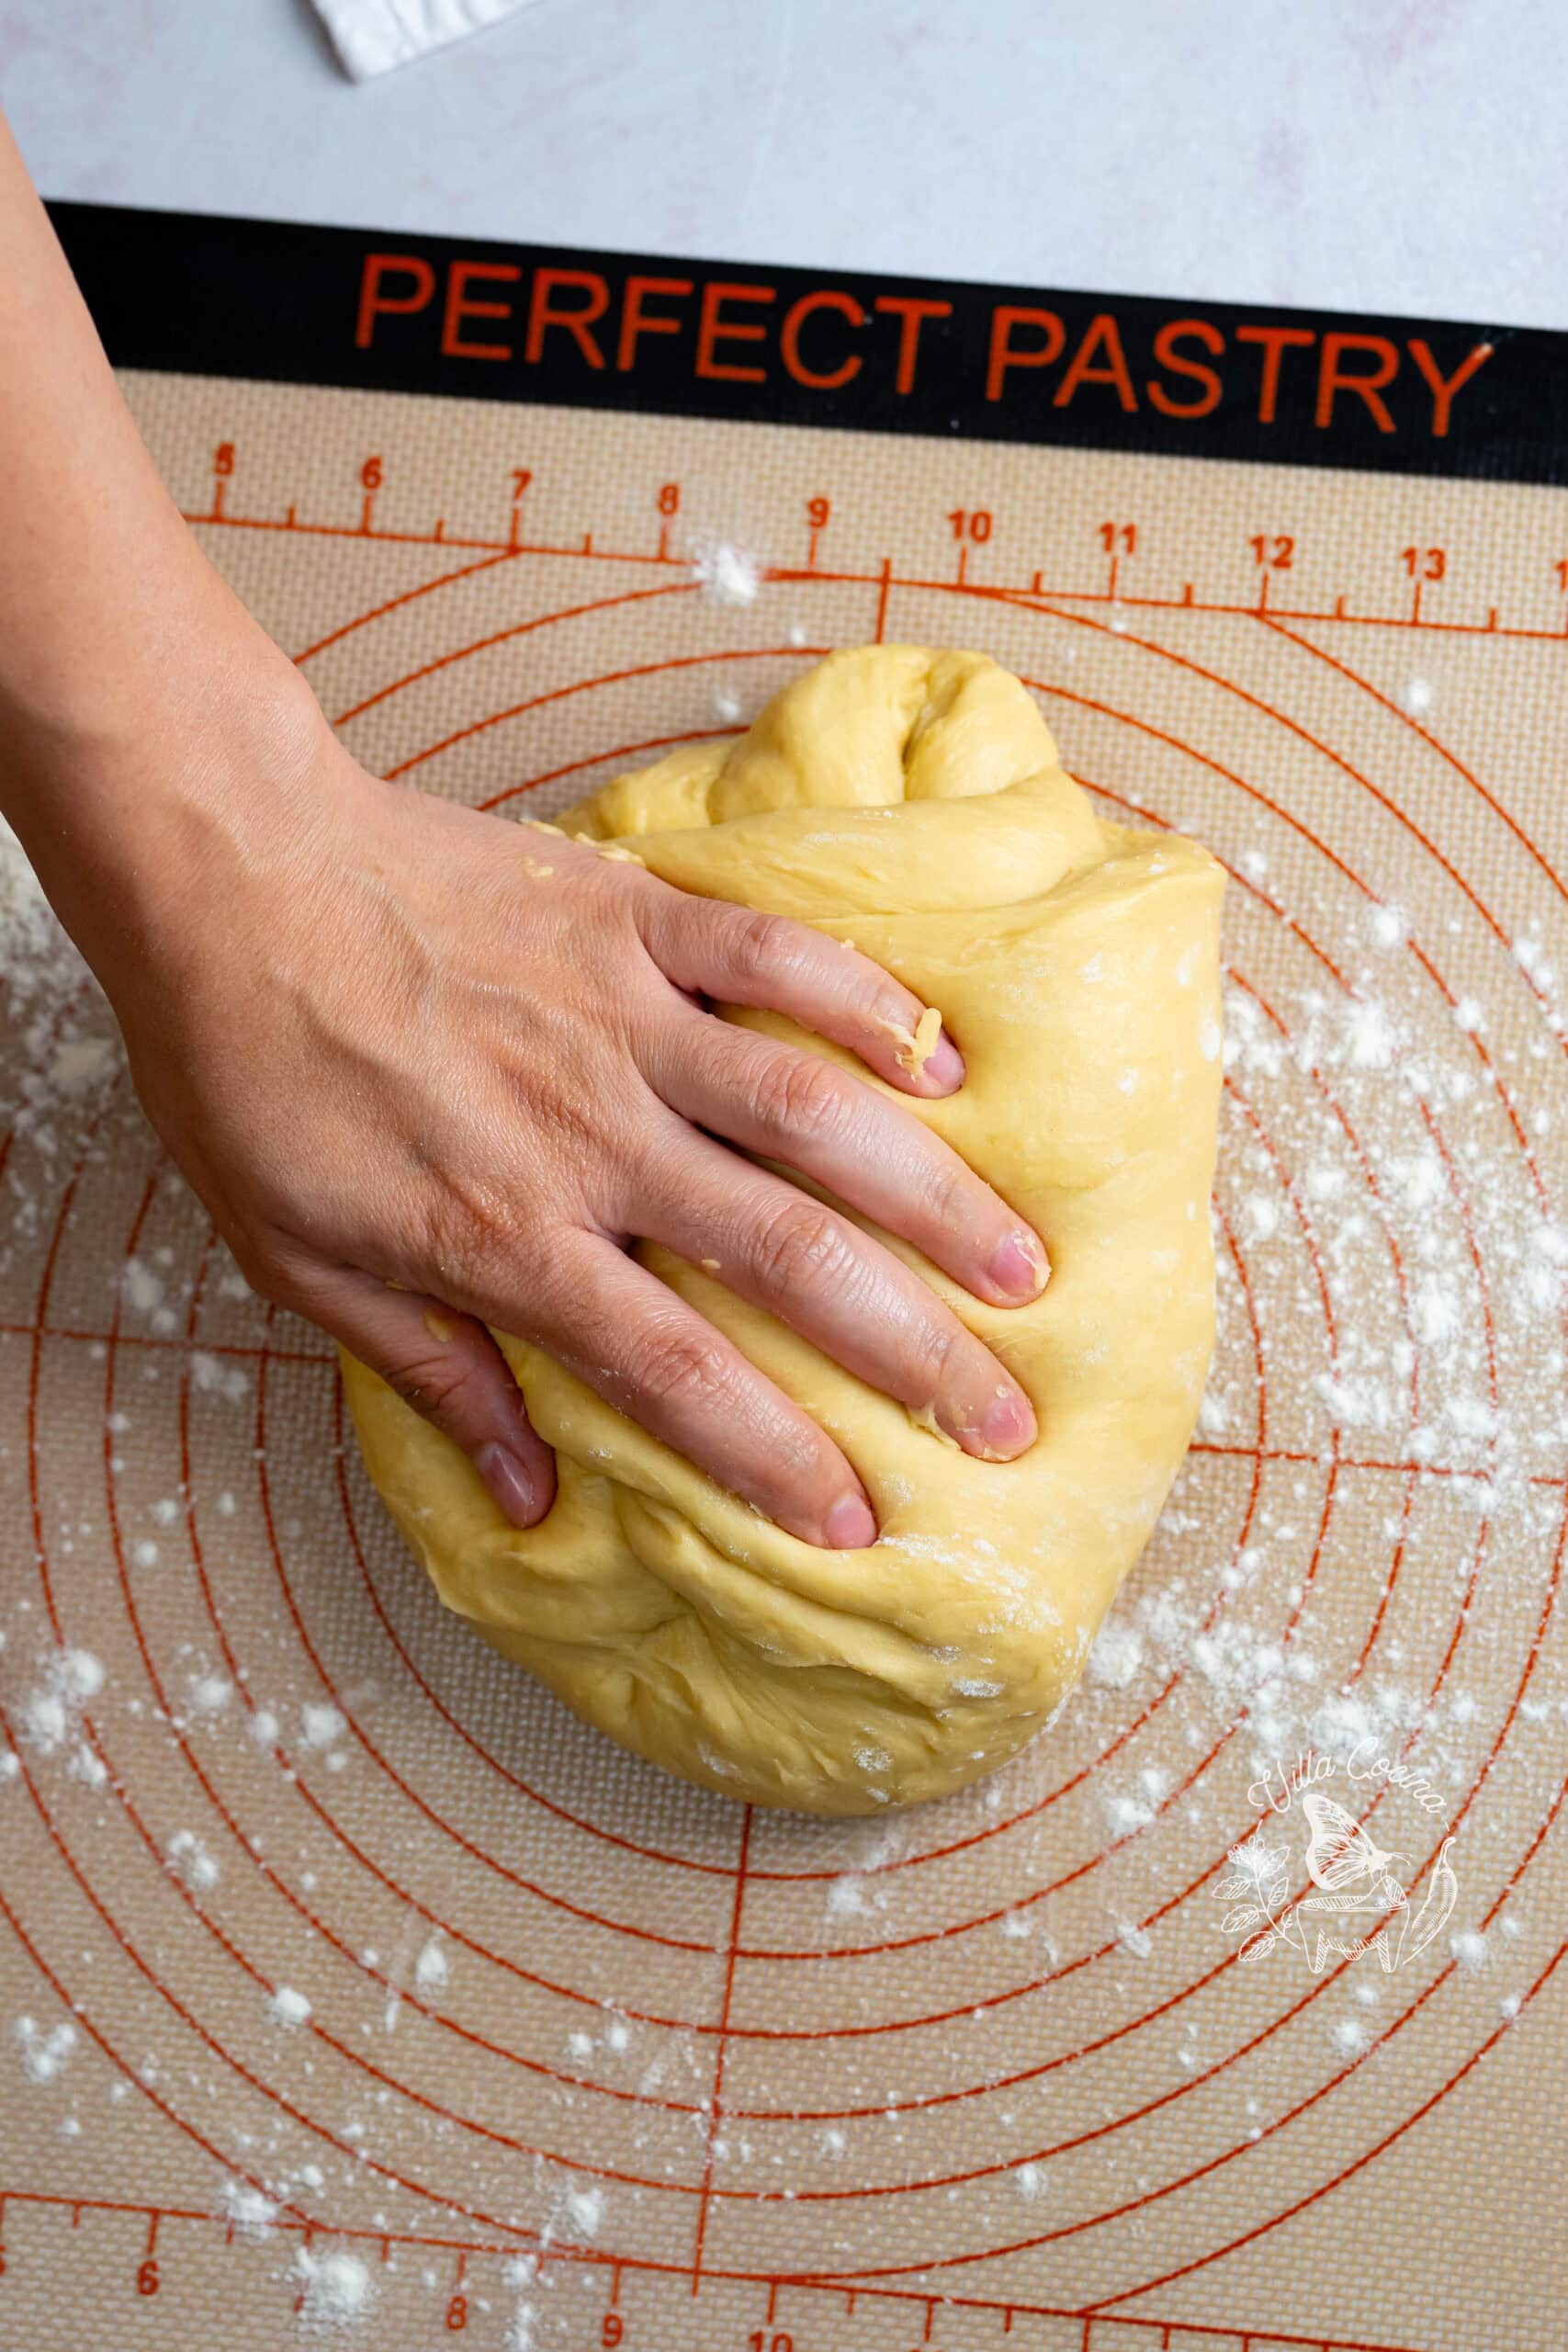
Gradually incorporate the softened butter, then knead until cohesive and elastic. Finish kneading by hand, adding flour only as needed, until smooth, soft, and slightly tacky.
First Proof
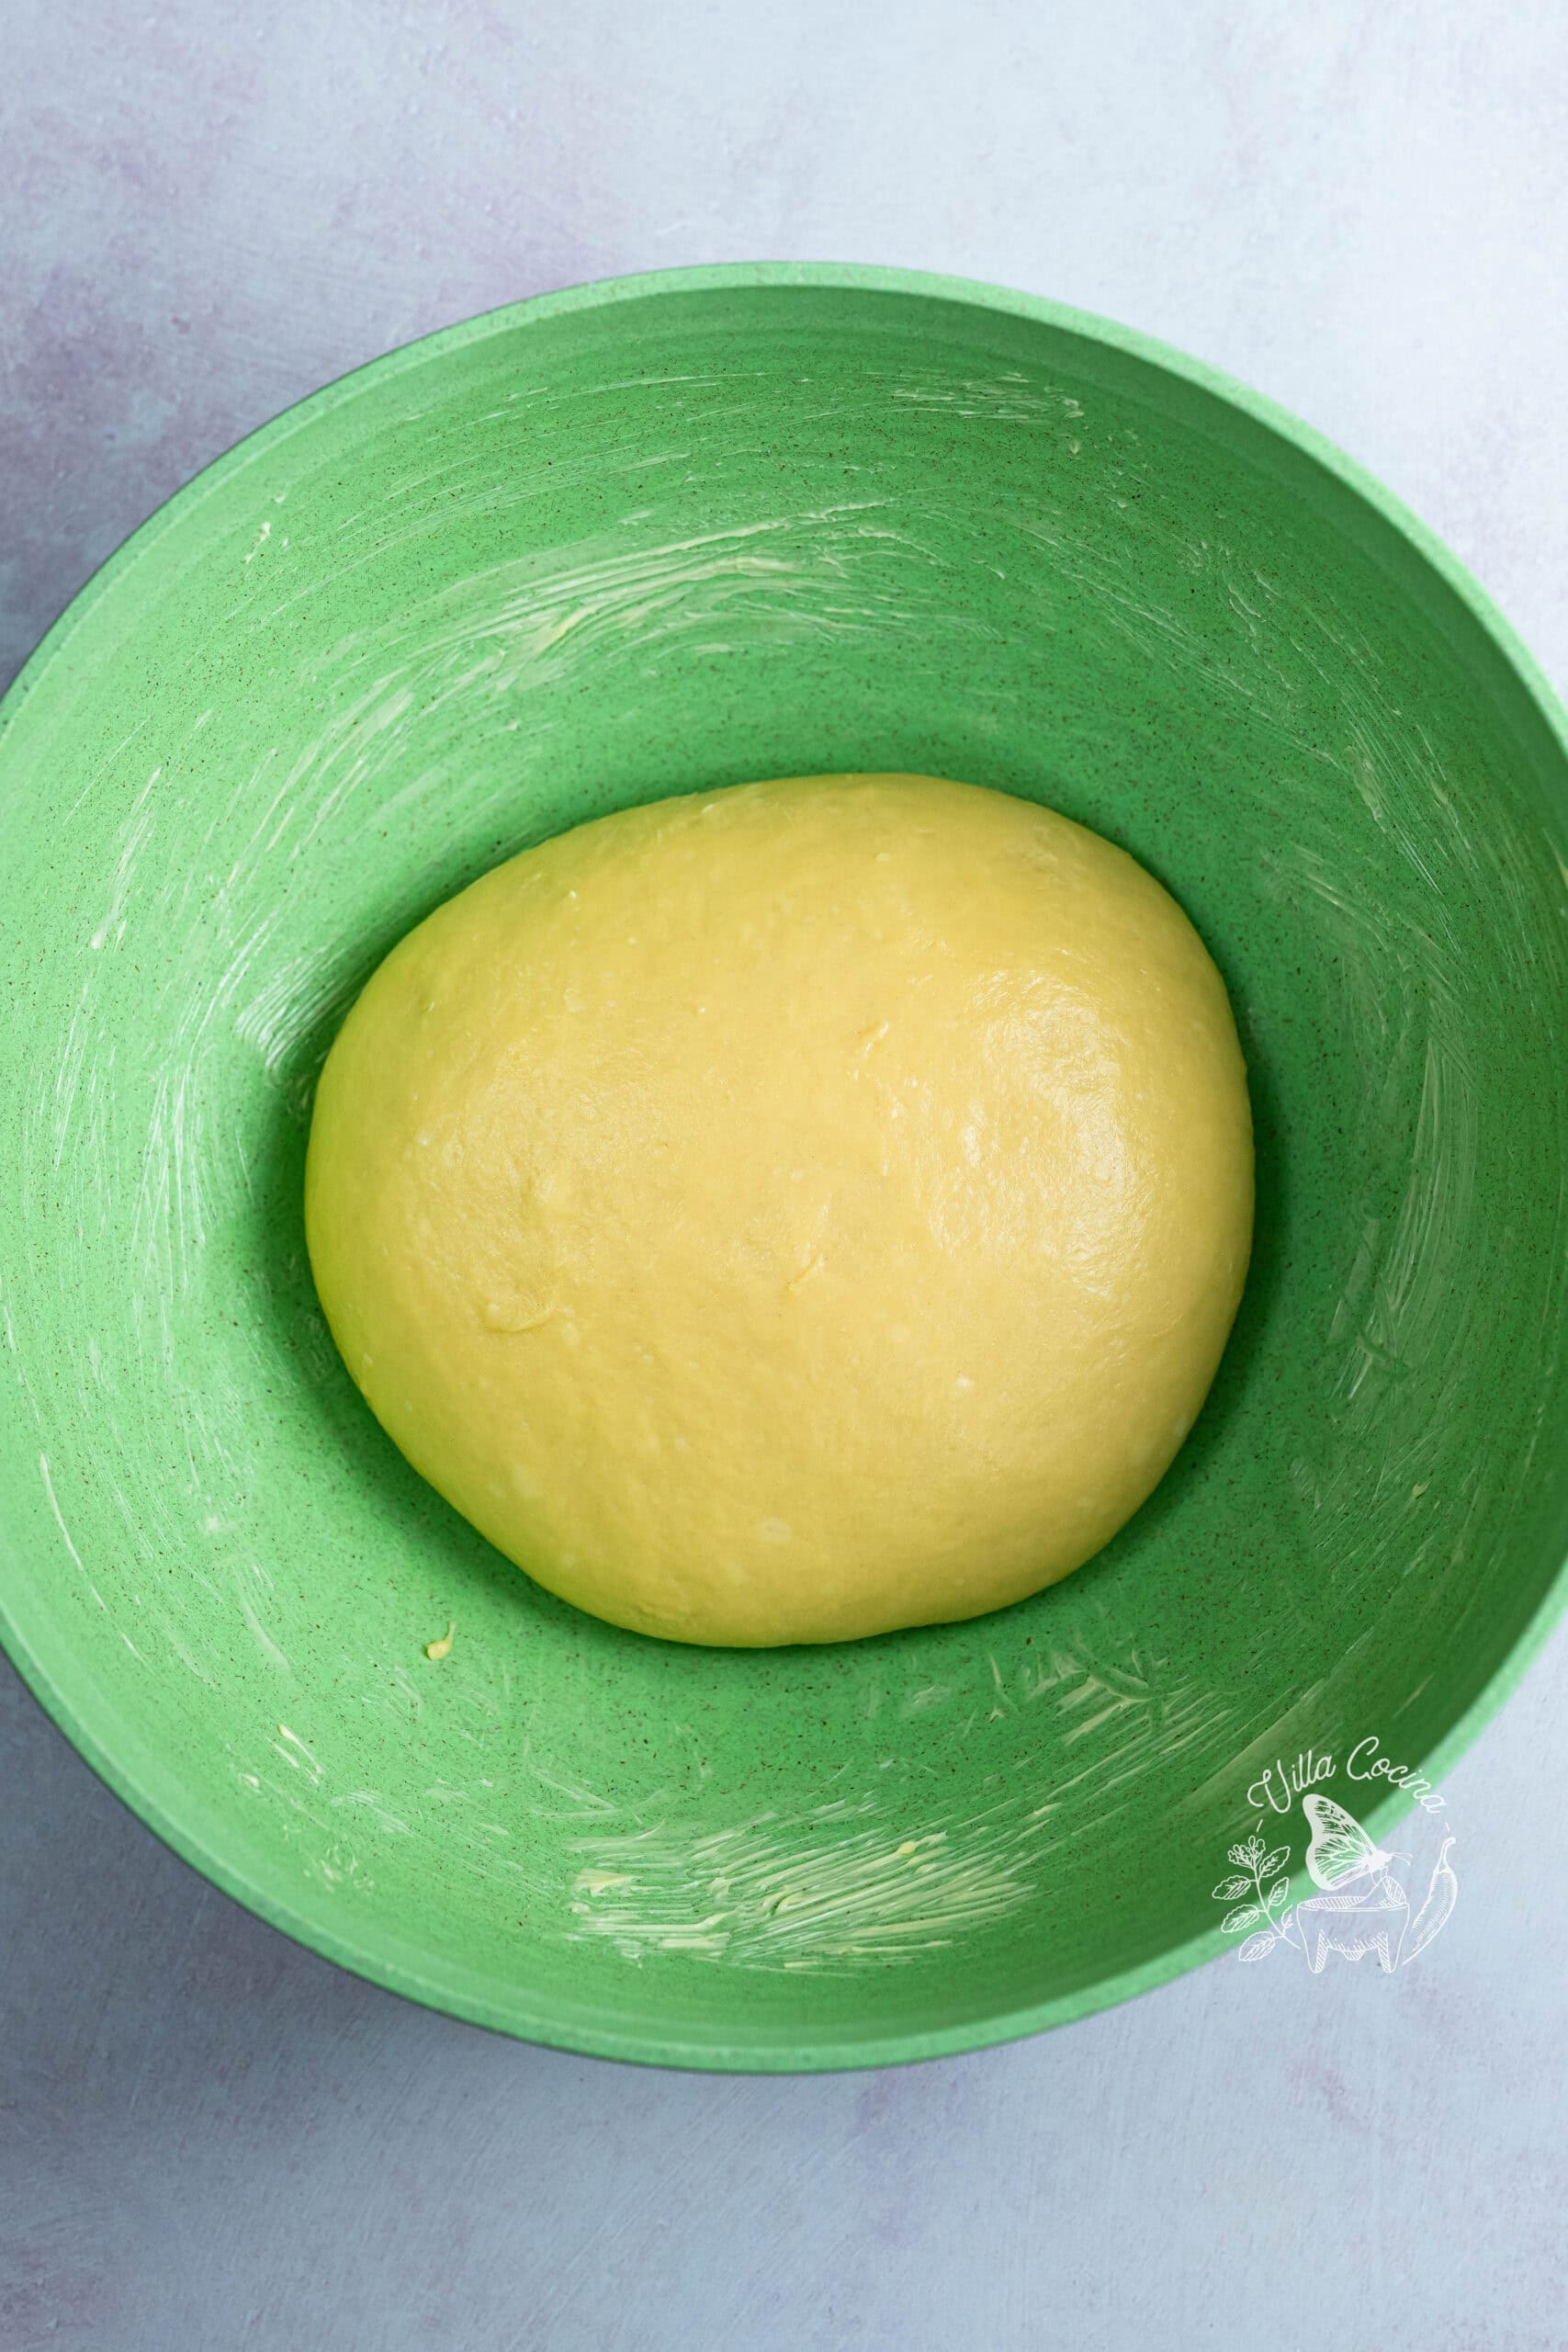
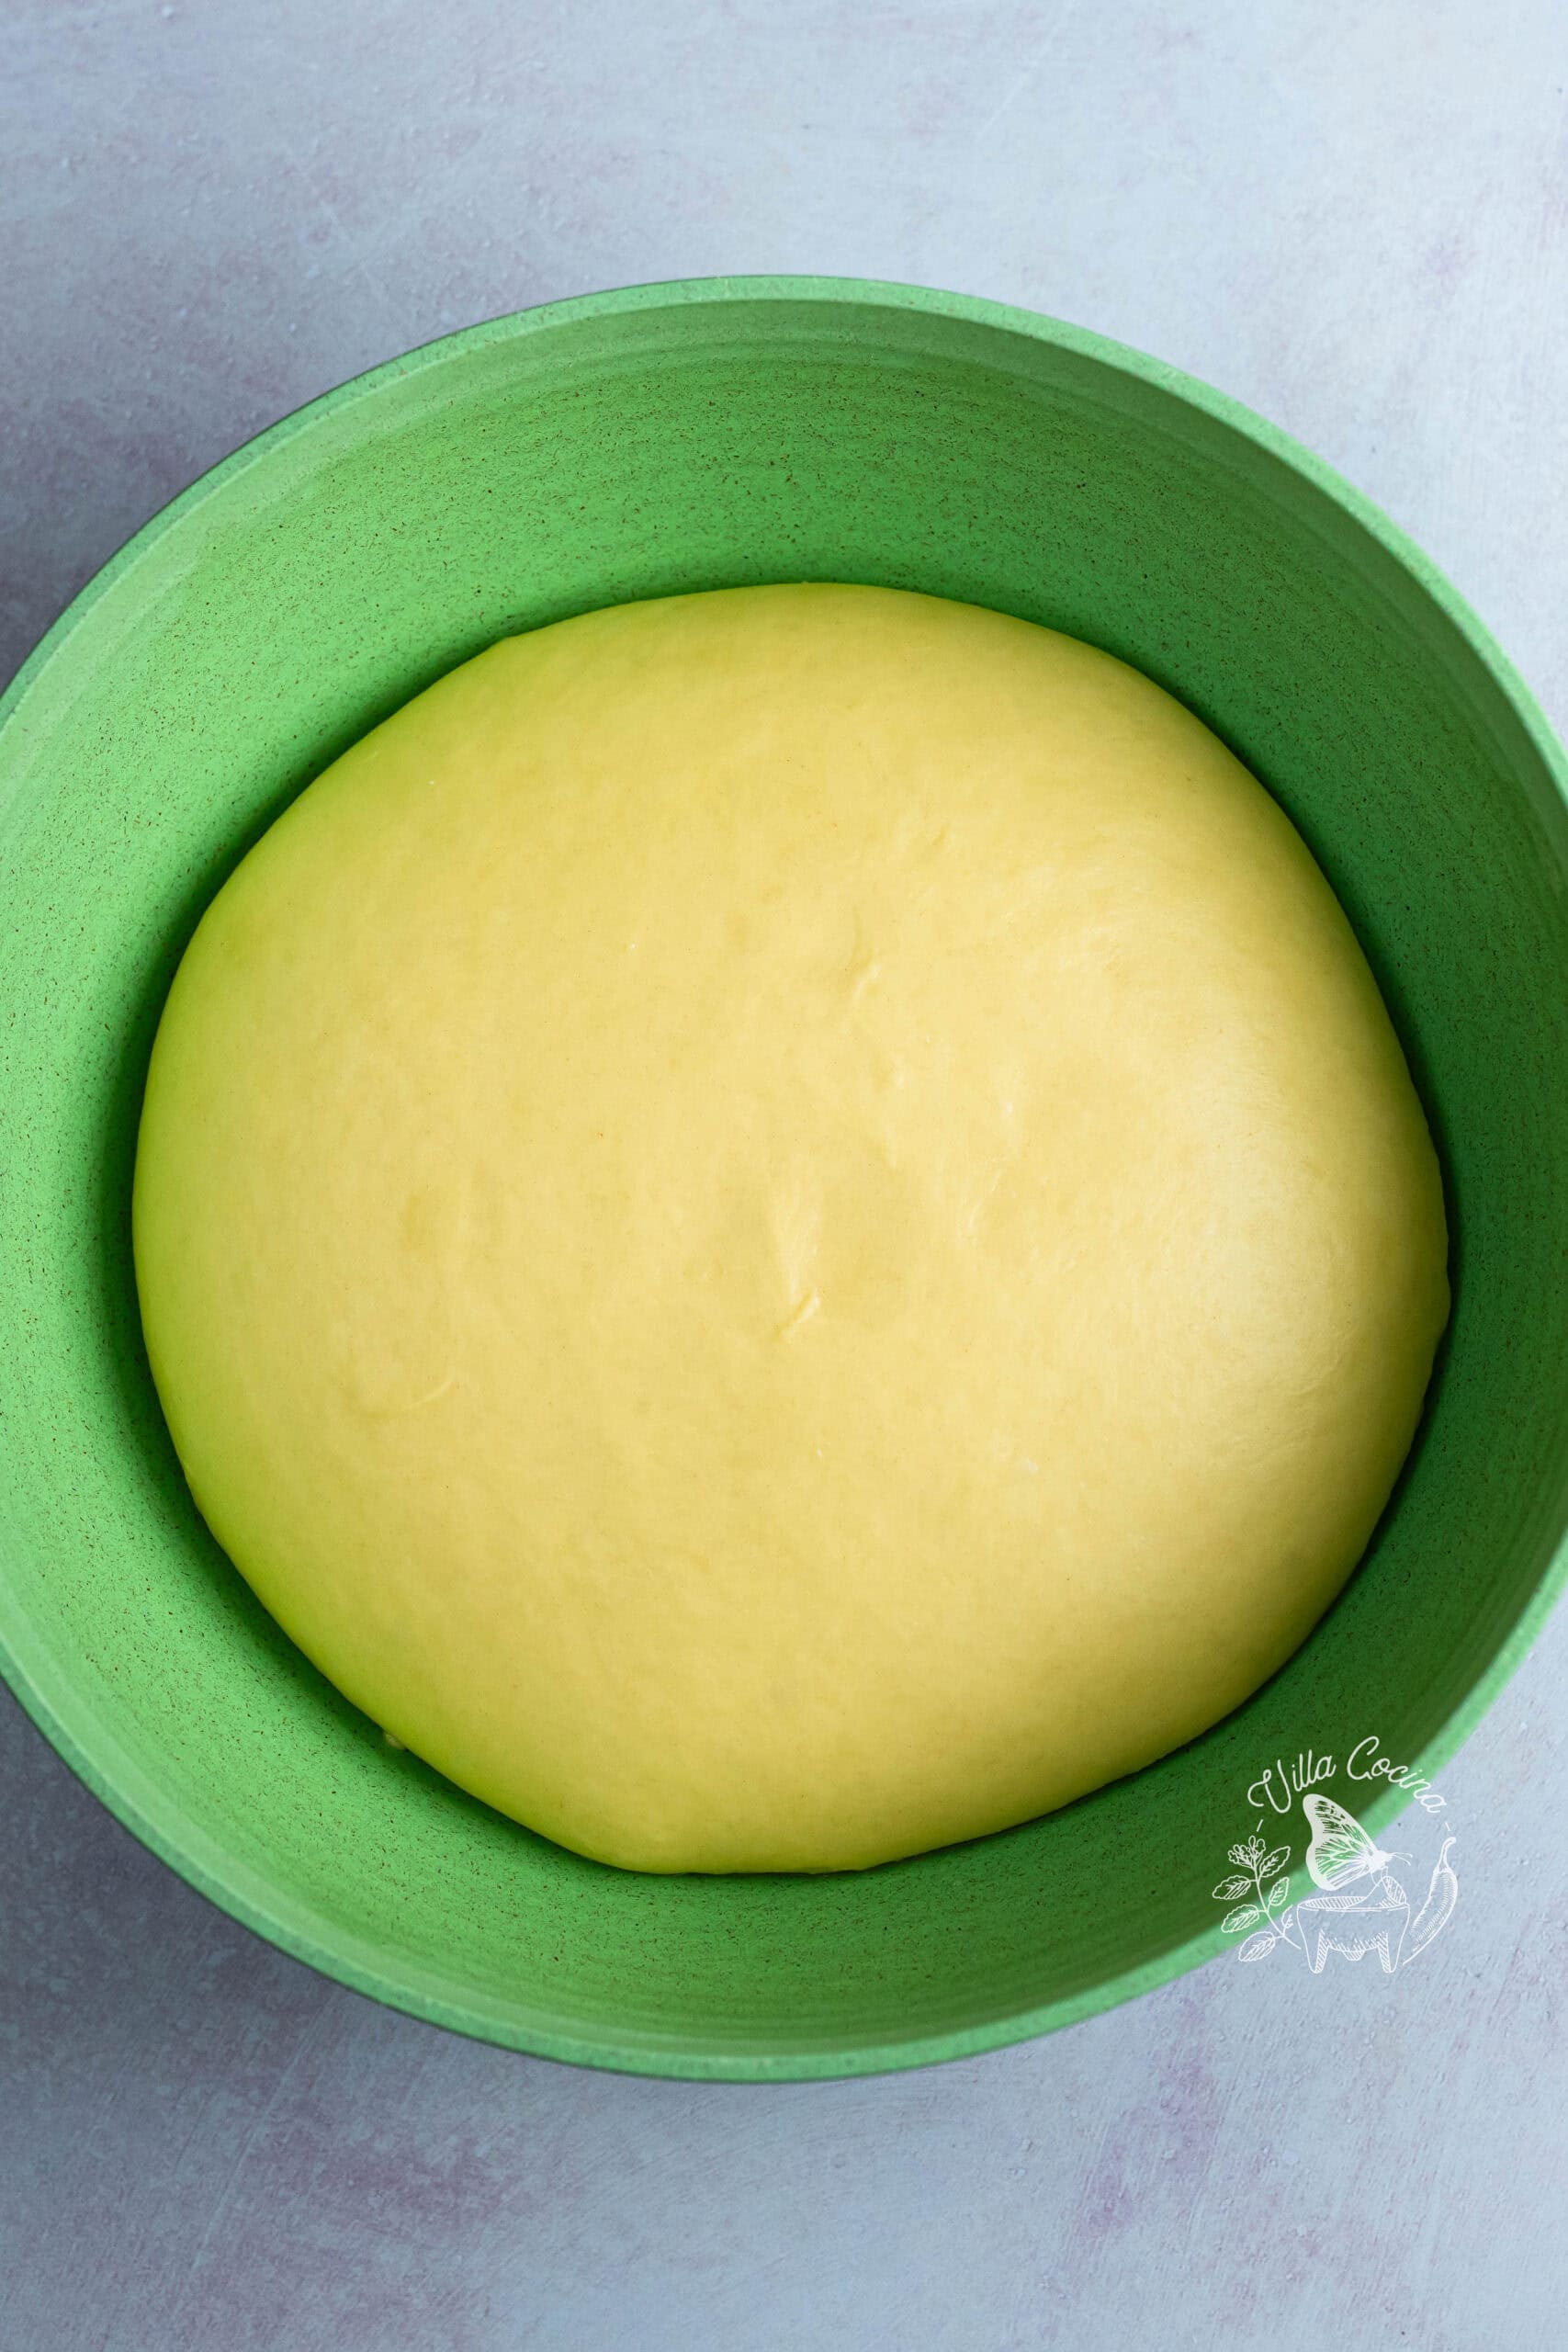
Shape into a smooth ball and turn in a buttered bowl to coat. Cover and let rise in a turned-off oven with the light on for 1½–2 hours, or until doubled in size.
Prepare the Sugar Topping
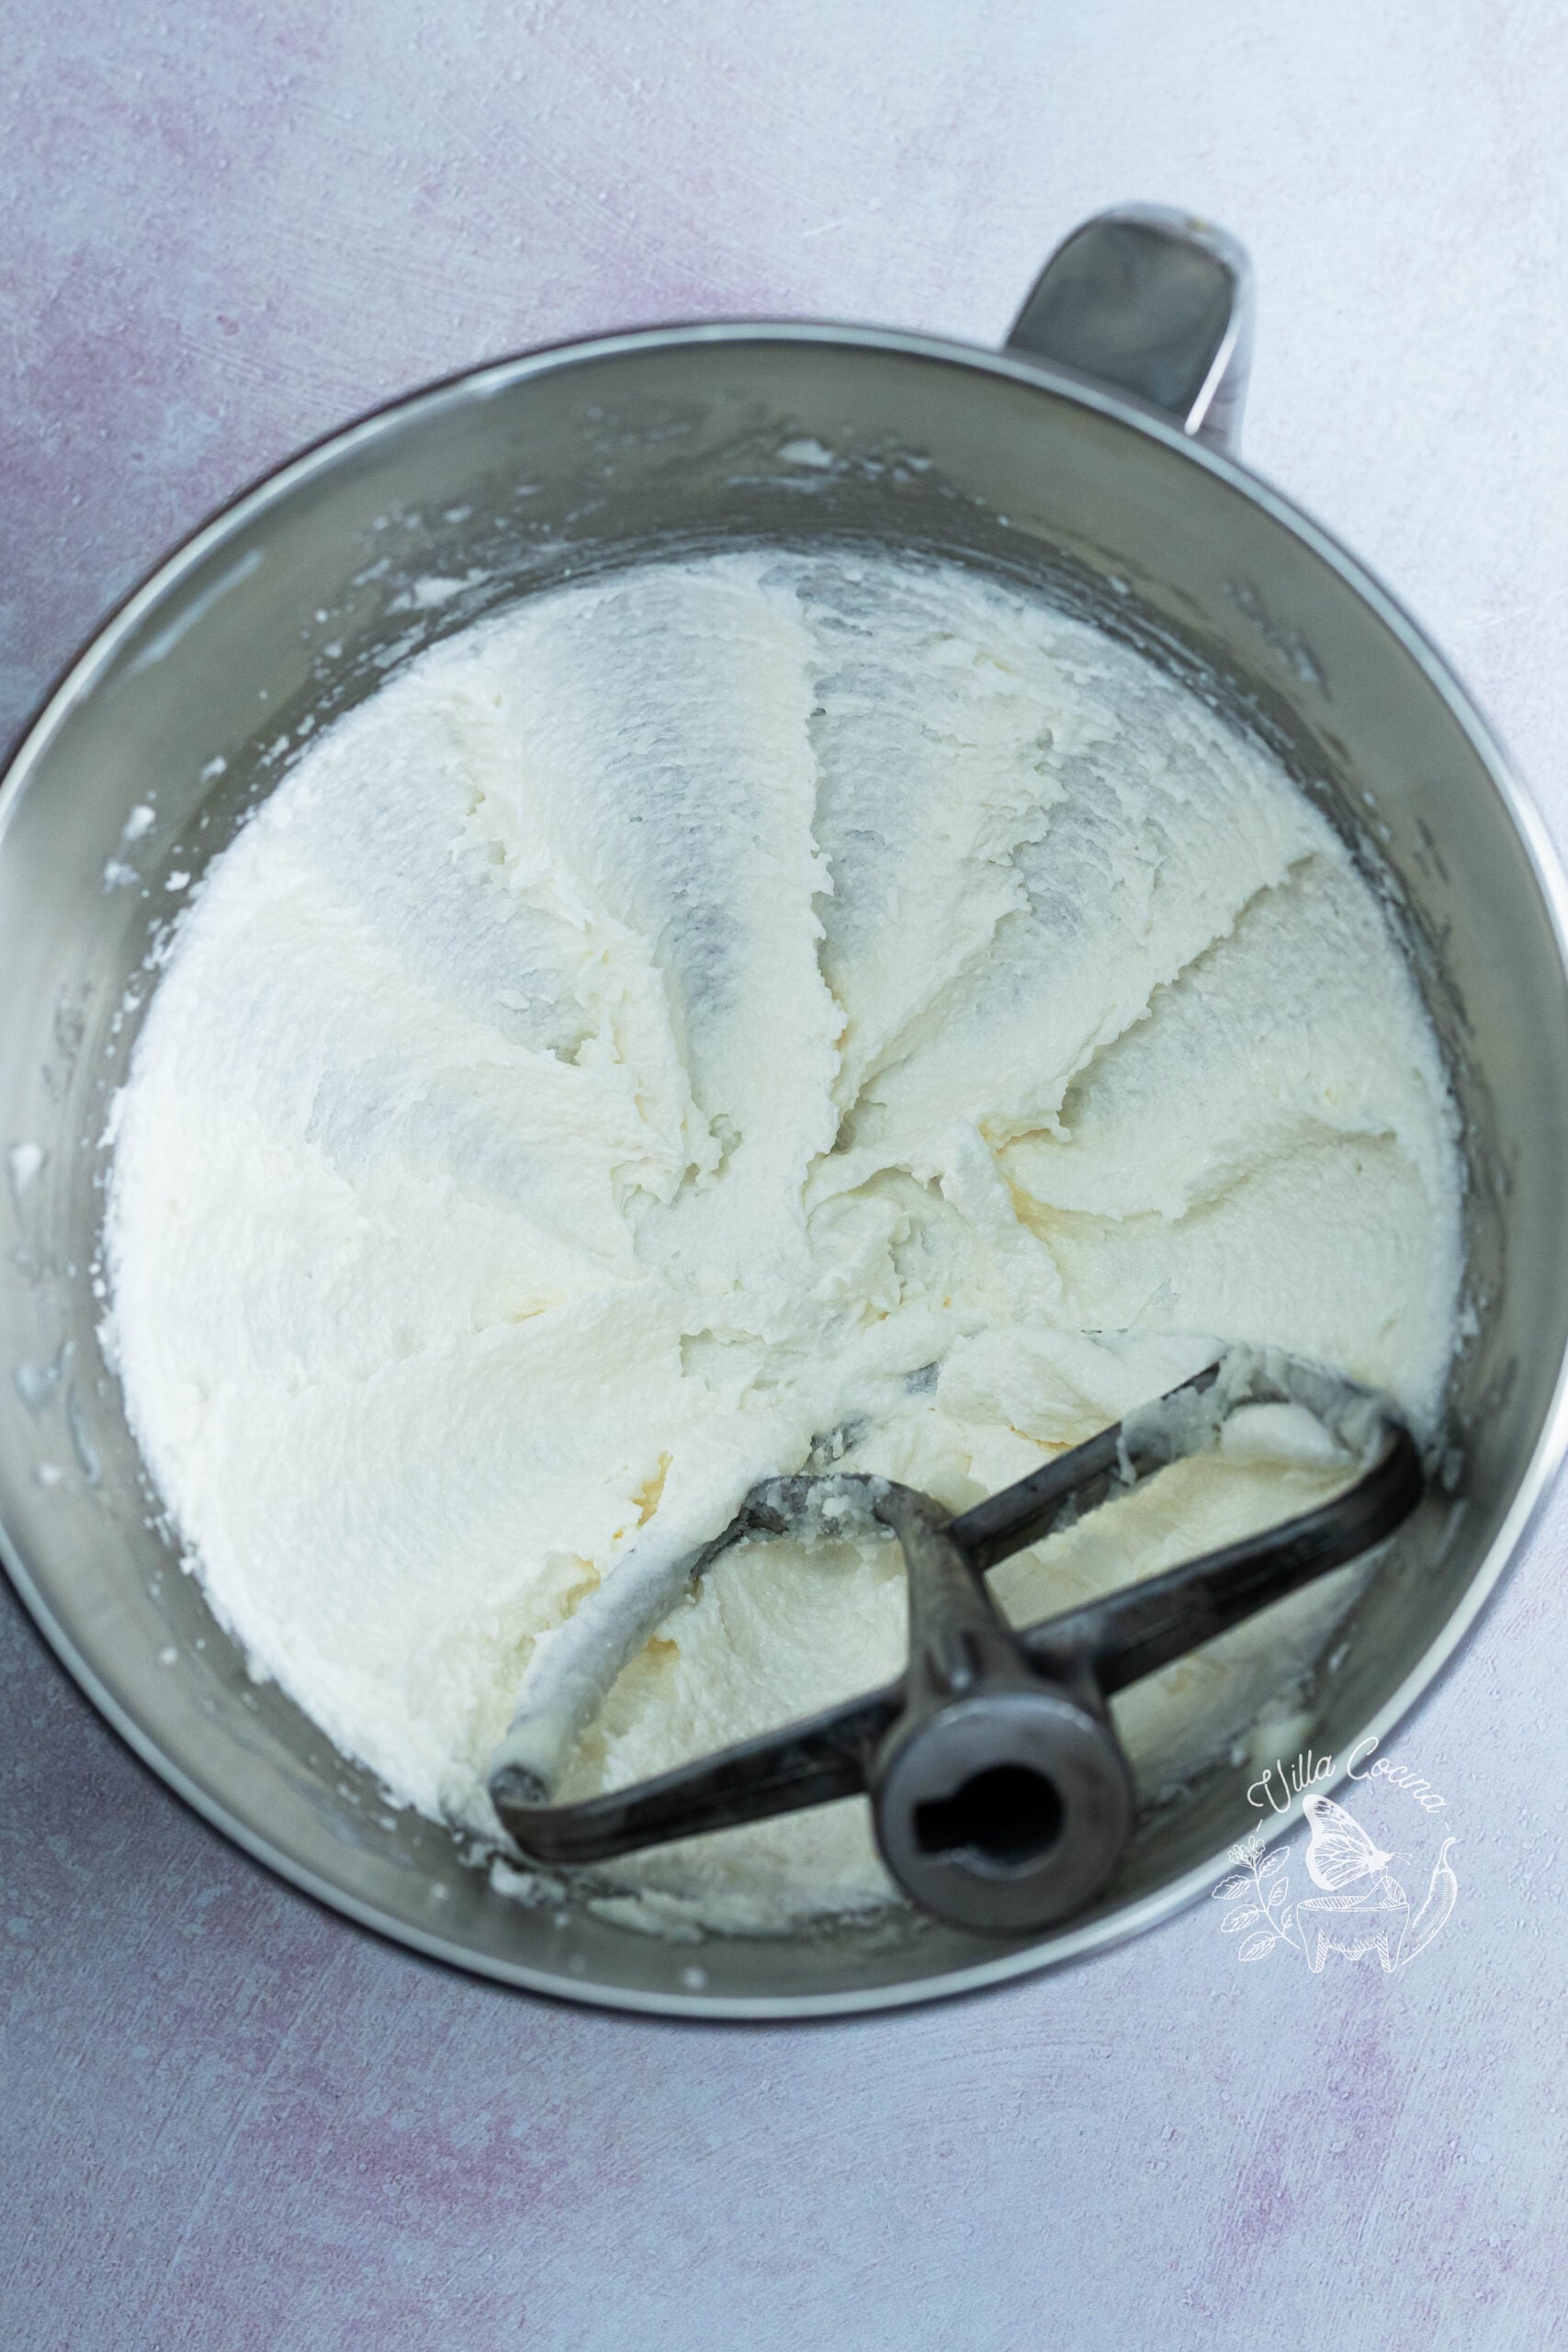
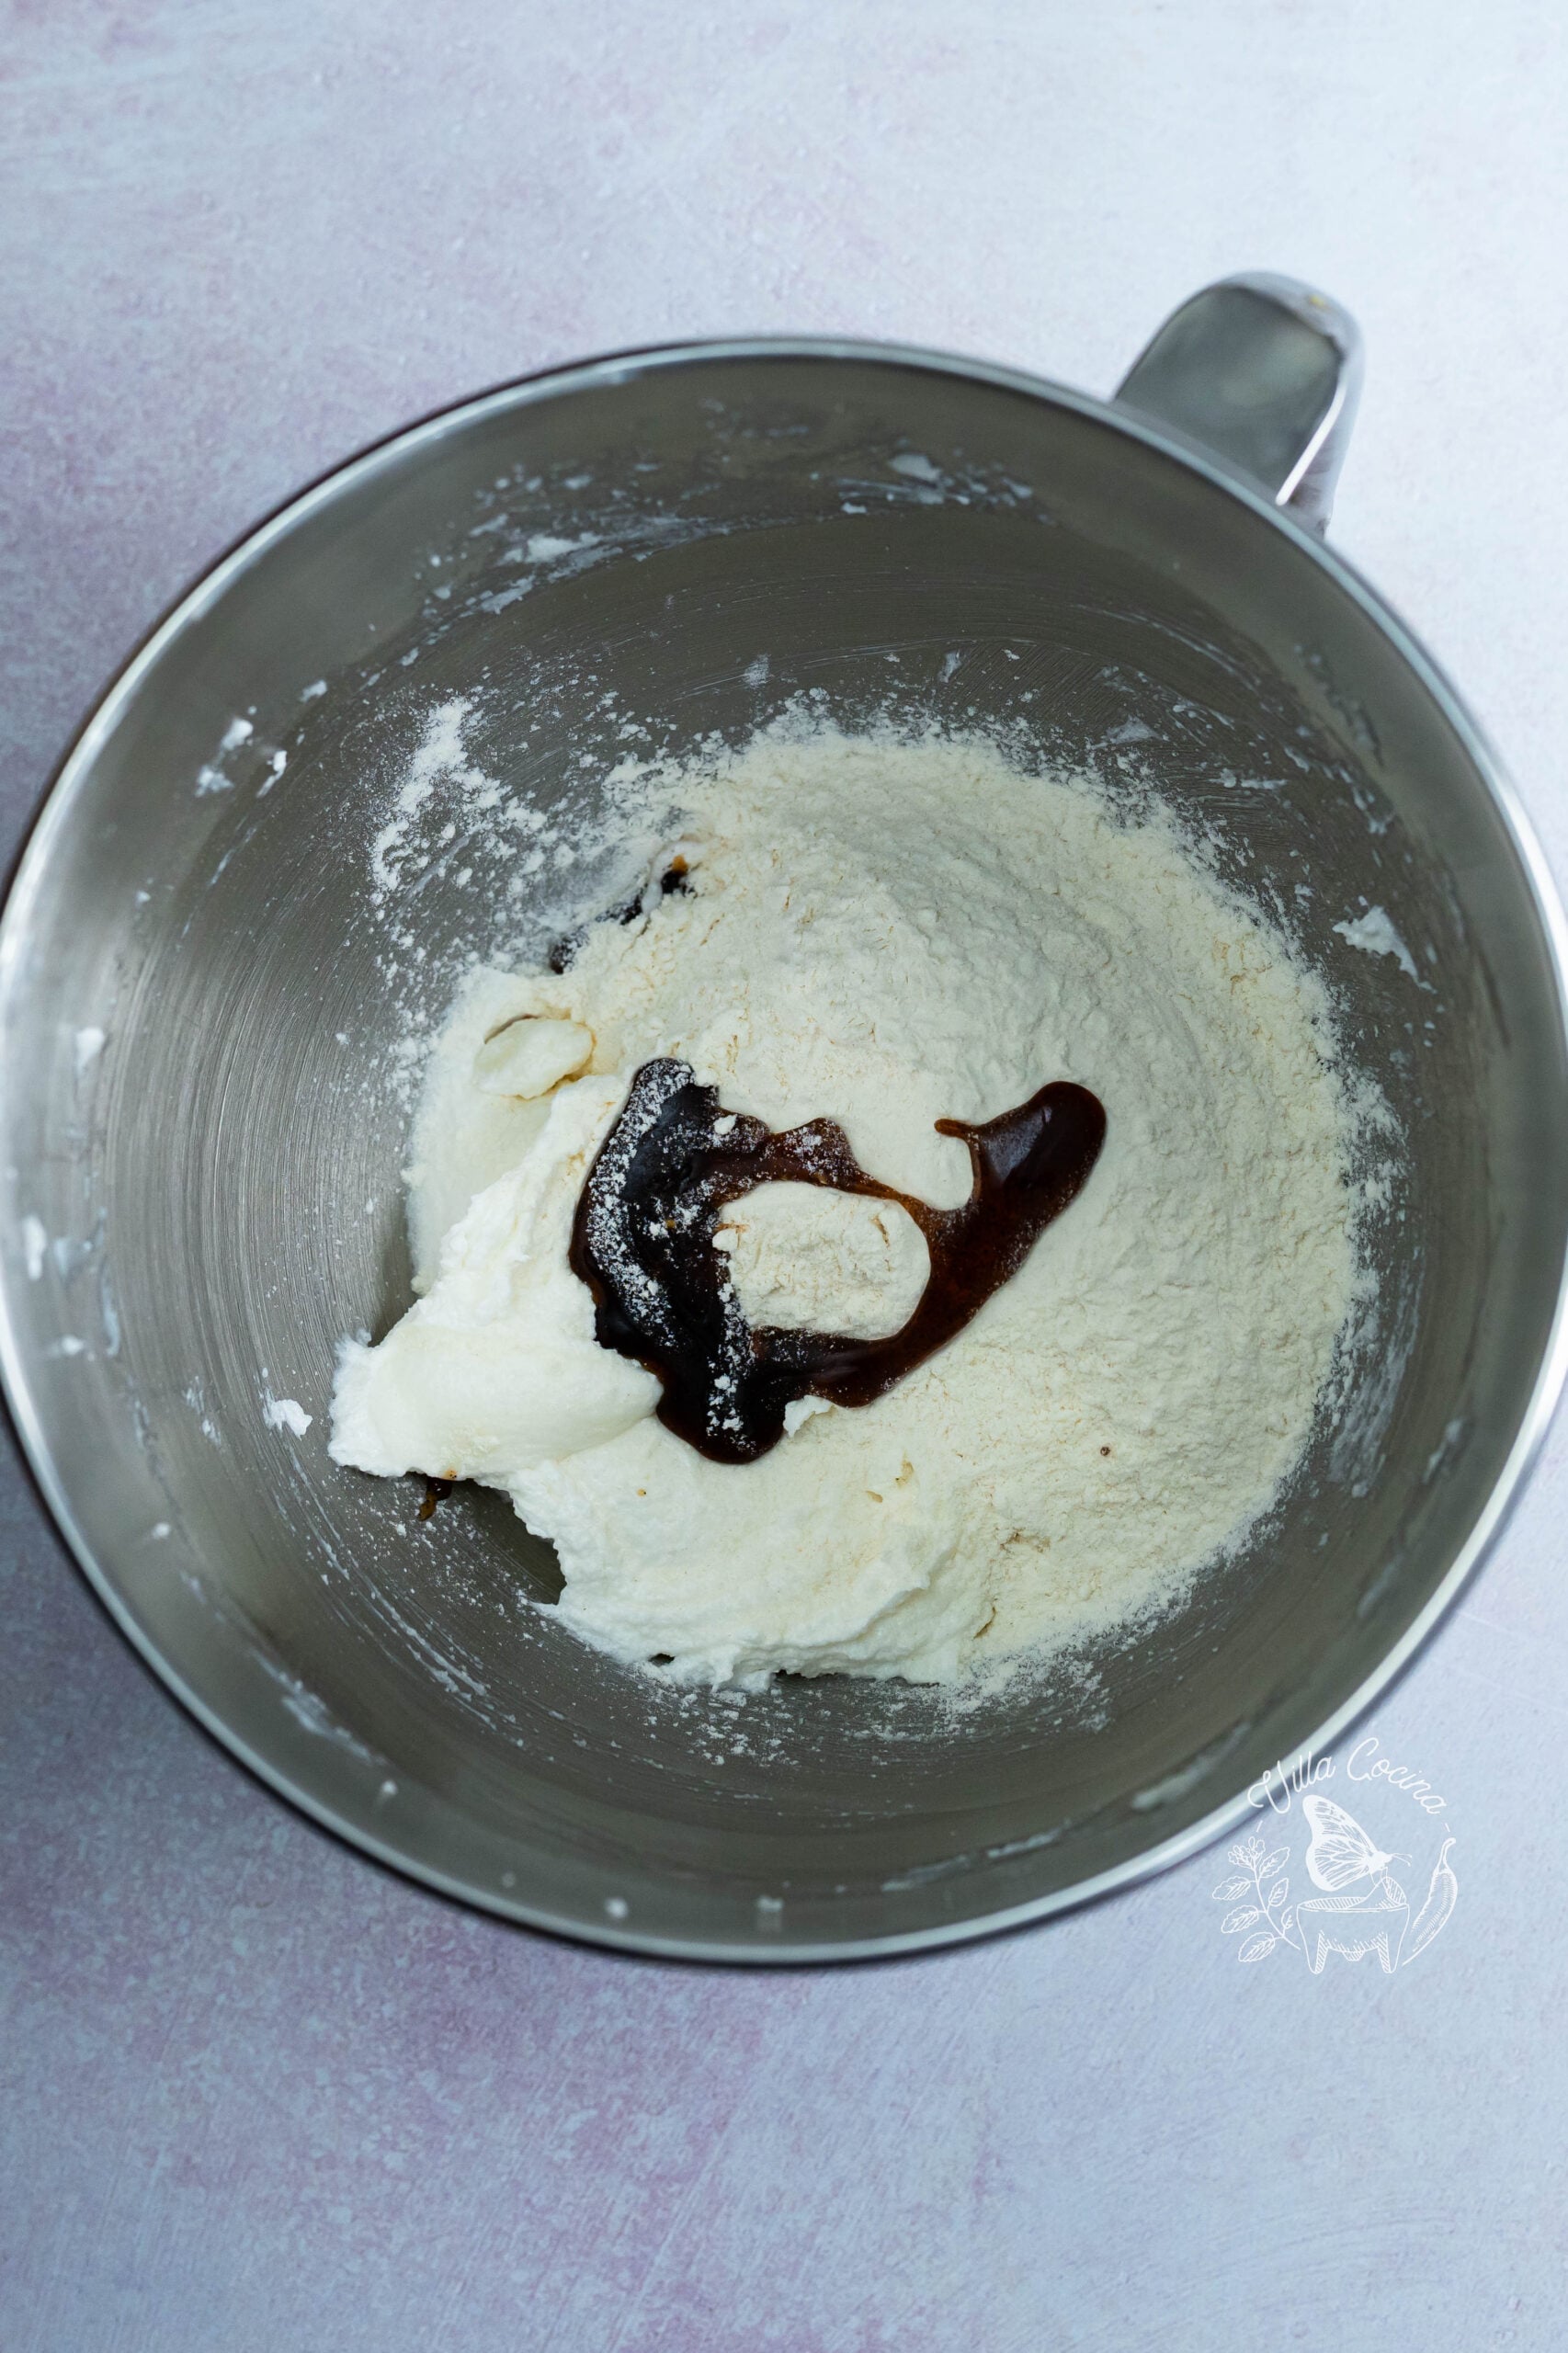
Using the paddle attachment, beat the shortening and sugar until creamy, lighter in color, and slightly fluffy. Add the vanilla bean paste and flour, mixing slowly at first, then on medium-low until smooth and pliable.
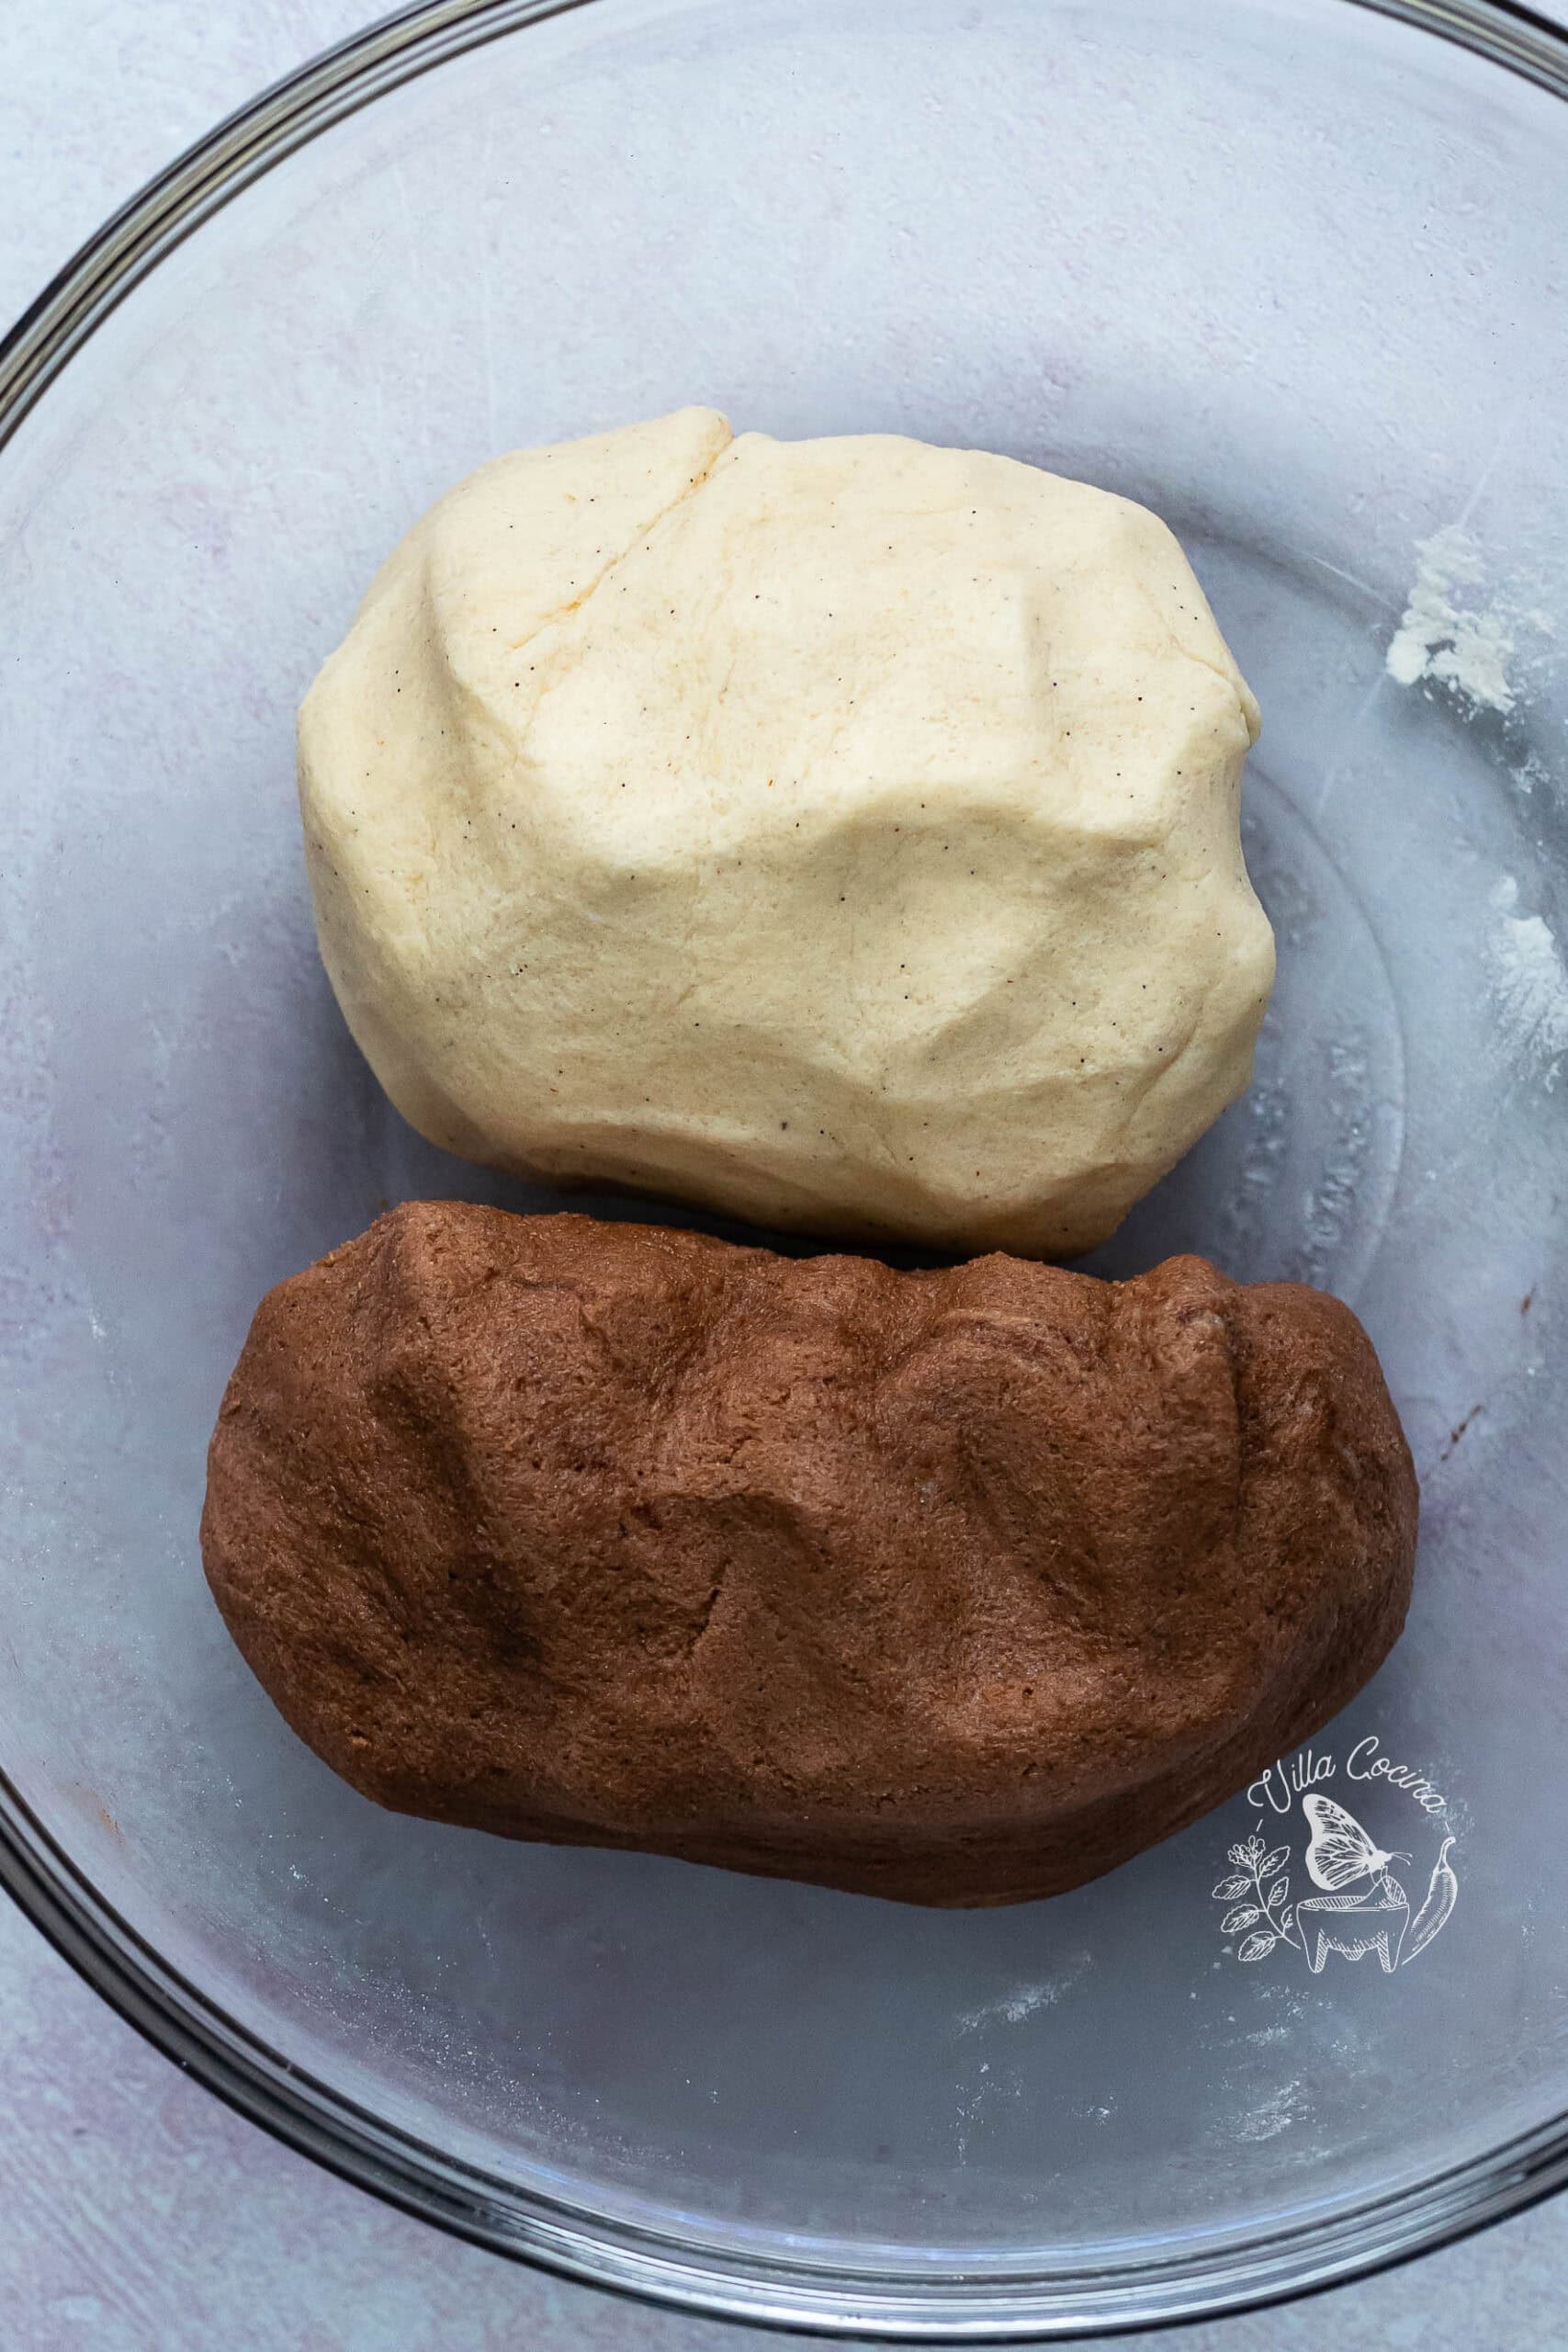
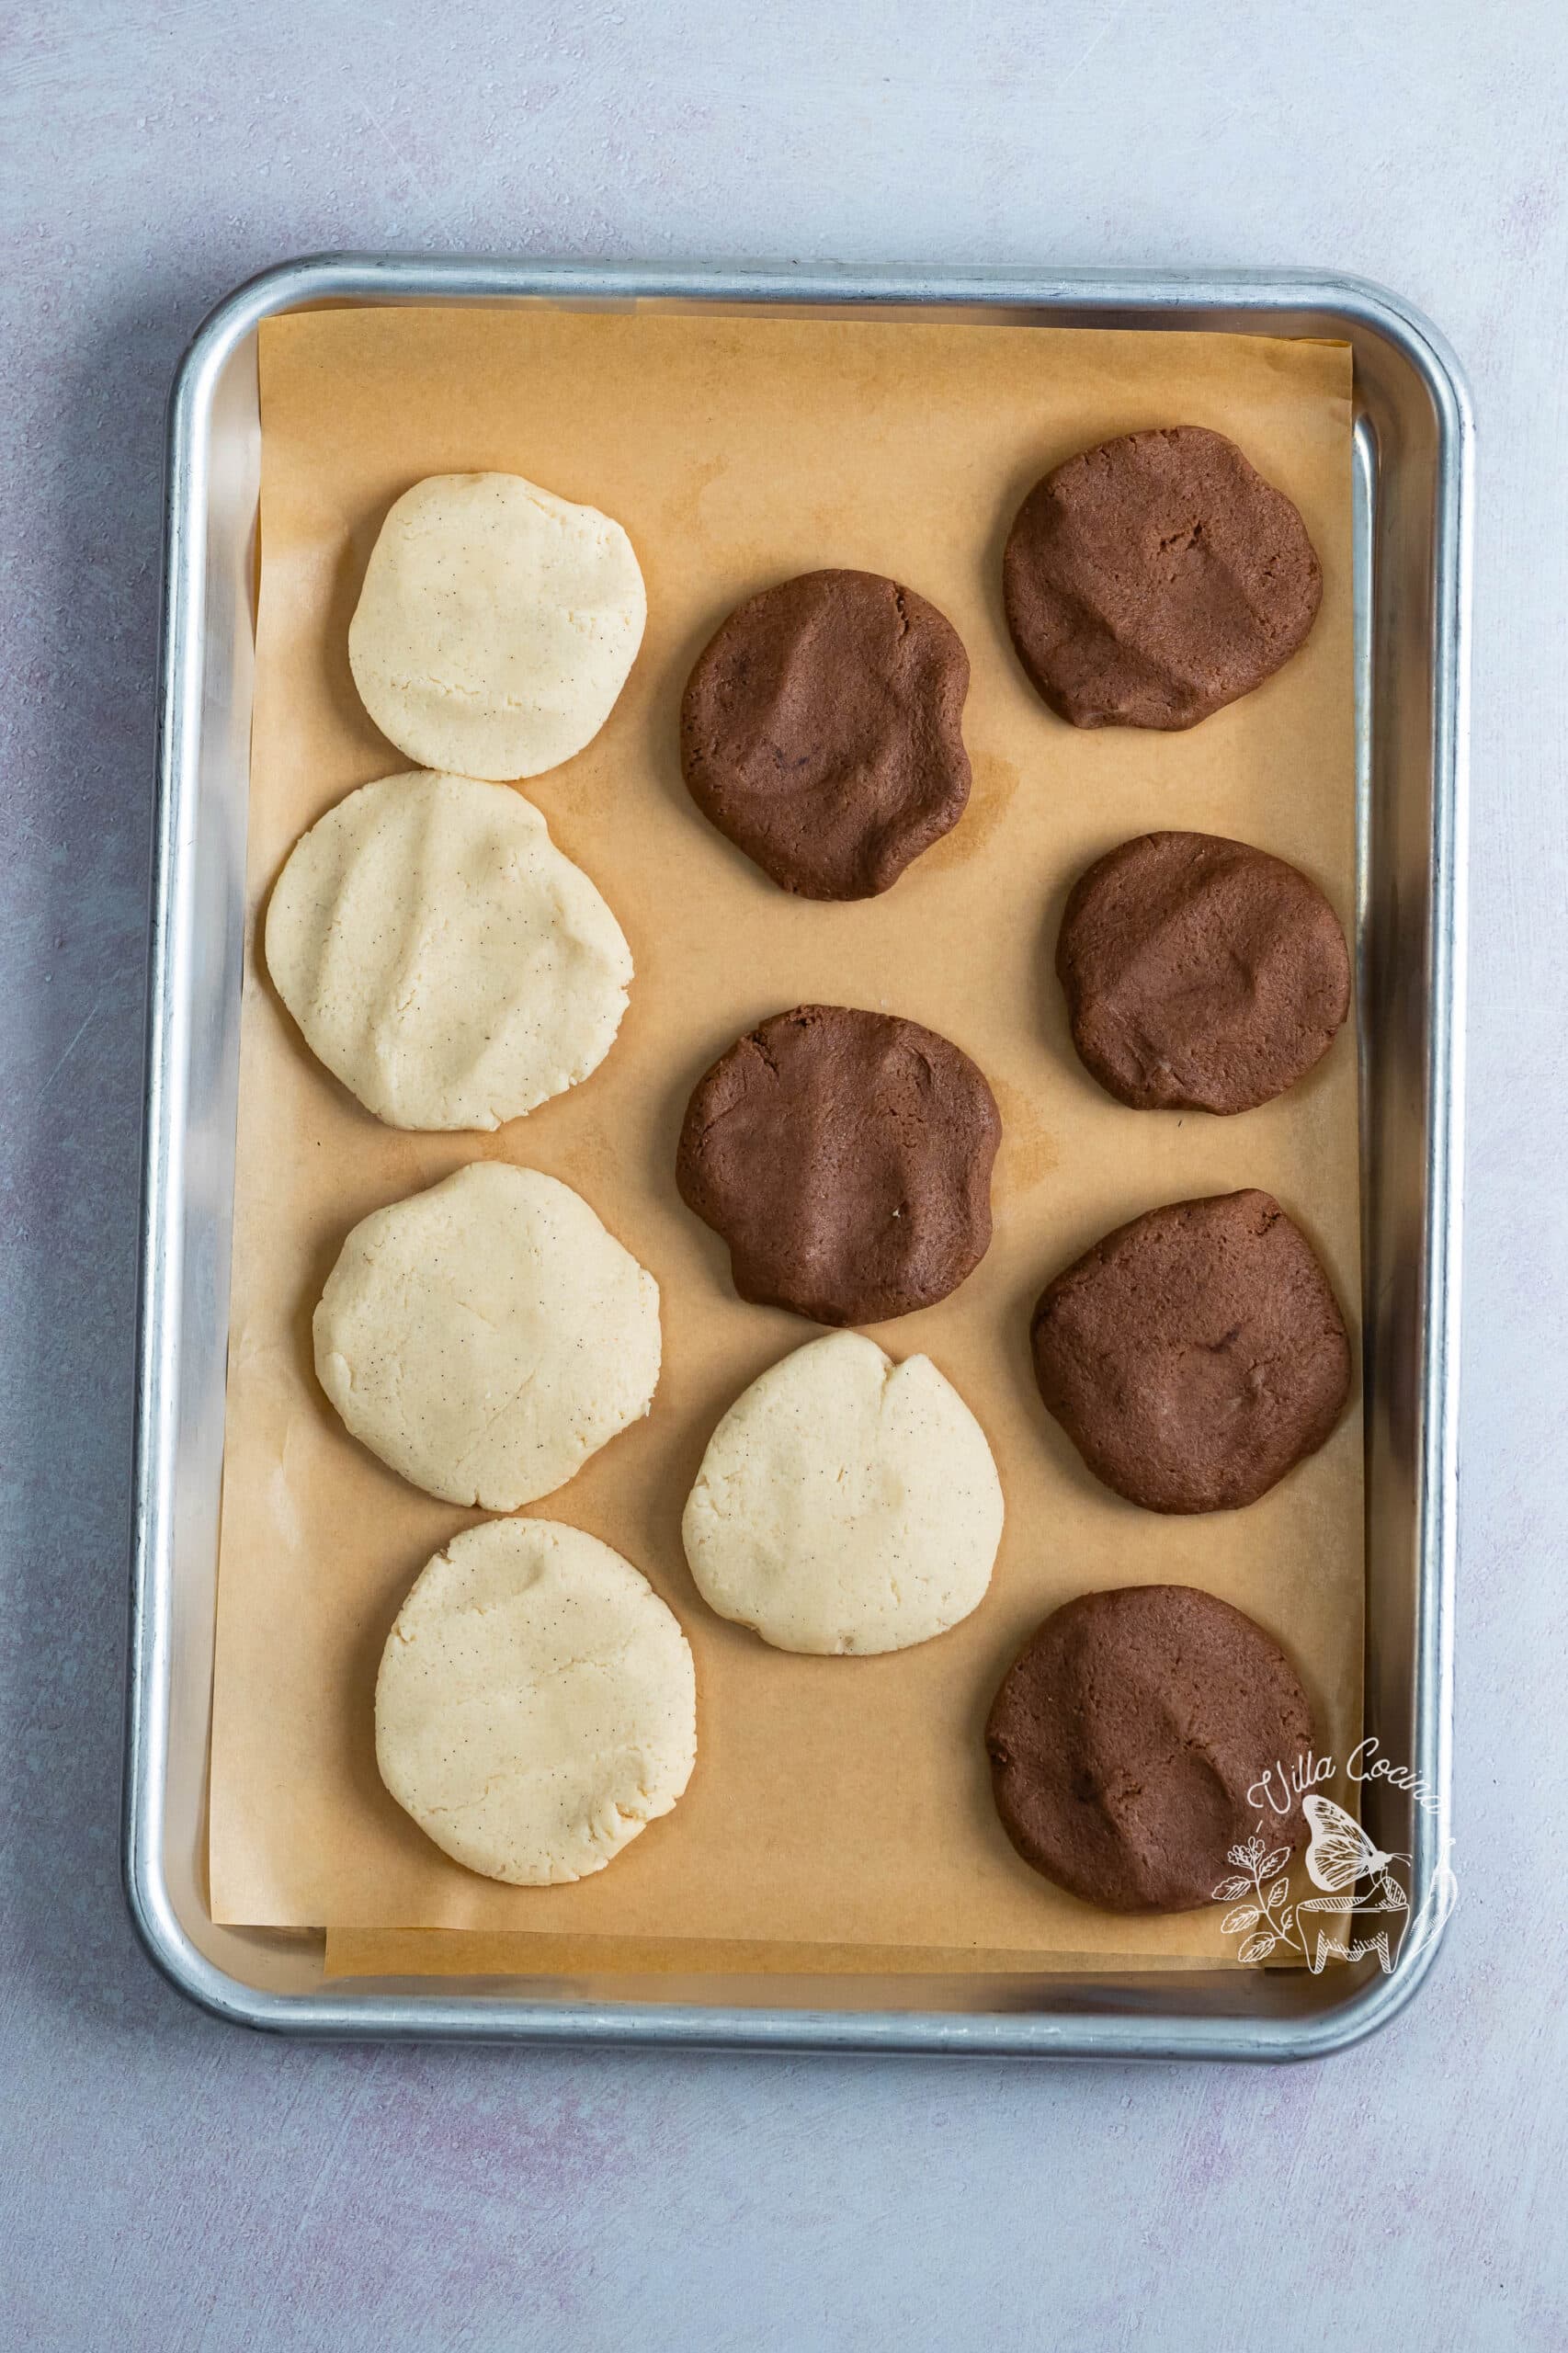
Divide in half and mix cocoa powder into one half. Portion into 5 vanilla and 6 chocolate pieces, then roll each into a ball and flatten slightly.
Shape the Conchas
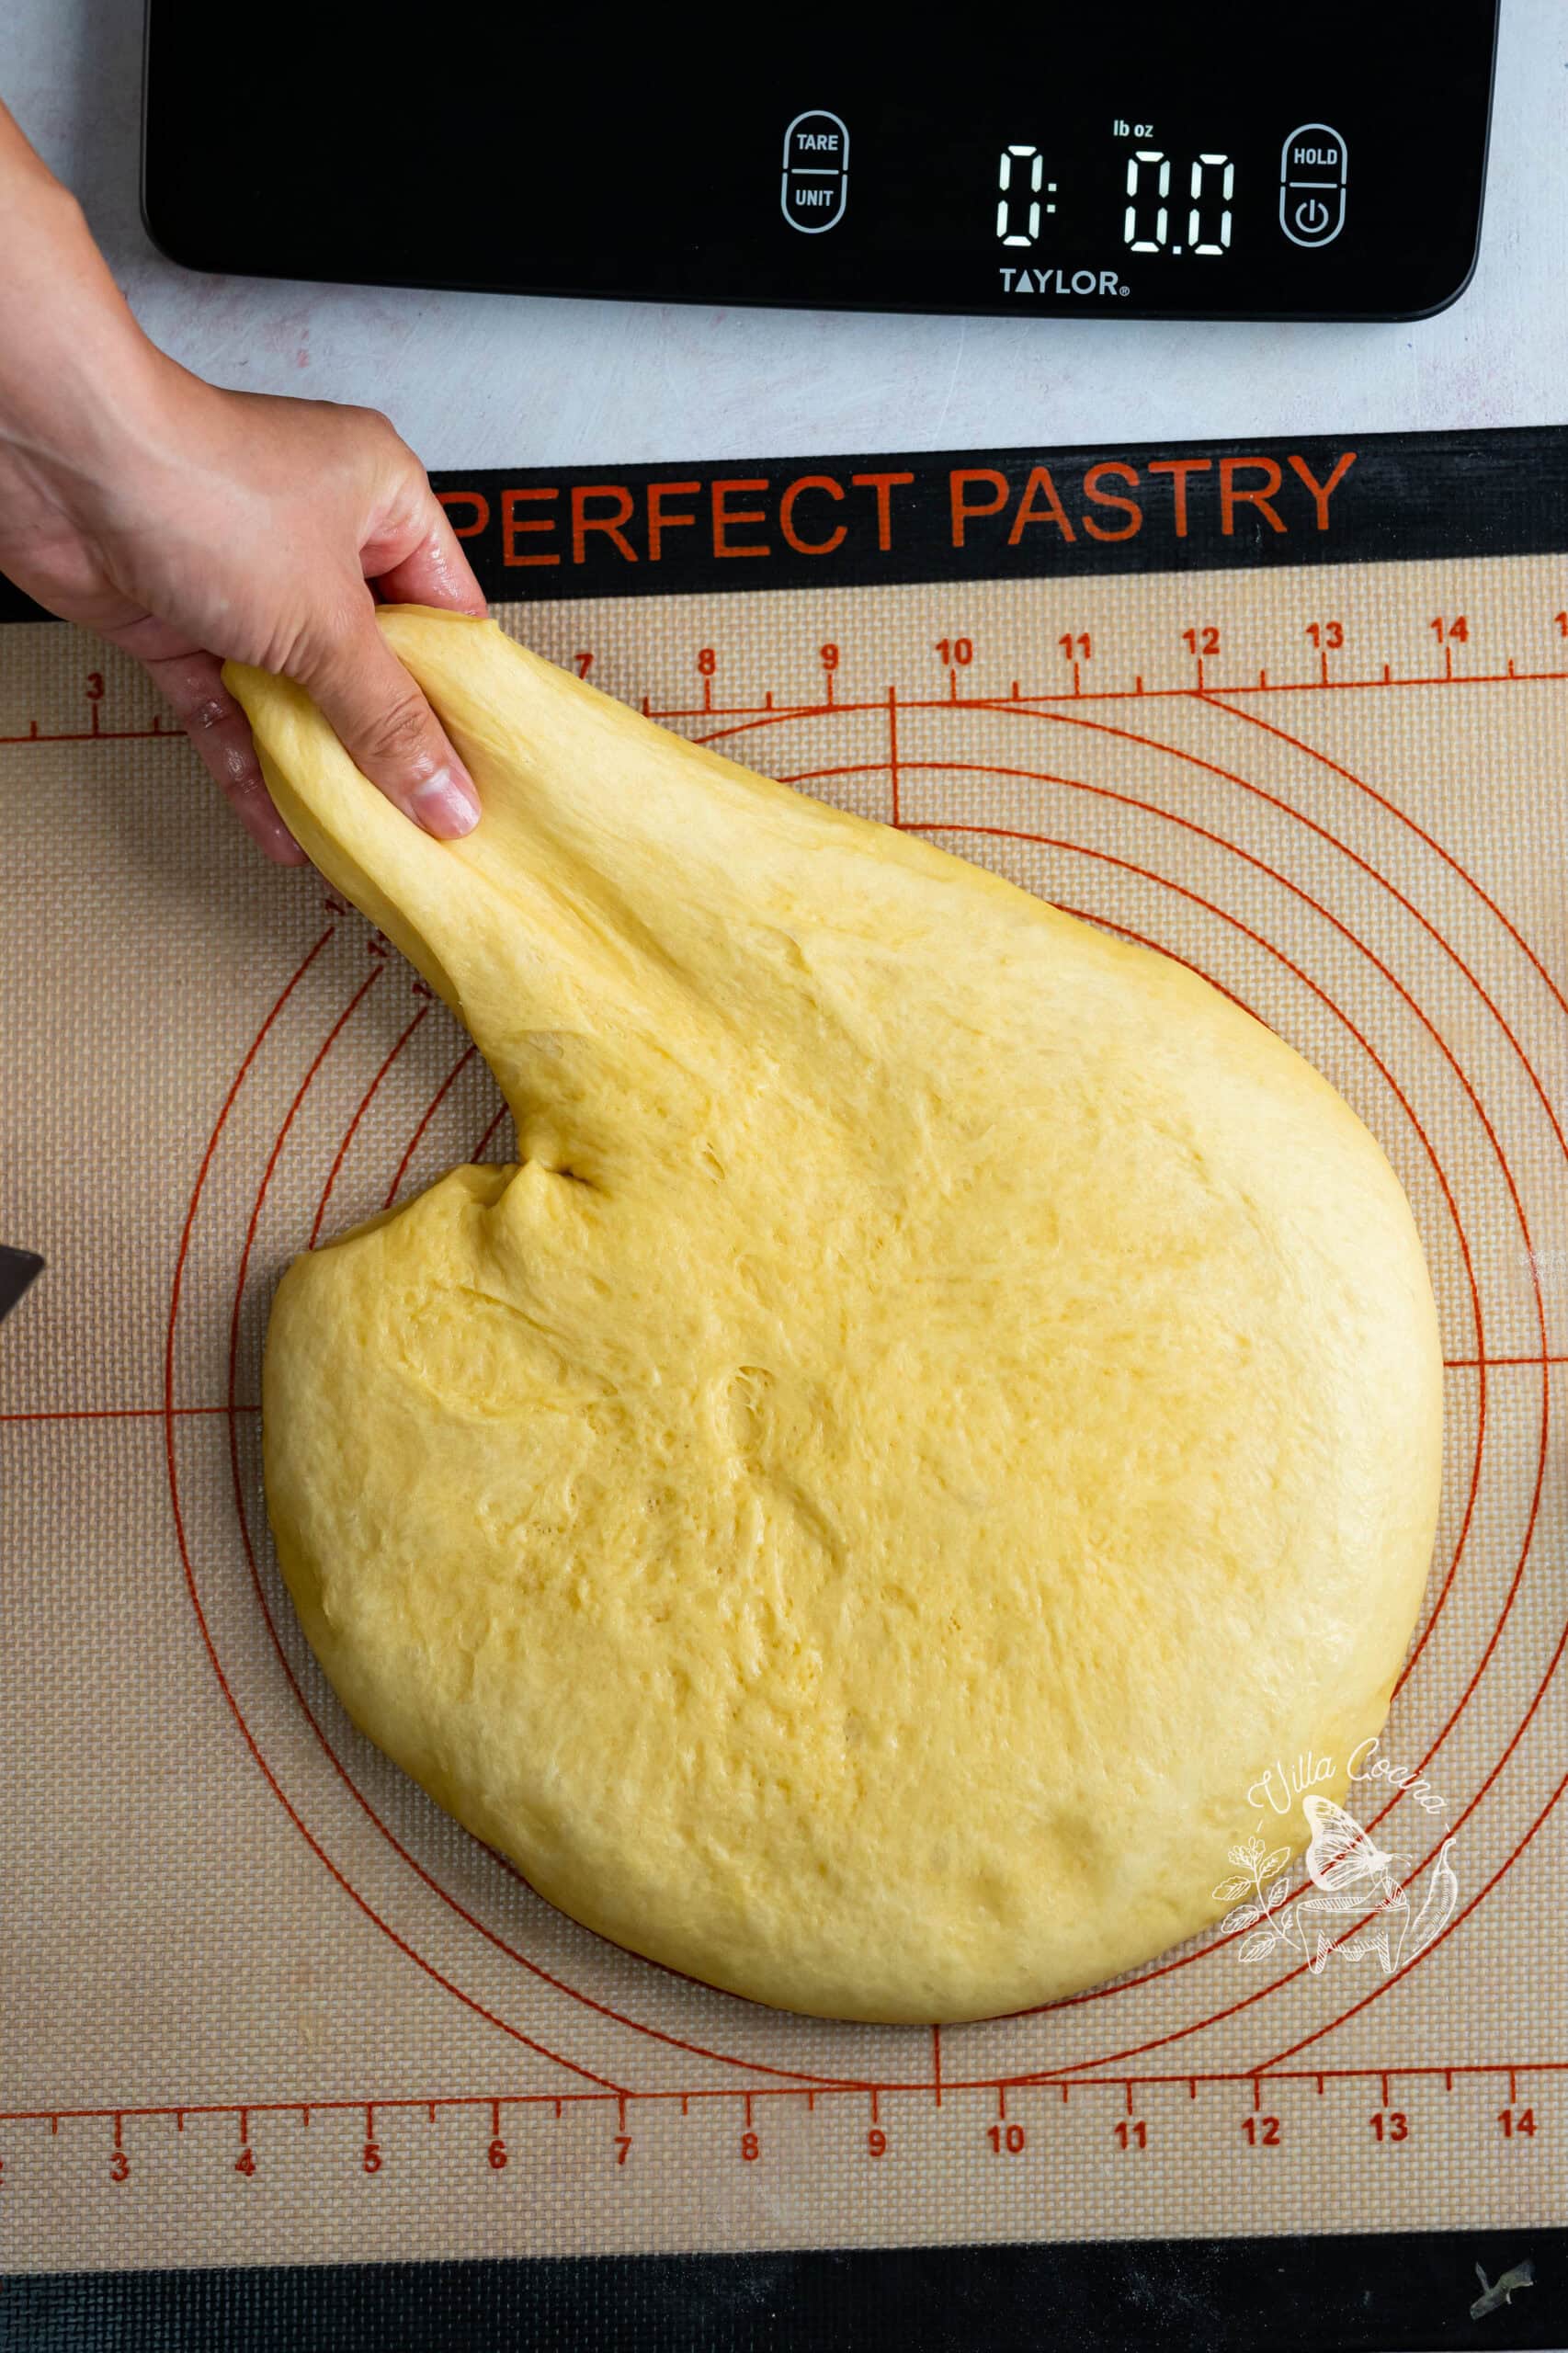
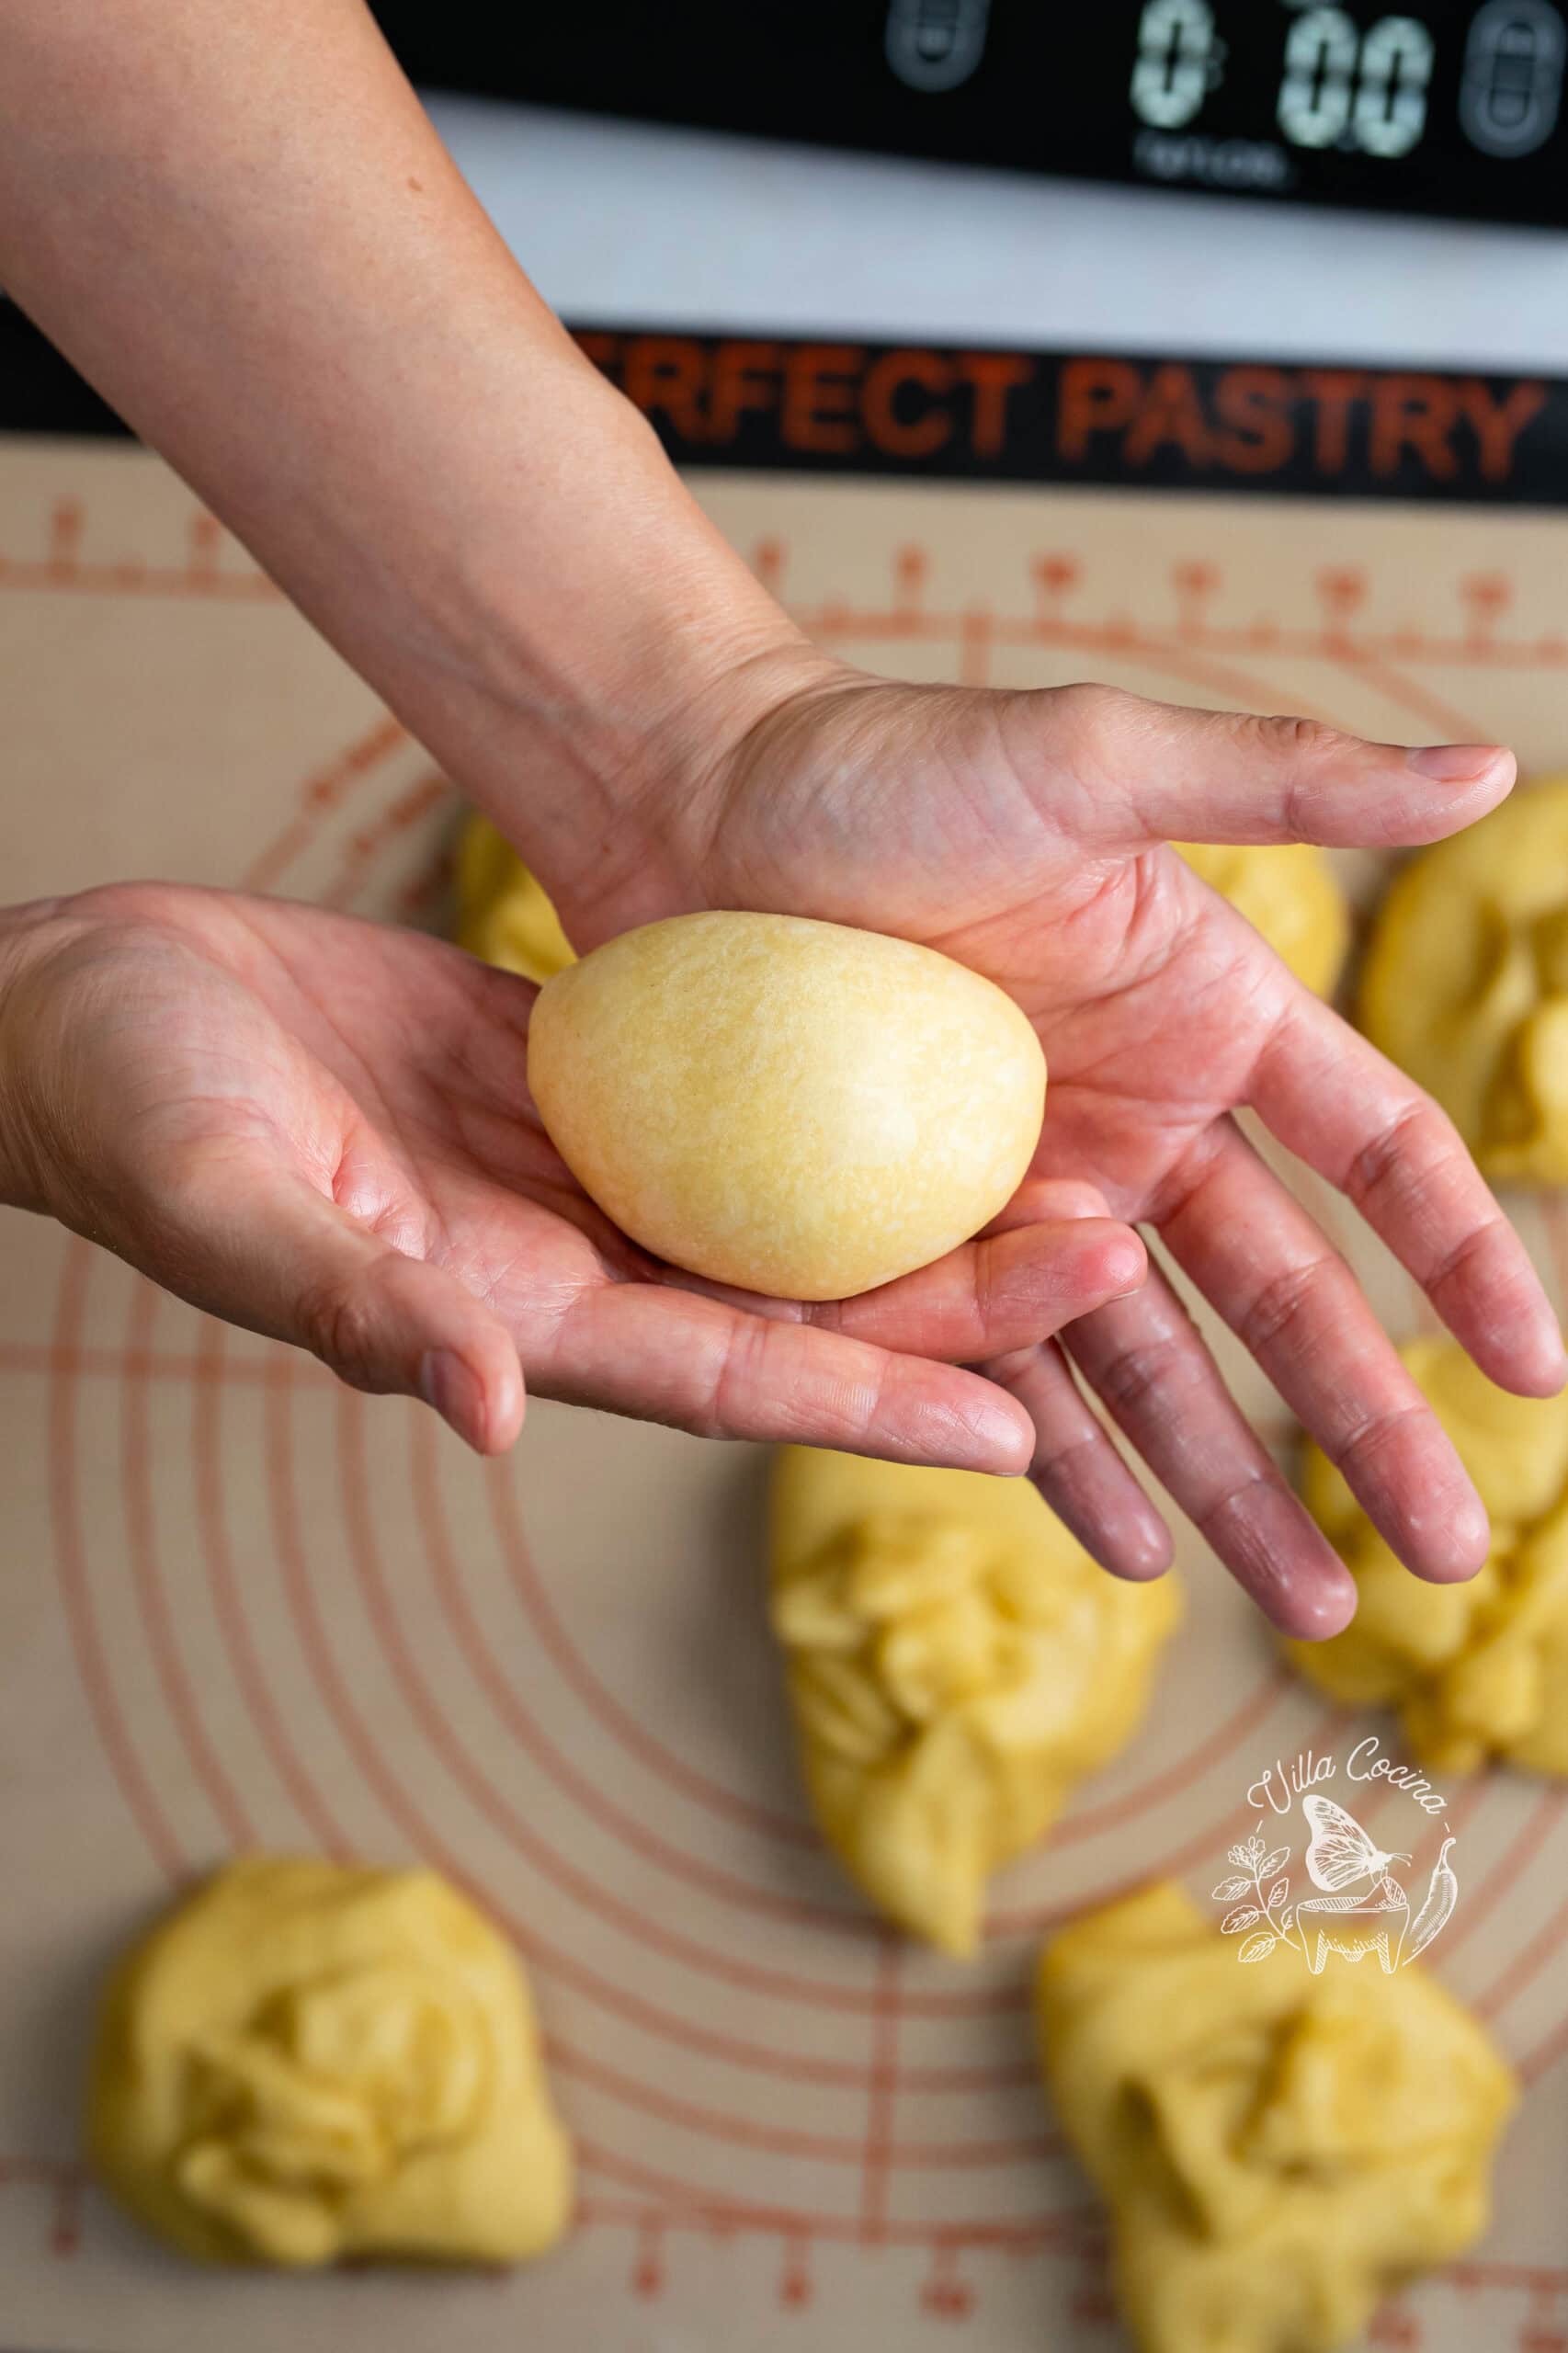
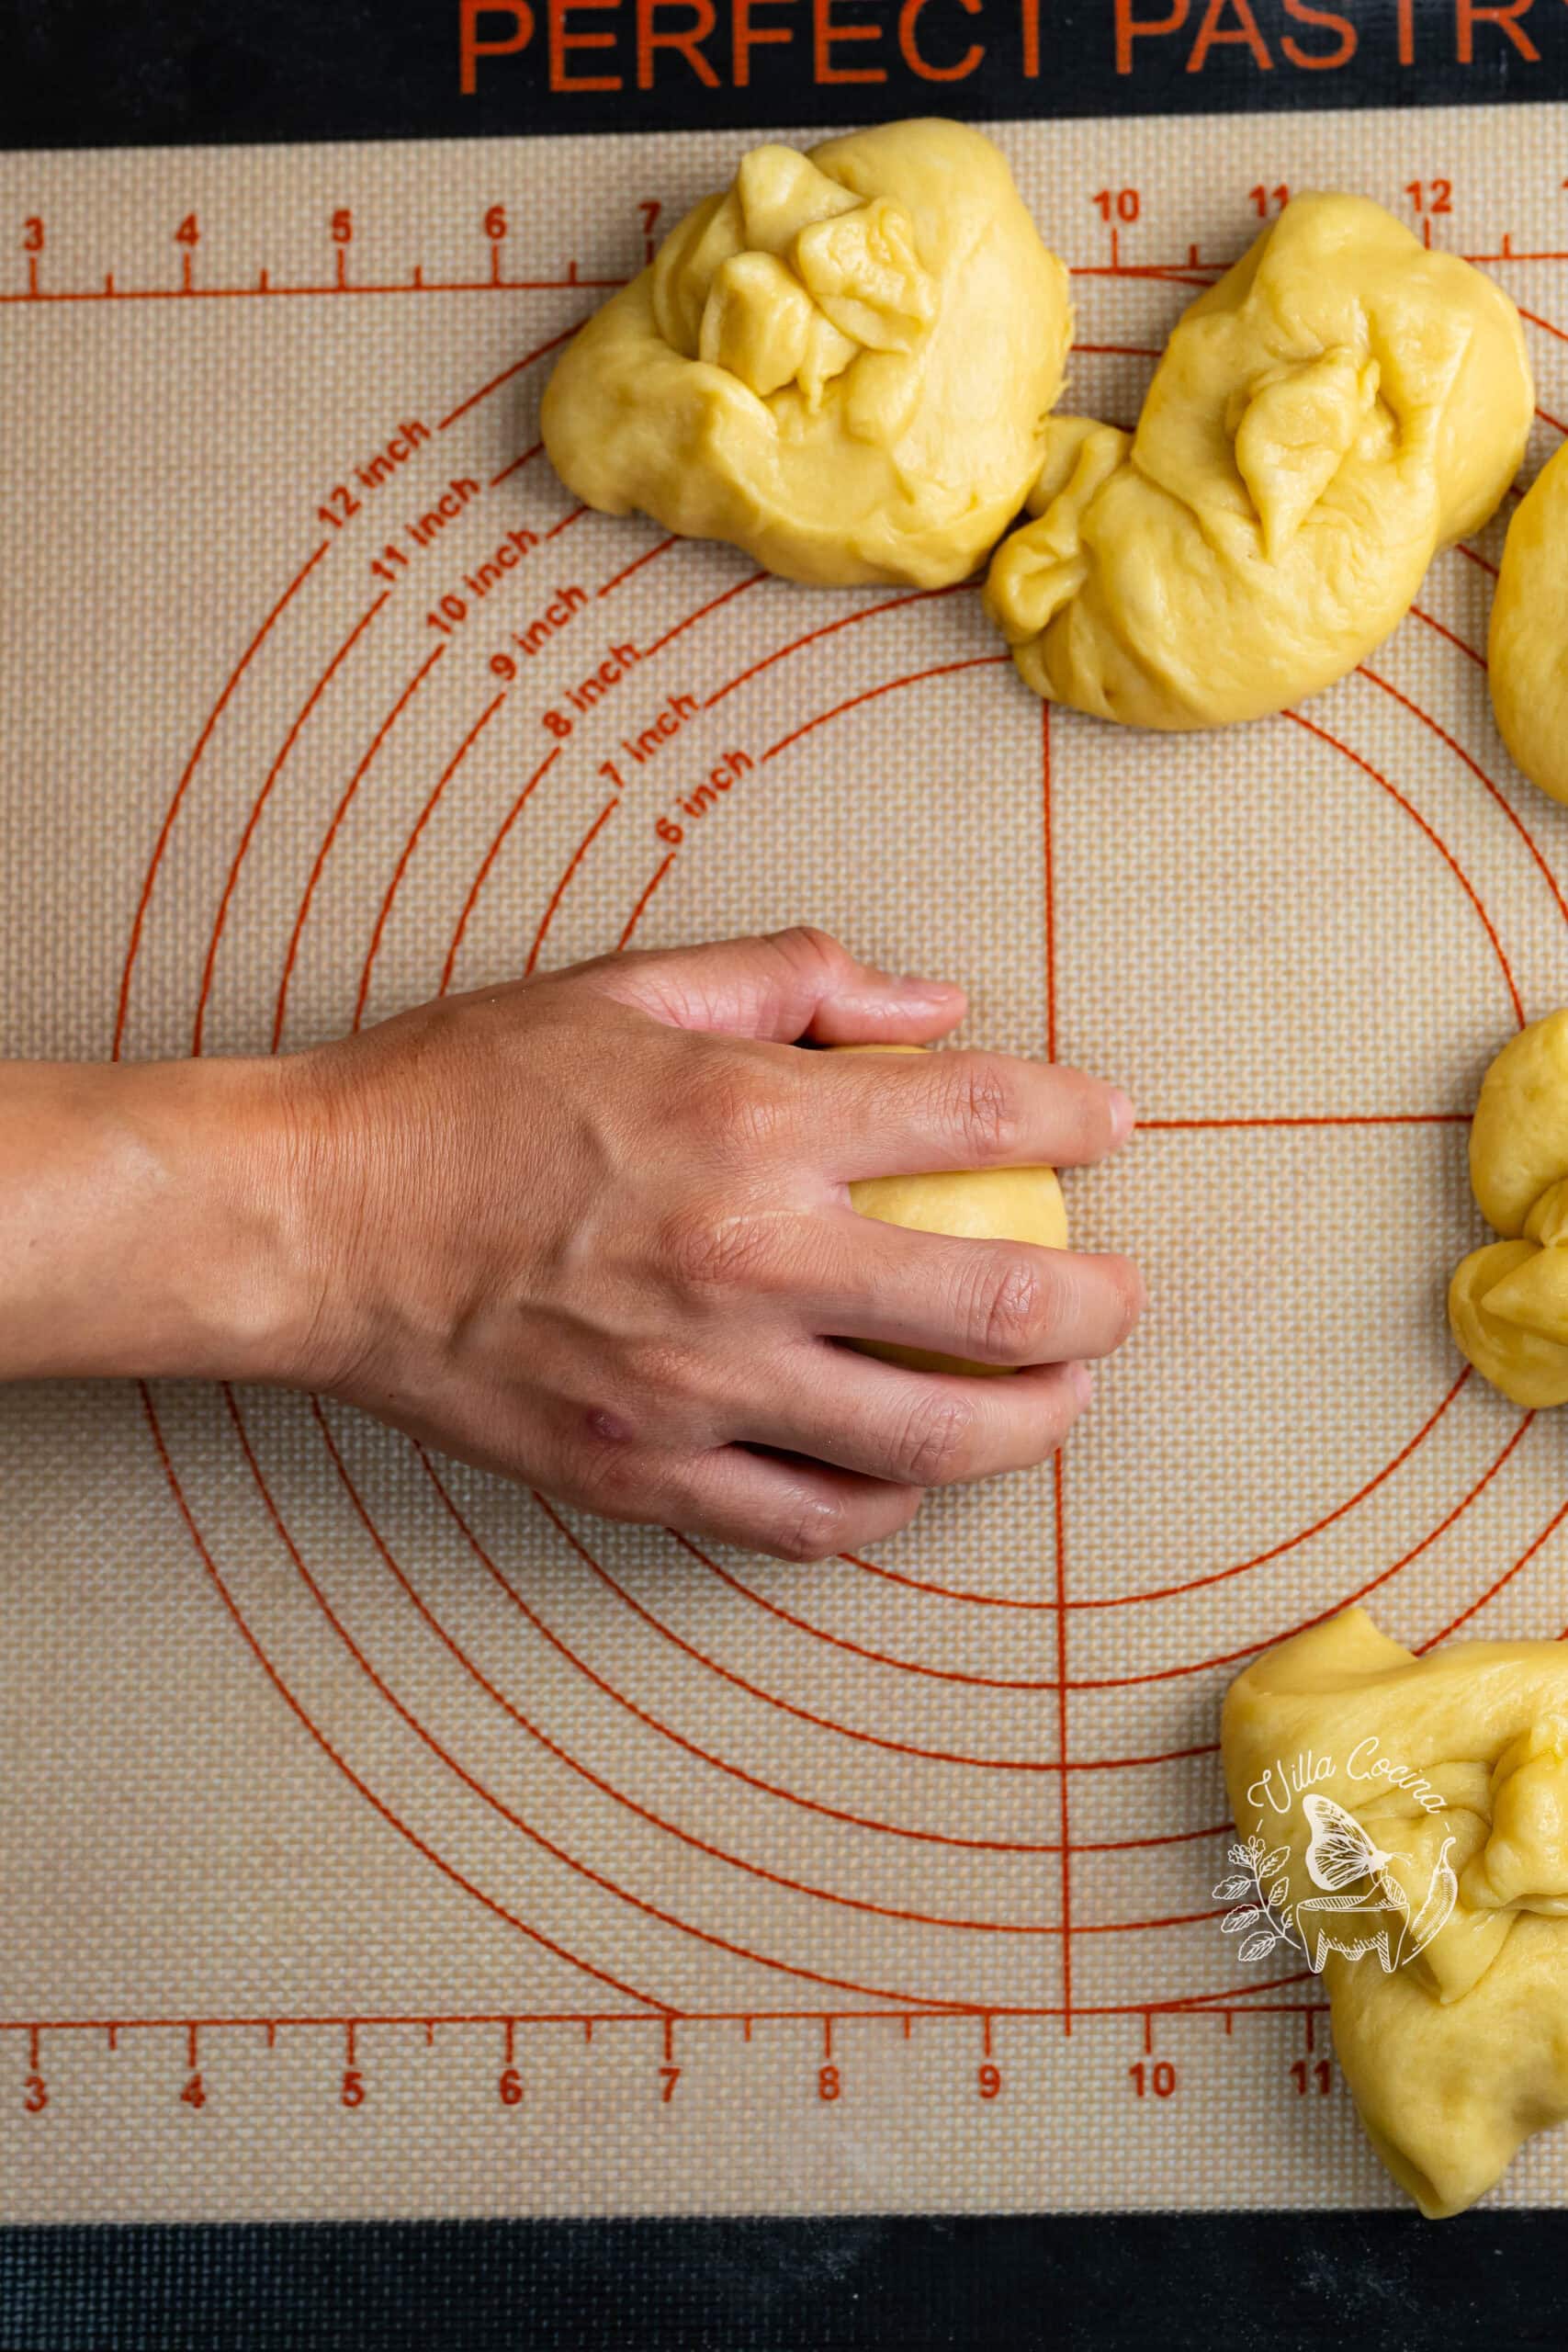
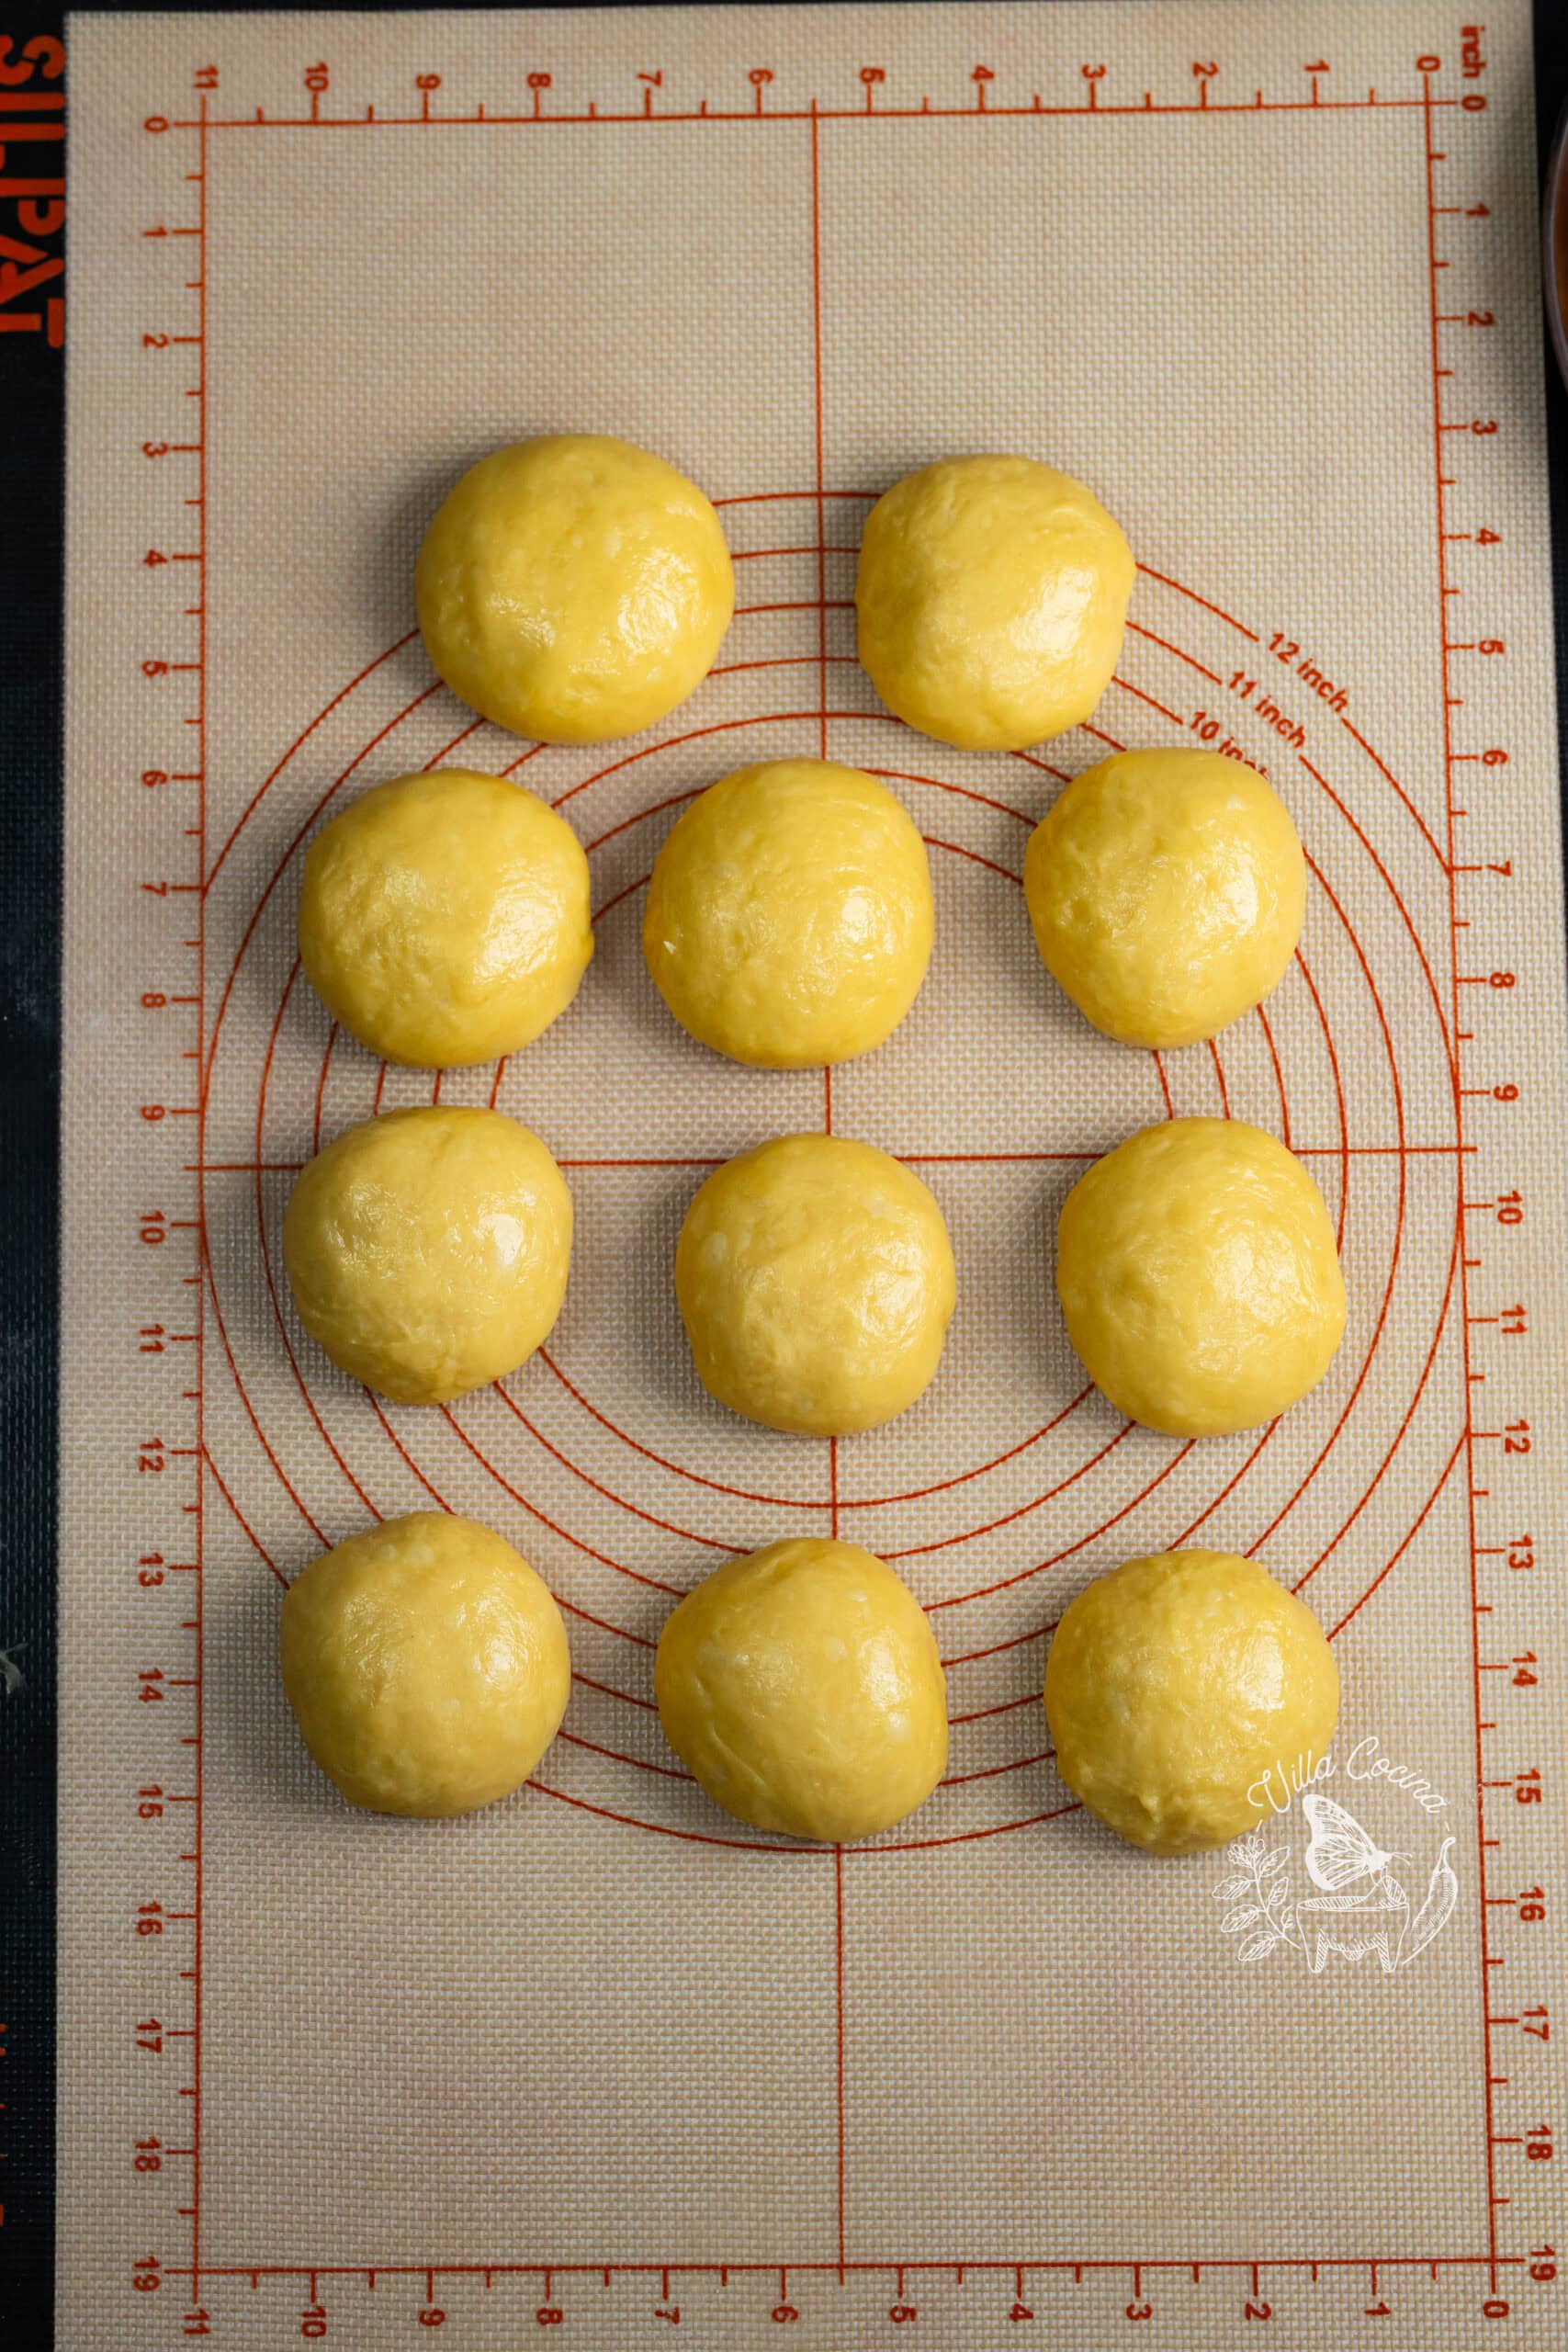
Divide the risen dough into 3 oz portions on a clean surface, lightly floured only if needed. Shape each into a smooth ball and lightly coat with softened butter.
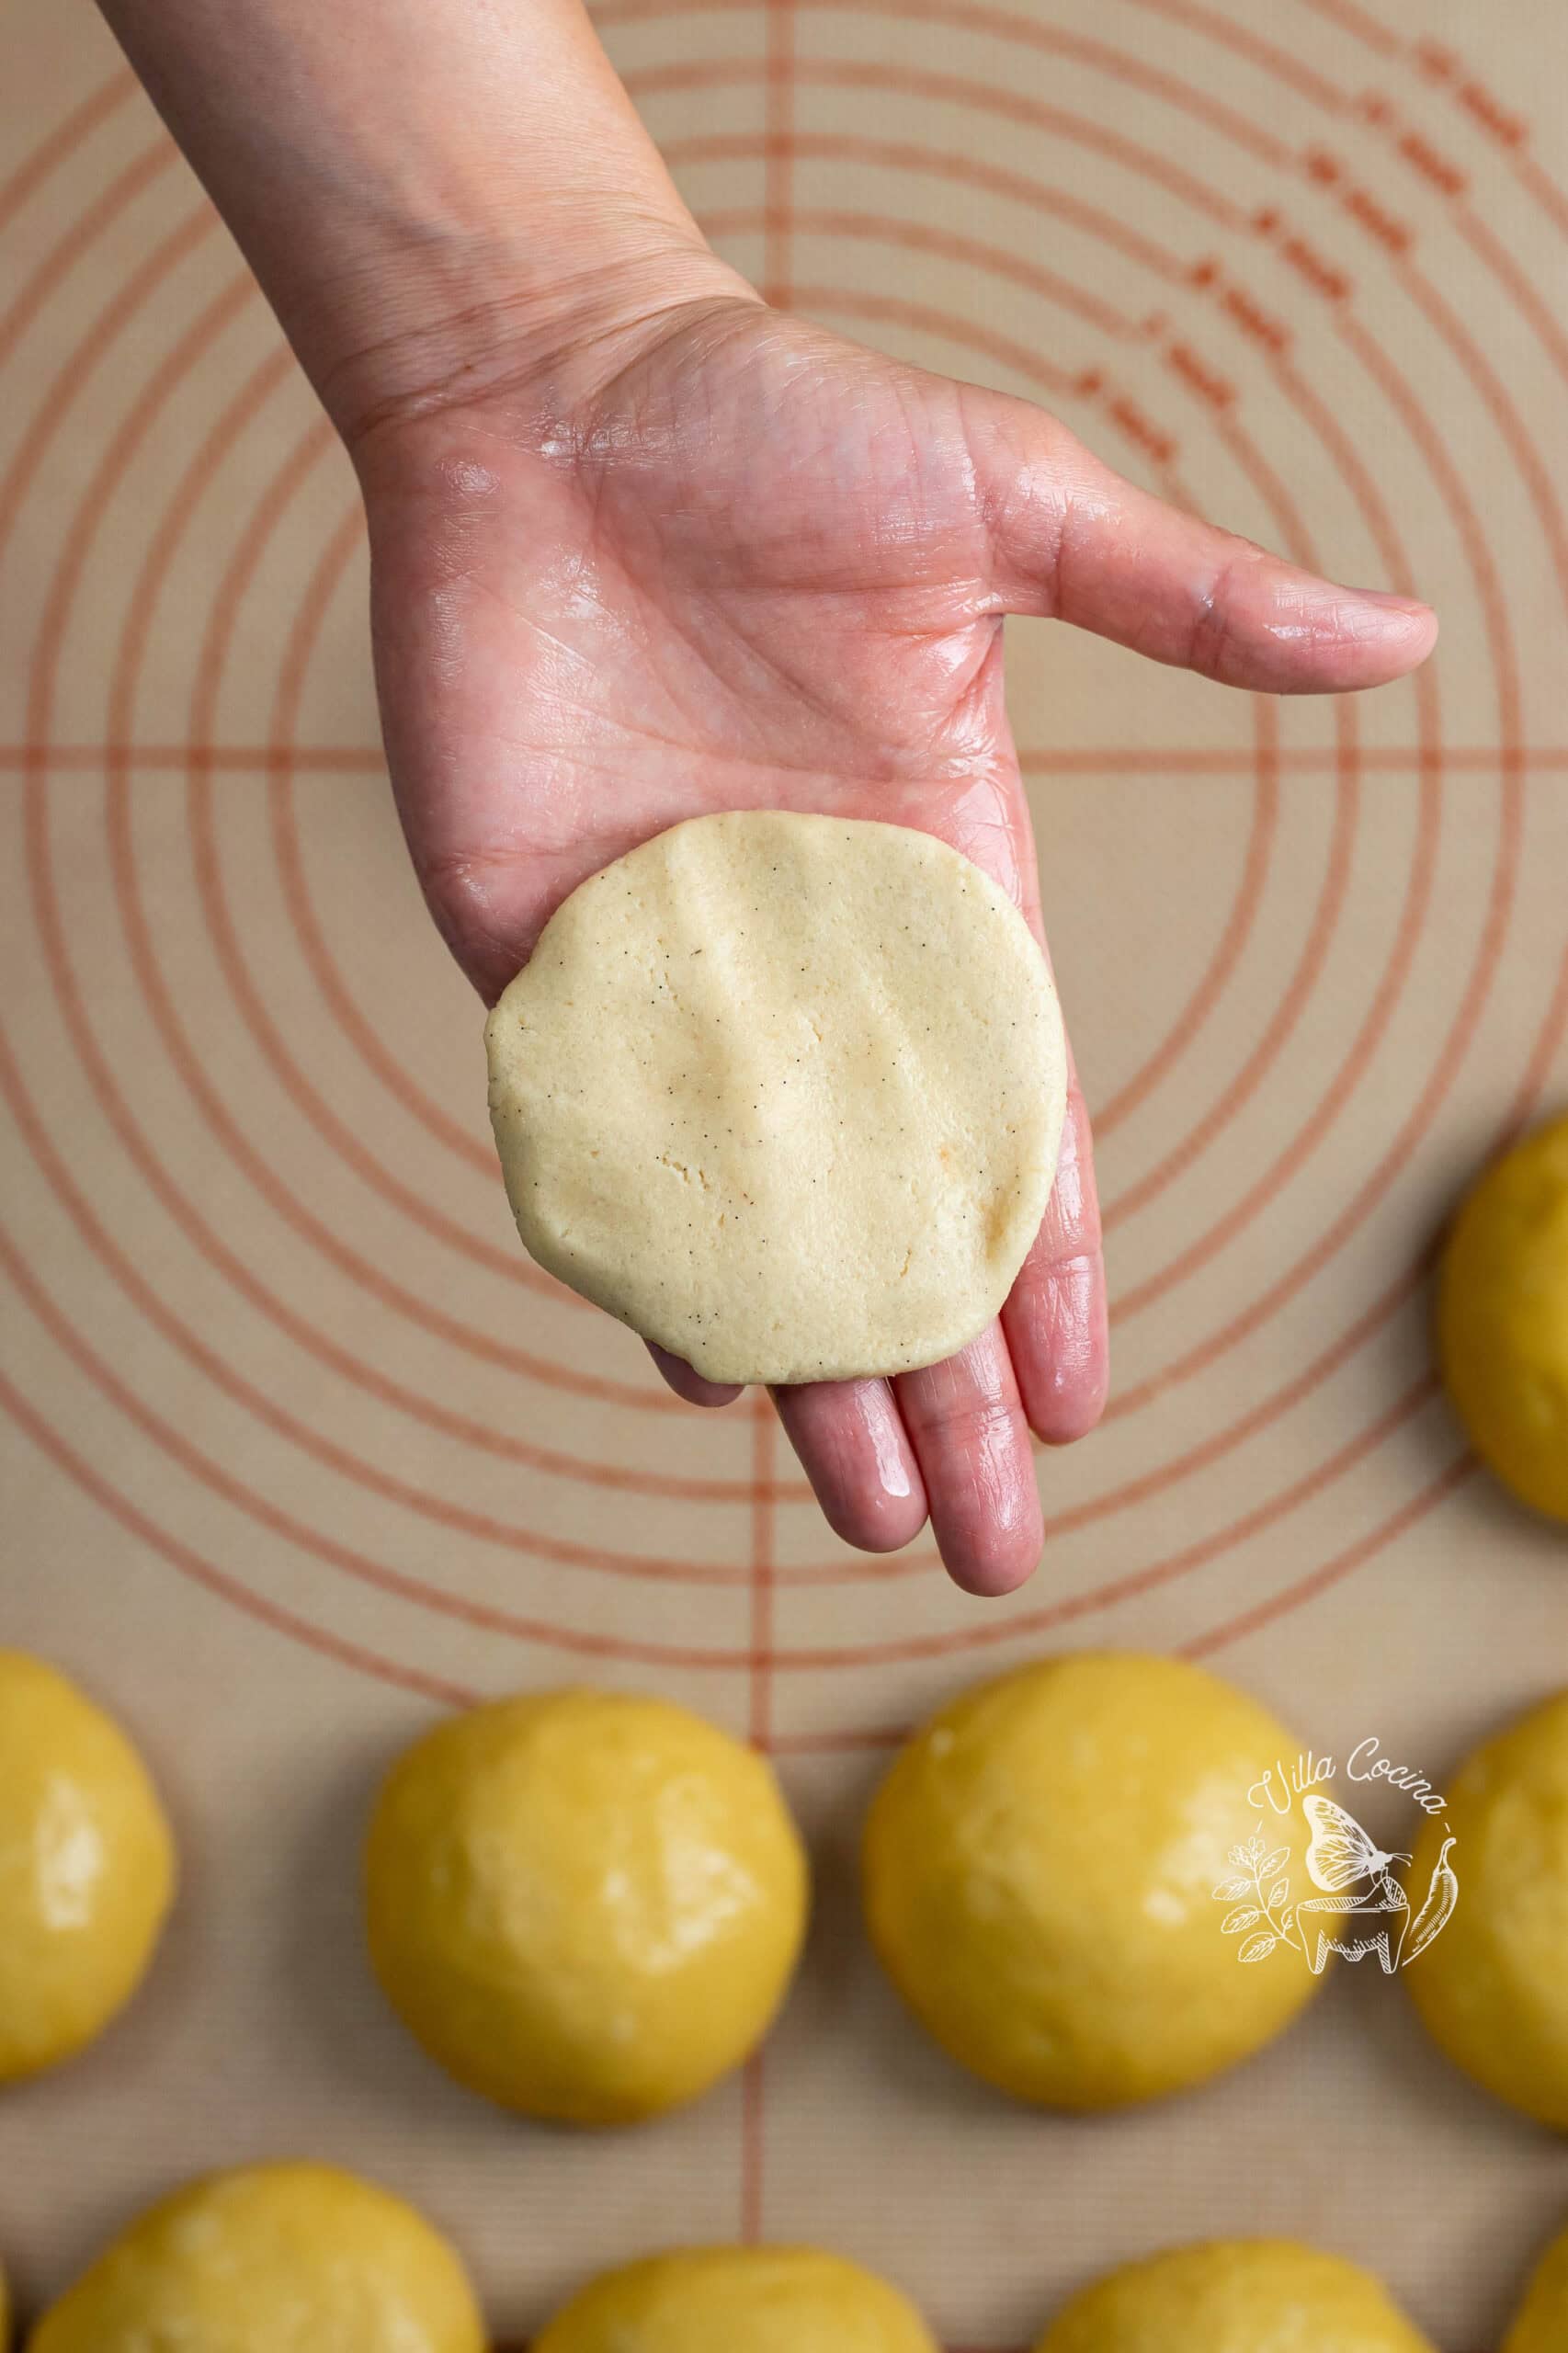
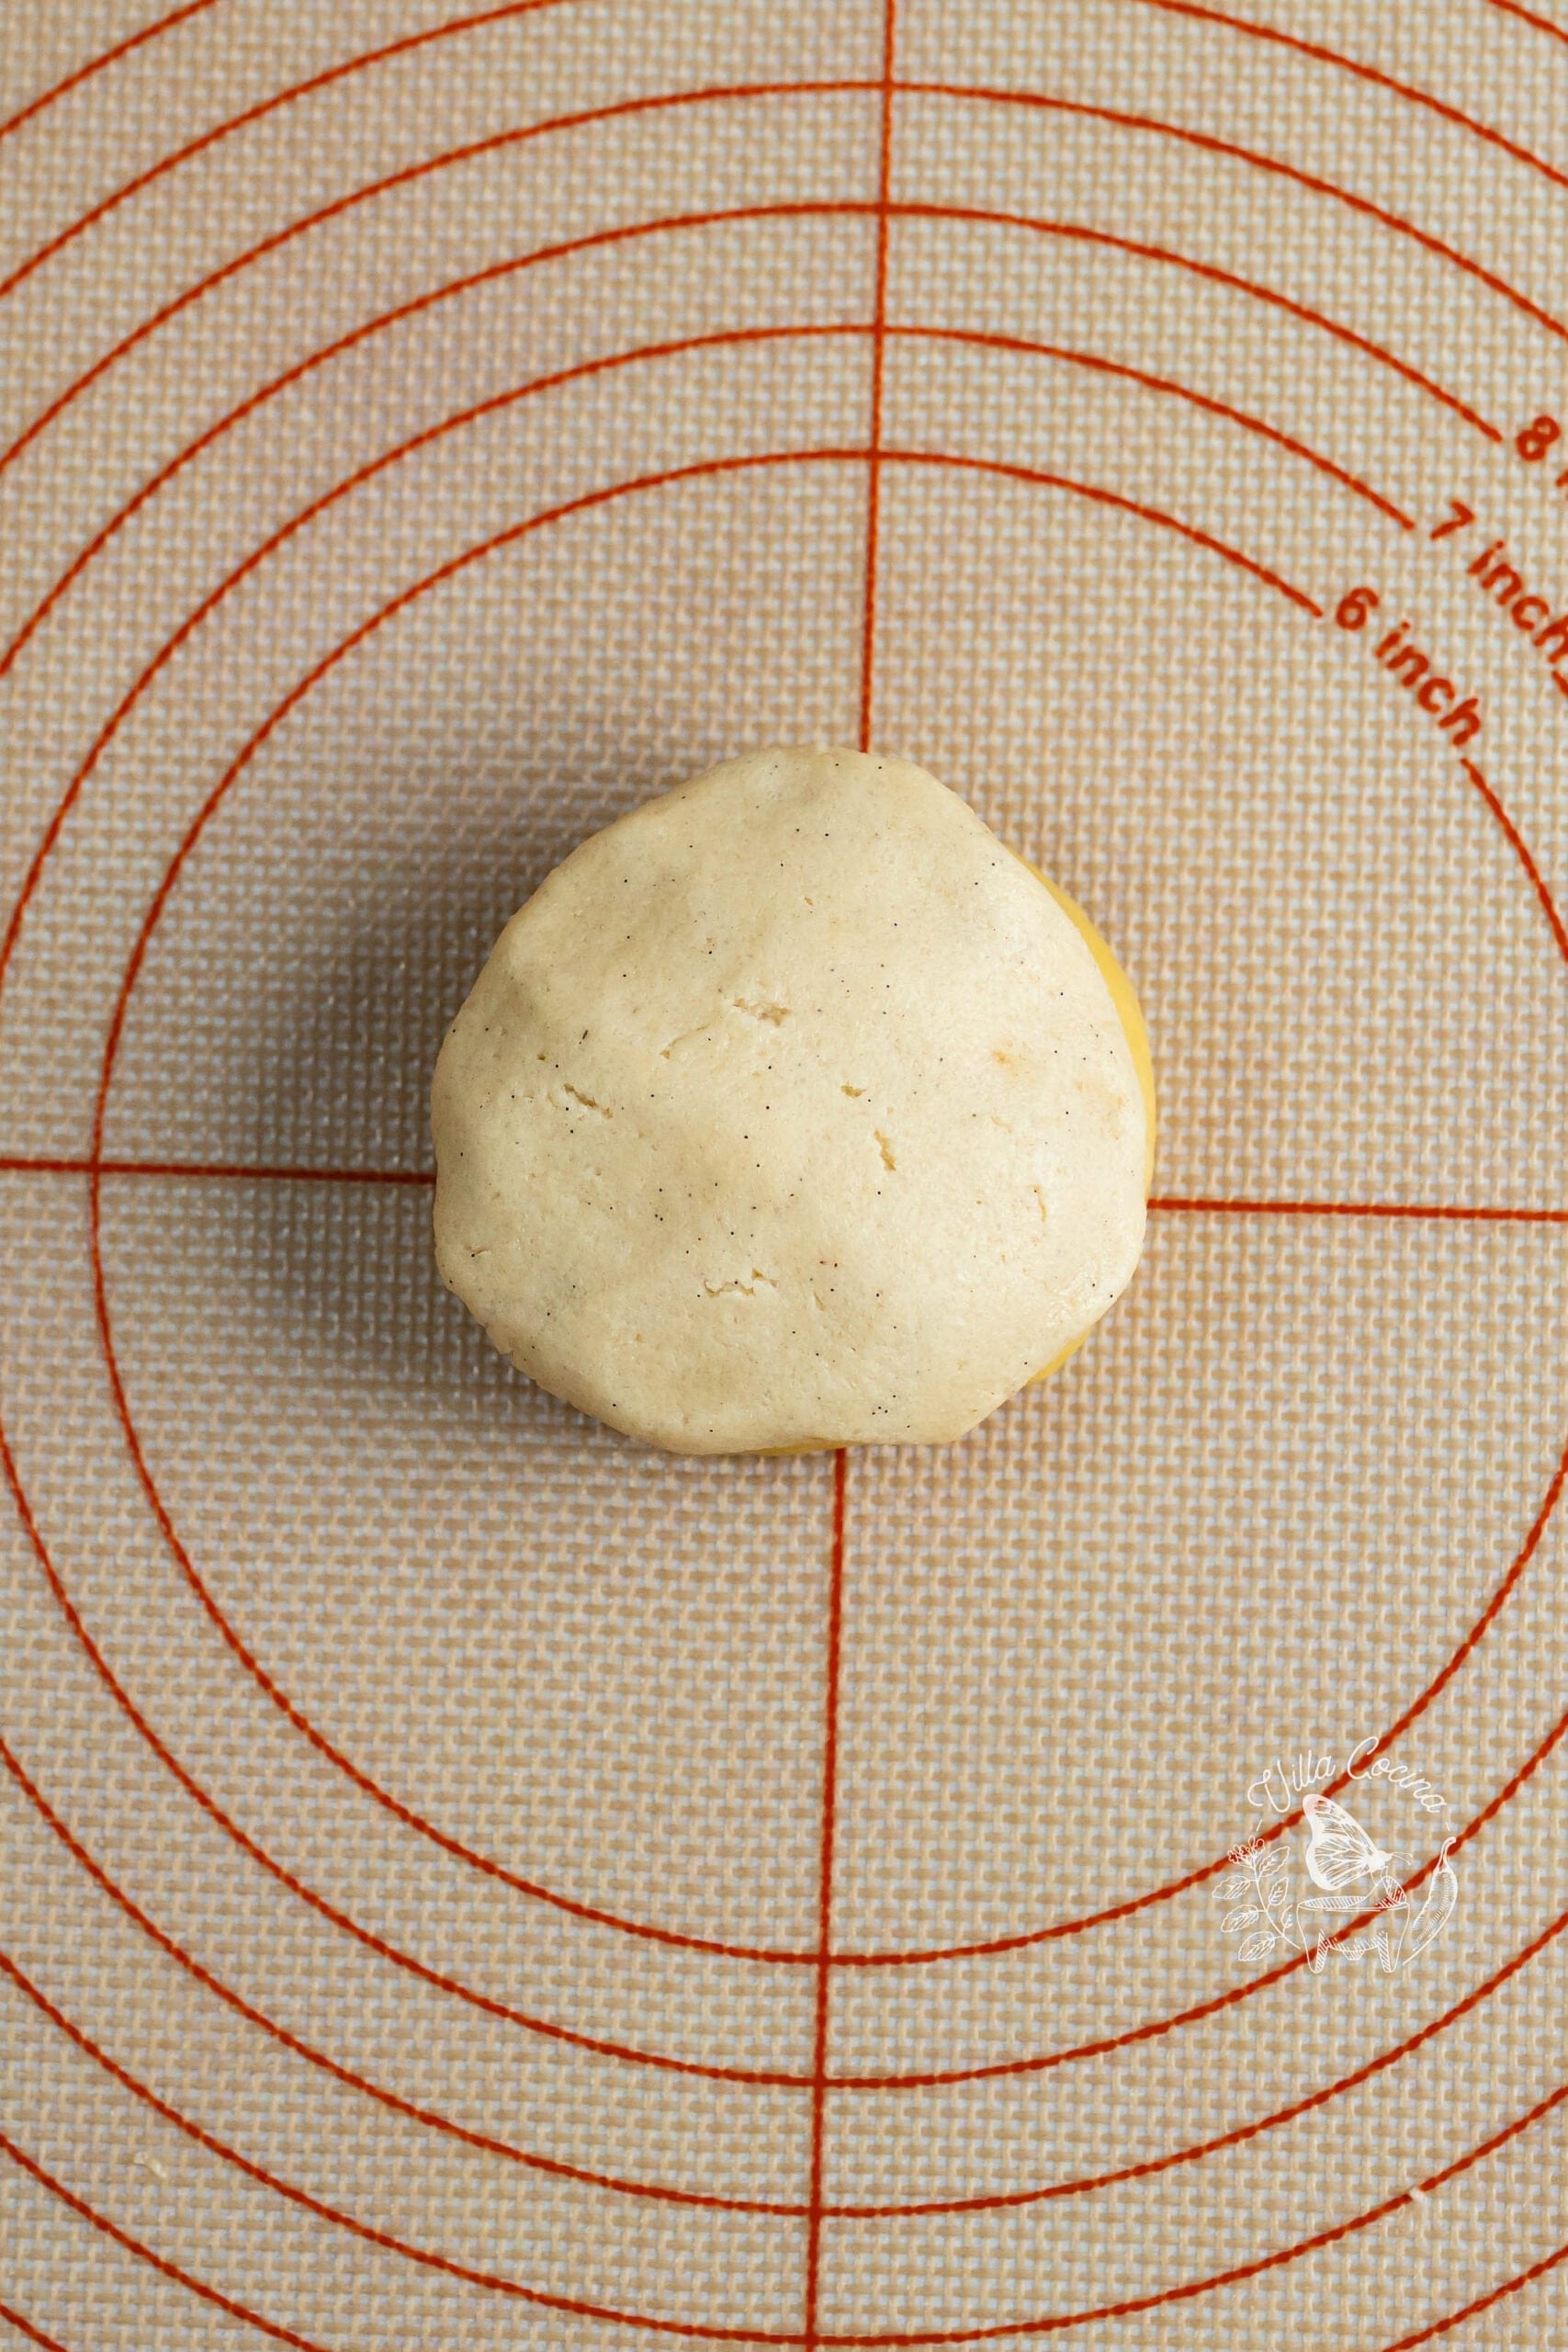
With lightly buttered hands, flatten each topping portion and press it over the top and partway down the sides, gently flattening the dough as you go.
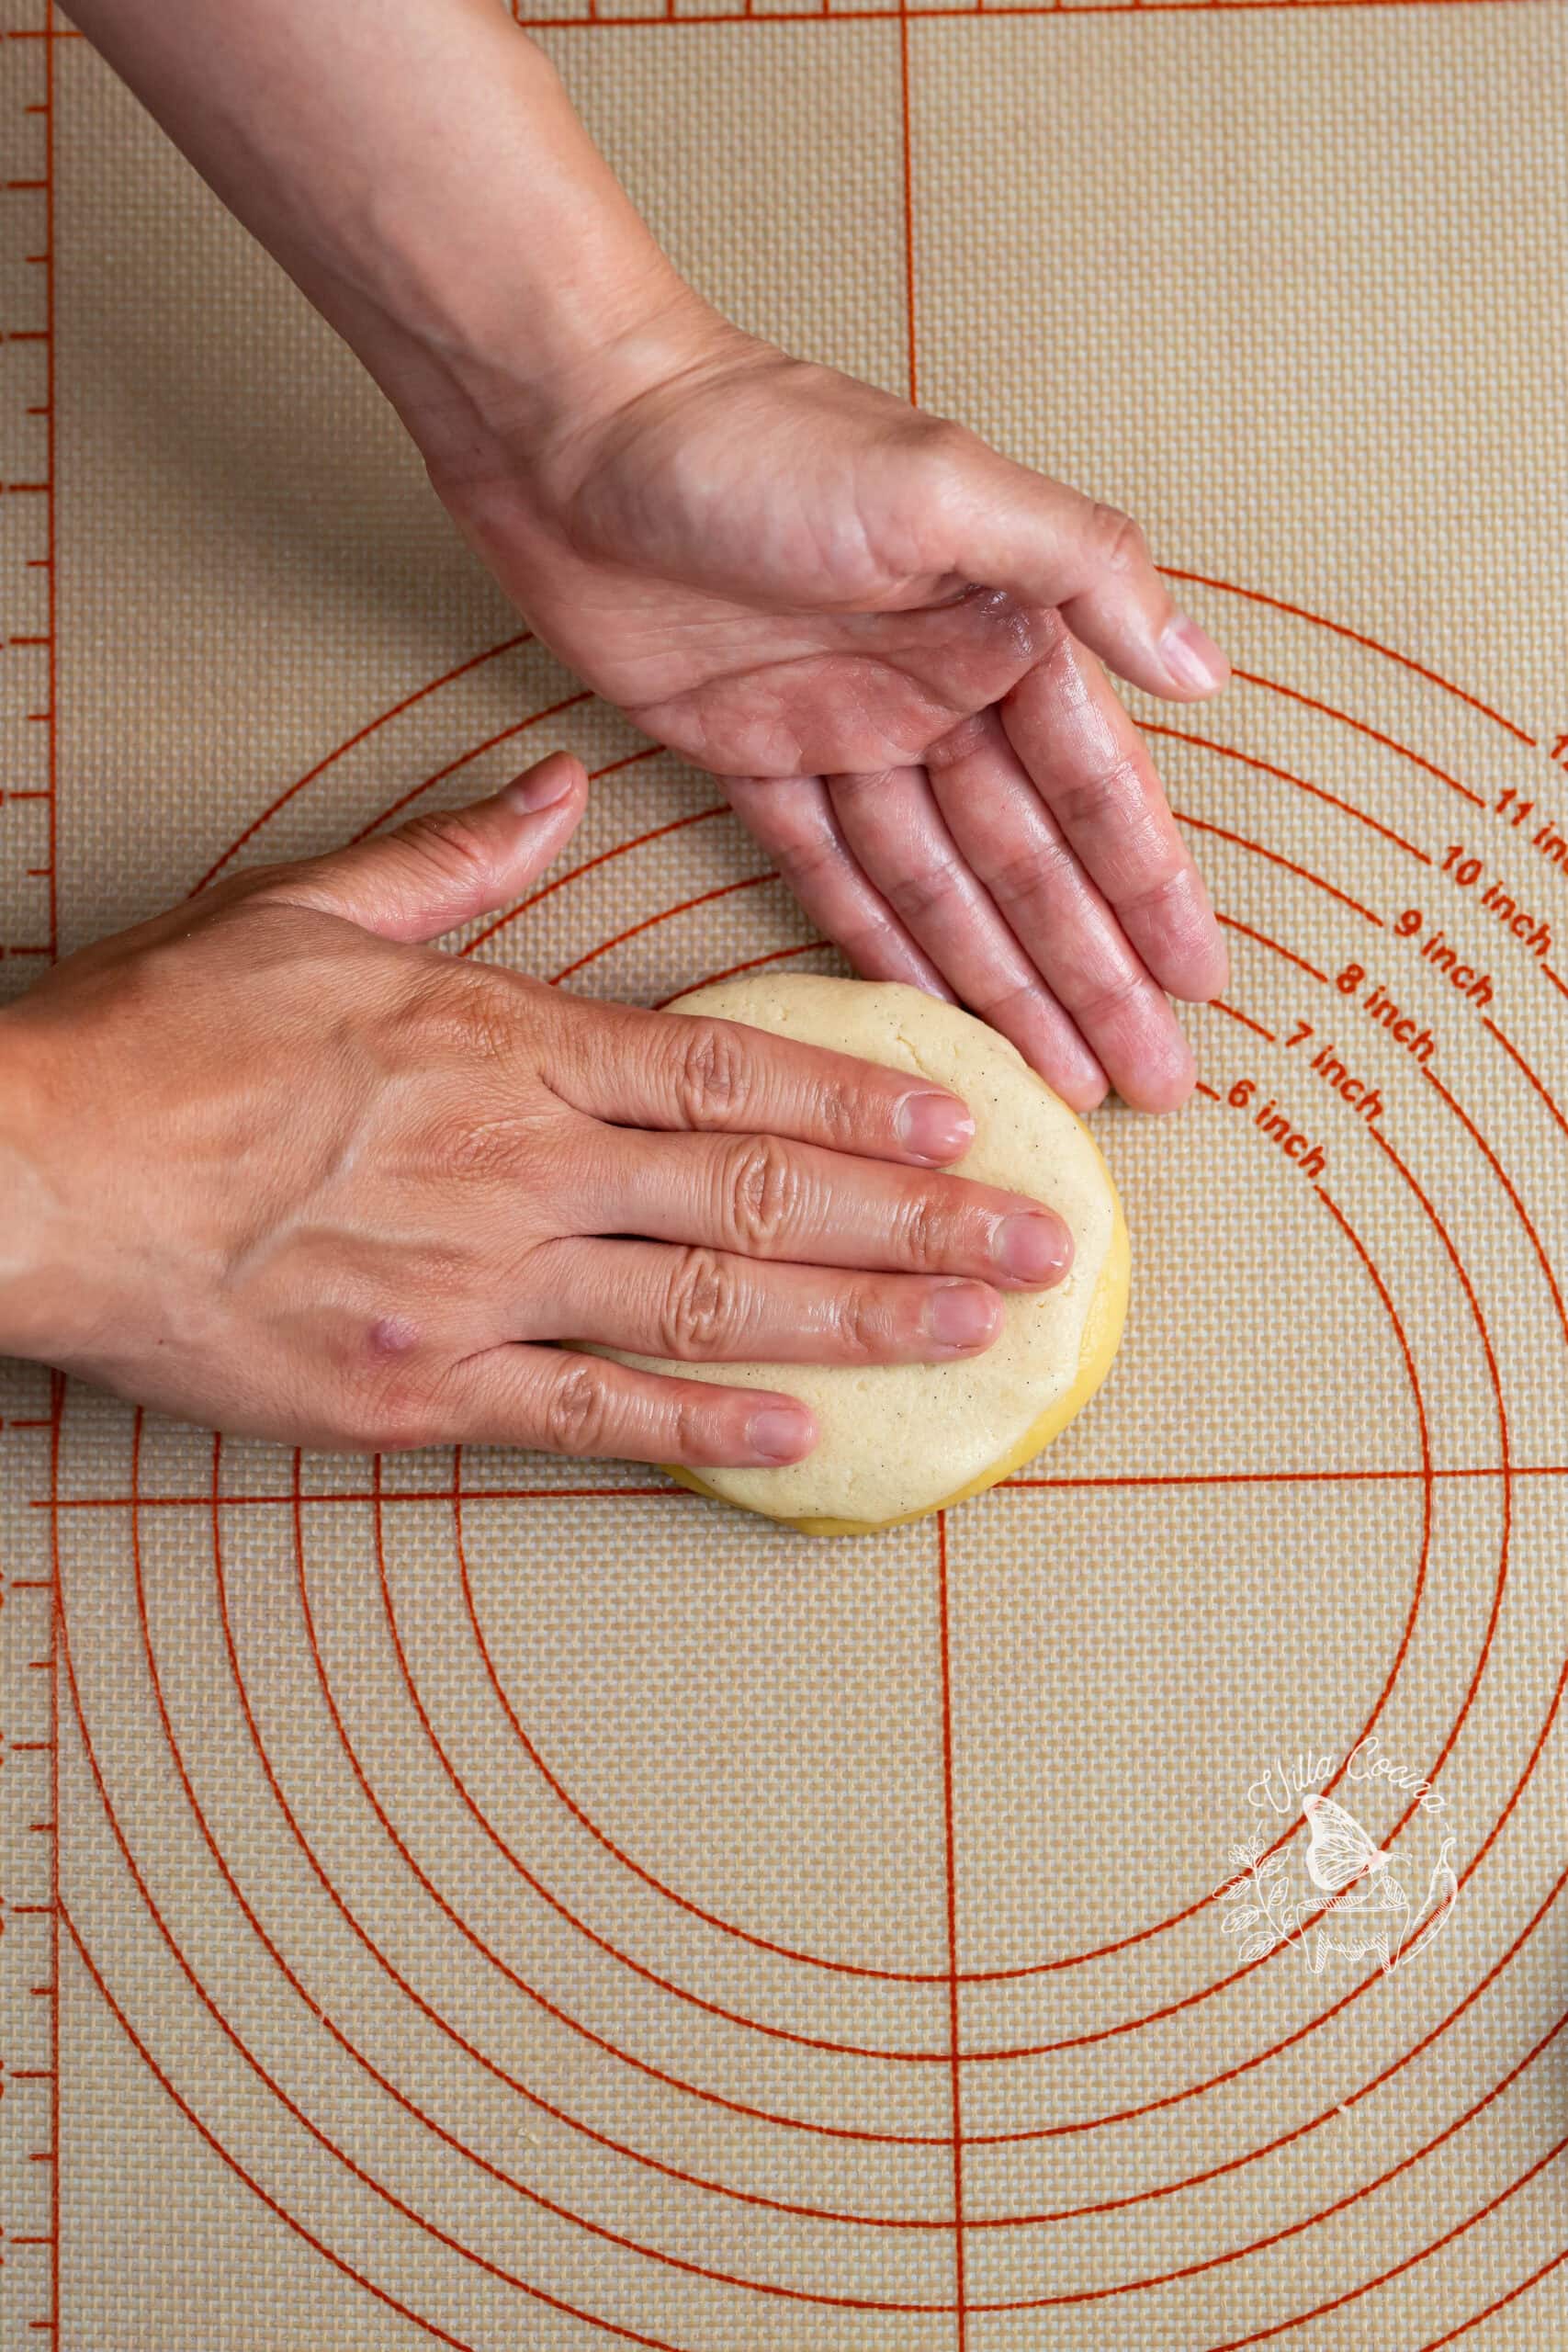
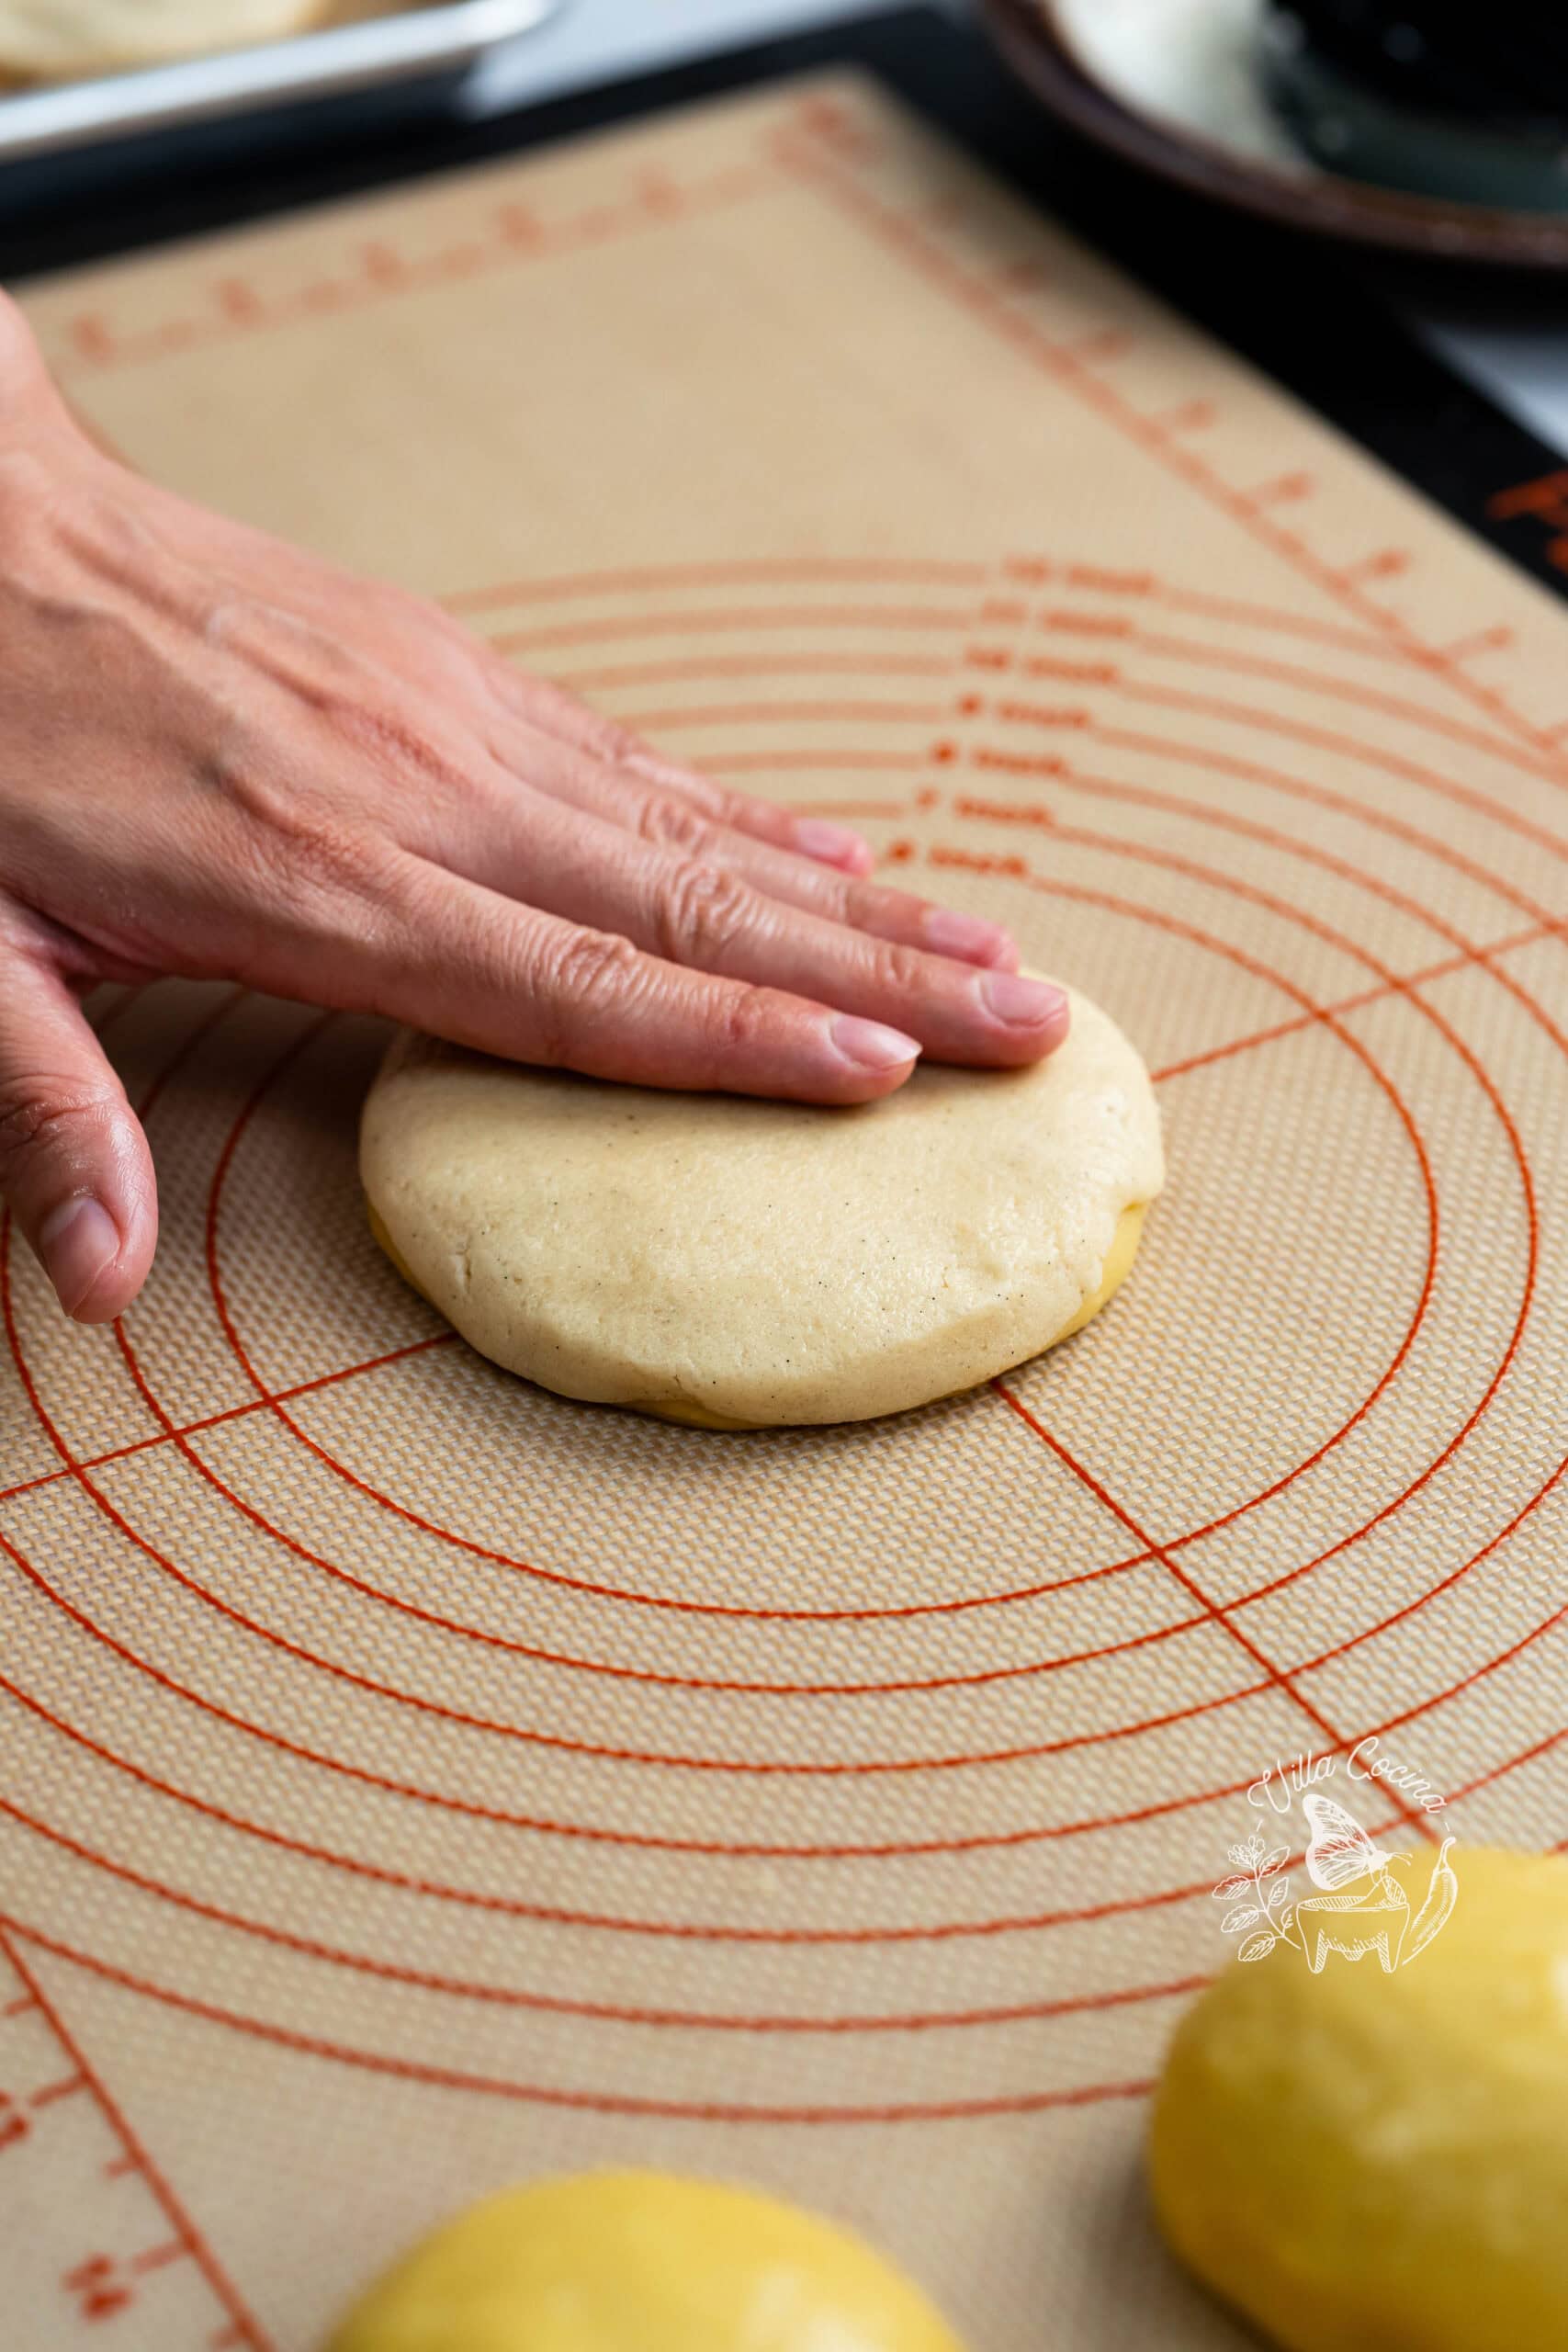
Arrange on two parchment-lined half-sheet pans, leaving room to expand. Use a lightly floured concha stamp or a knife to create the design, scoring only the topping without cutting into the dough.
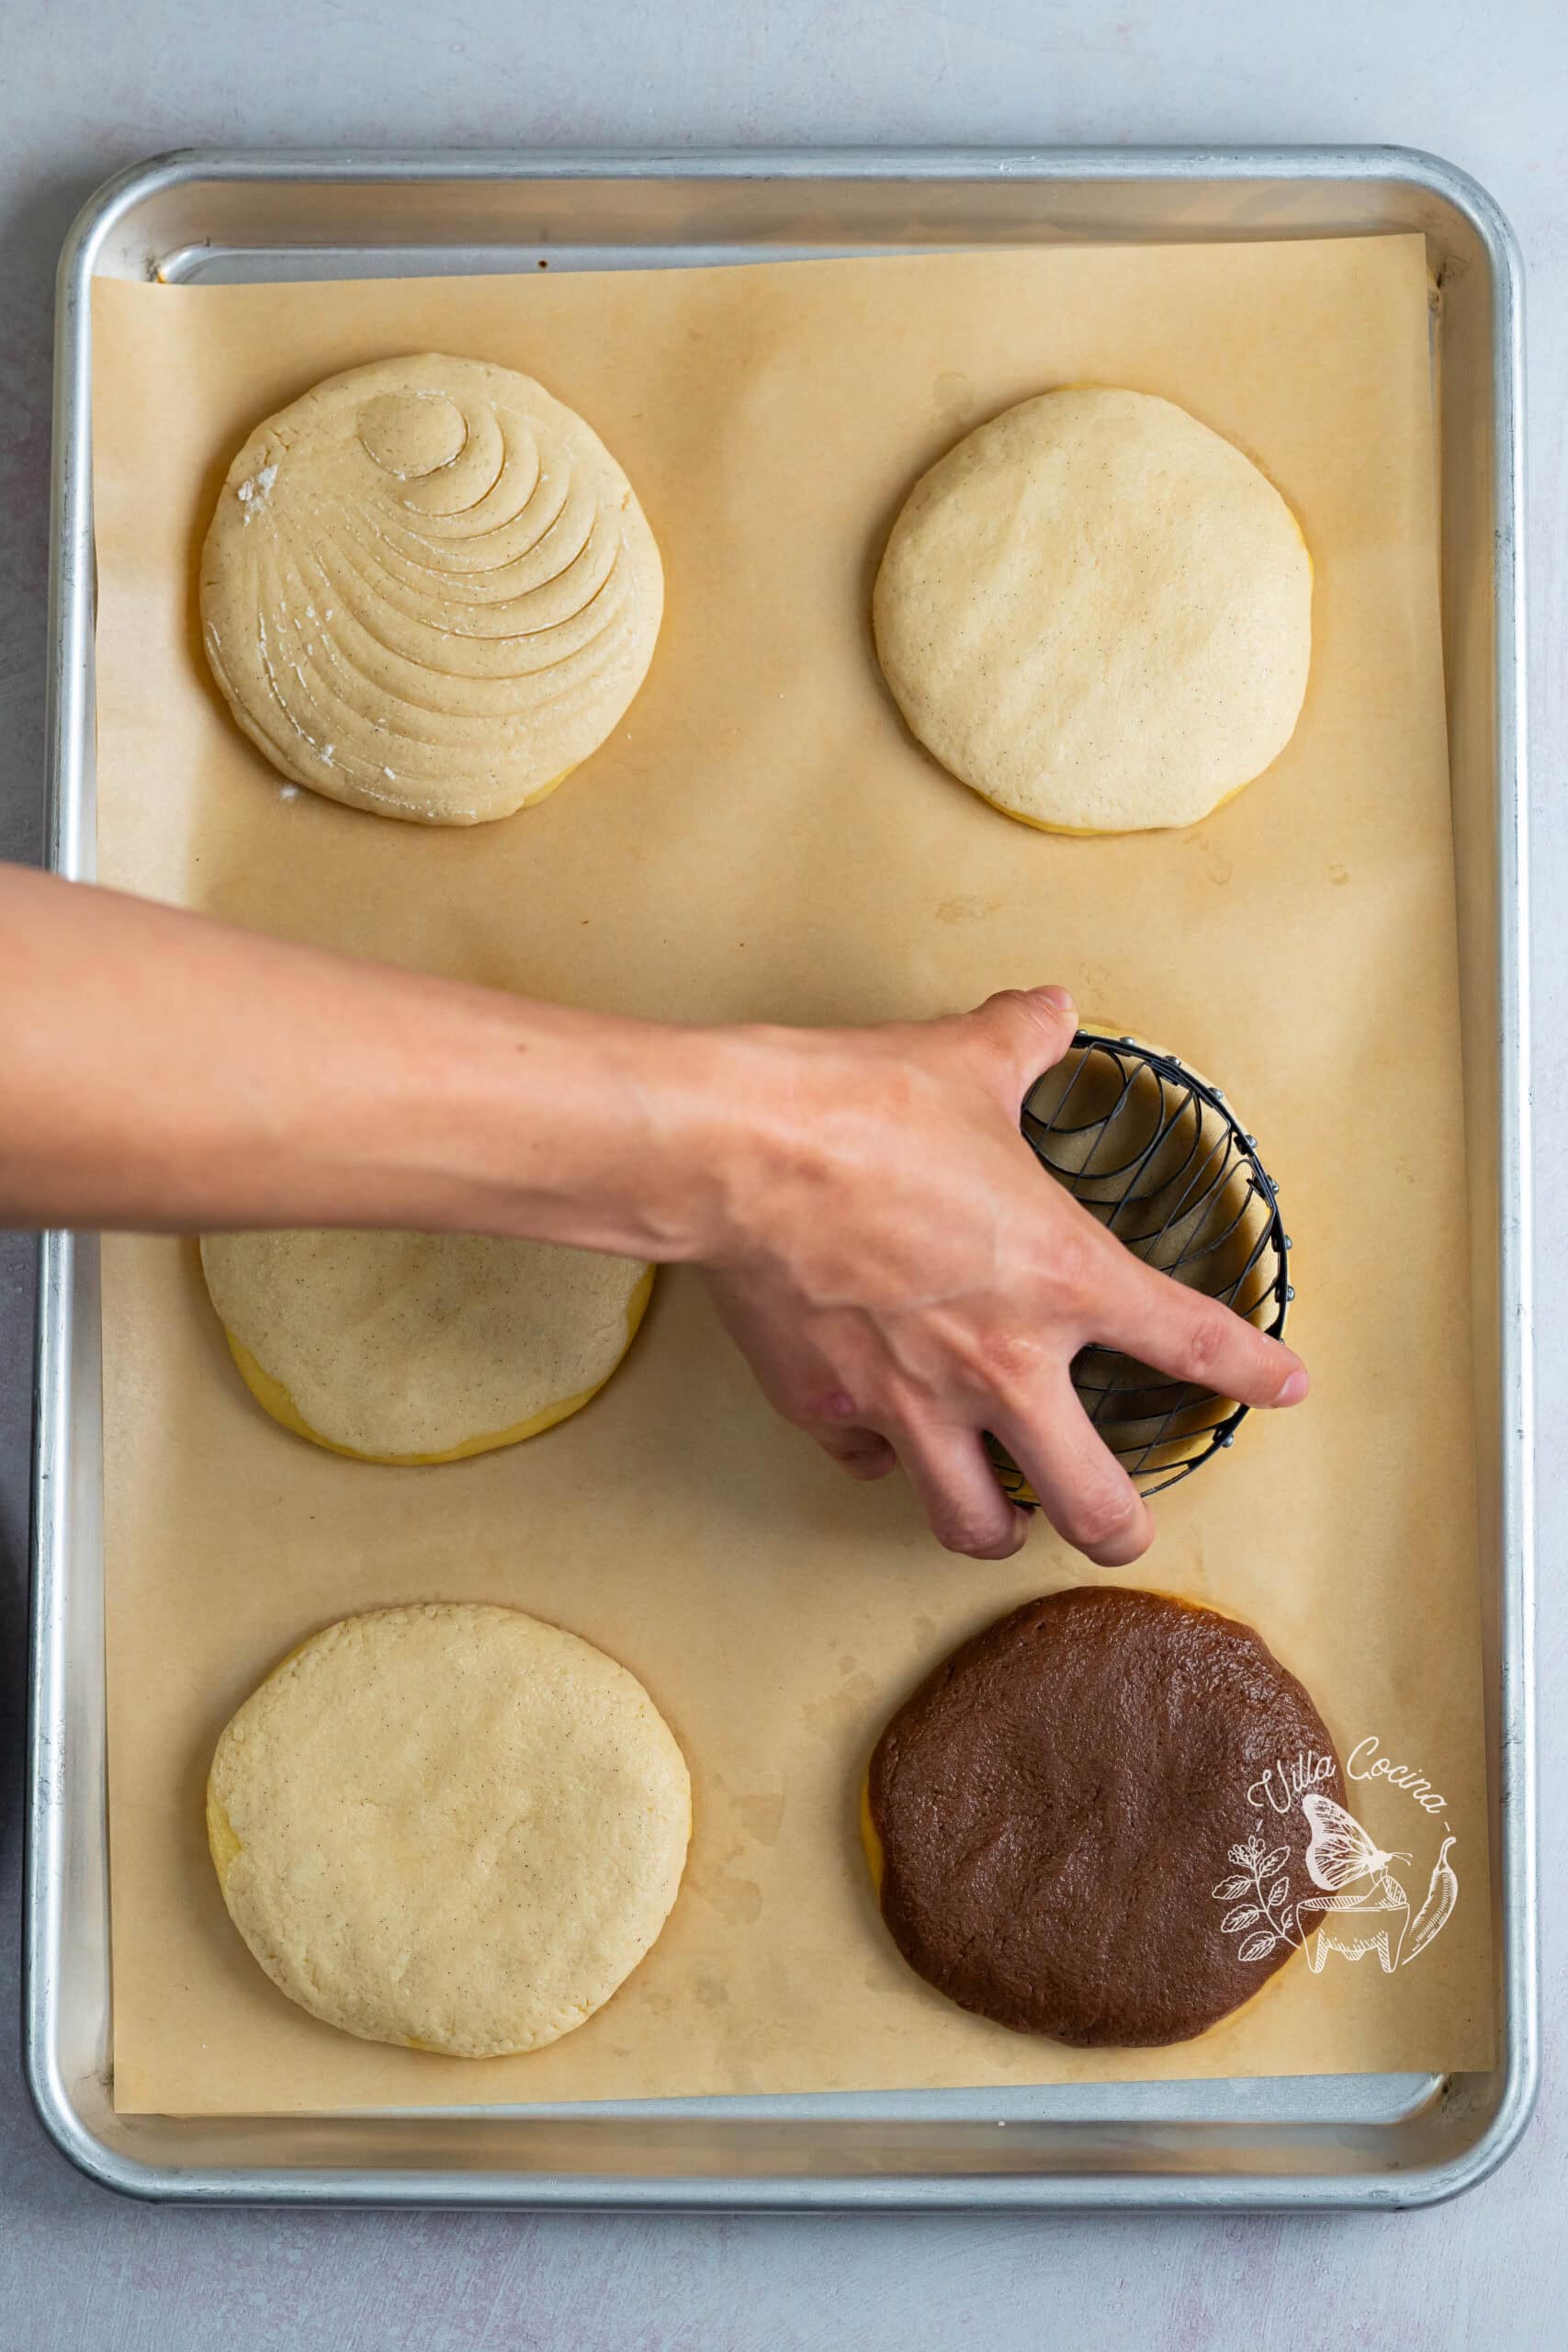
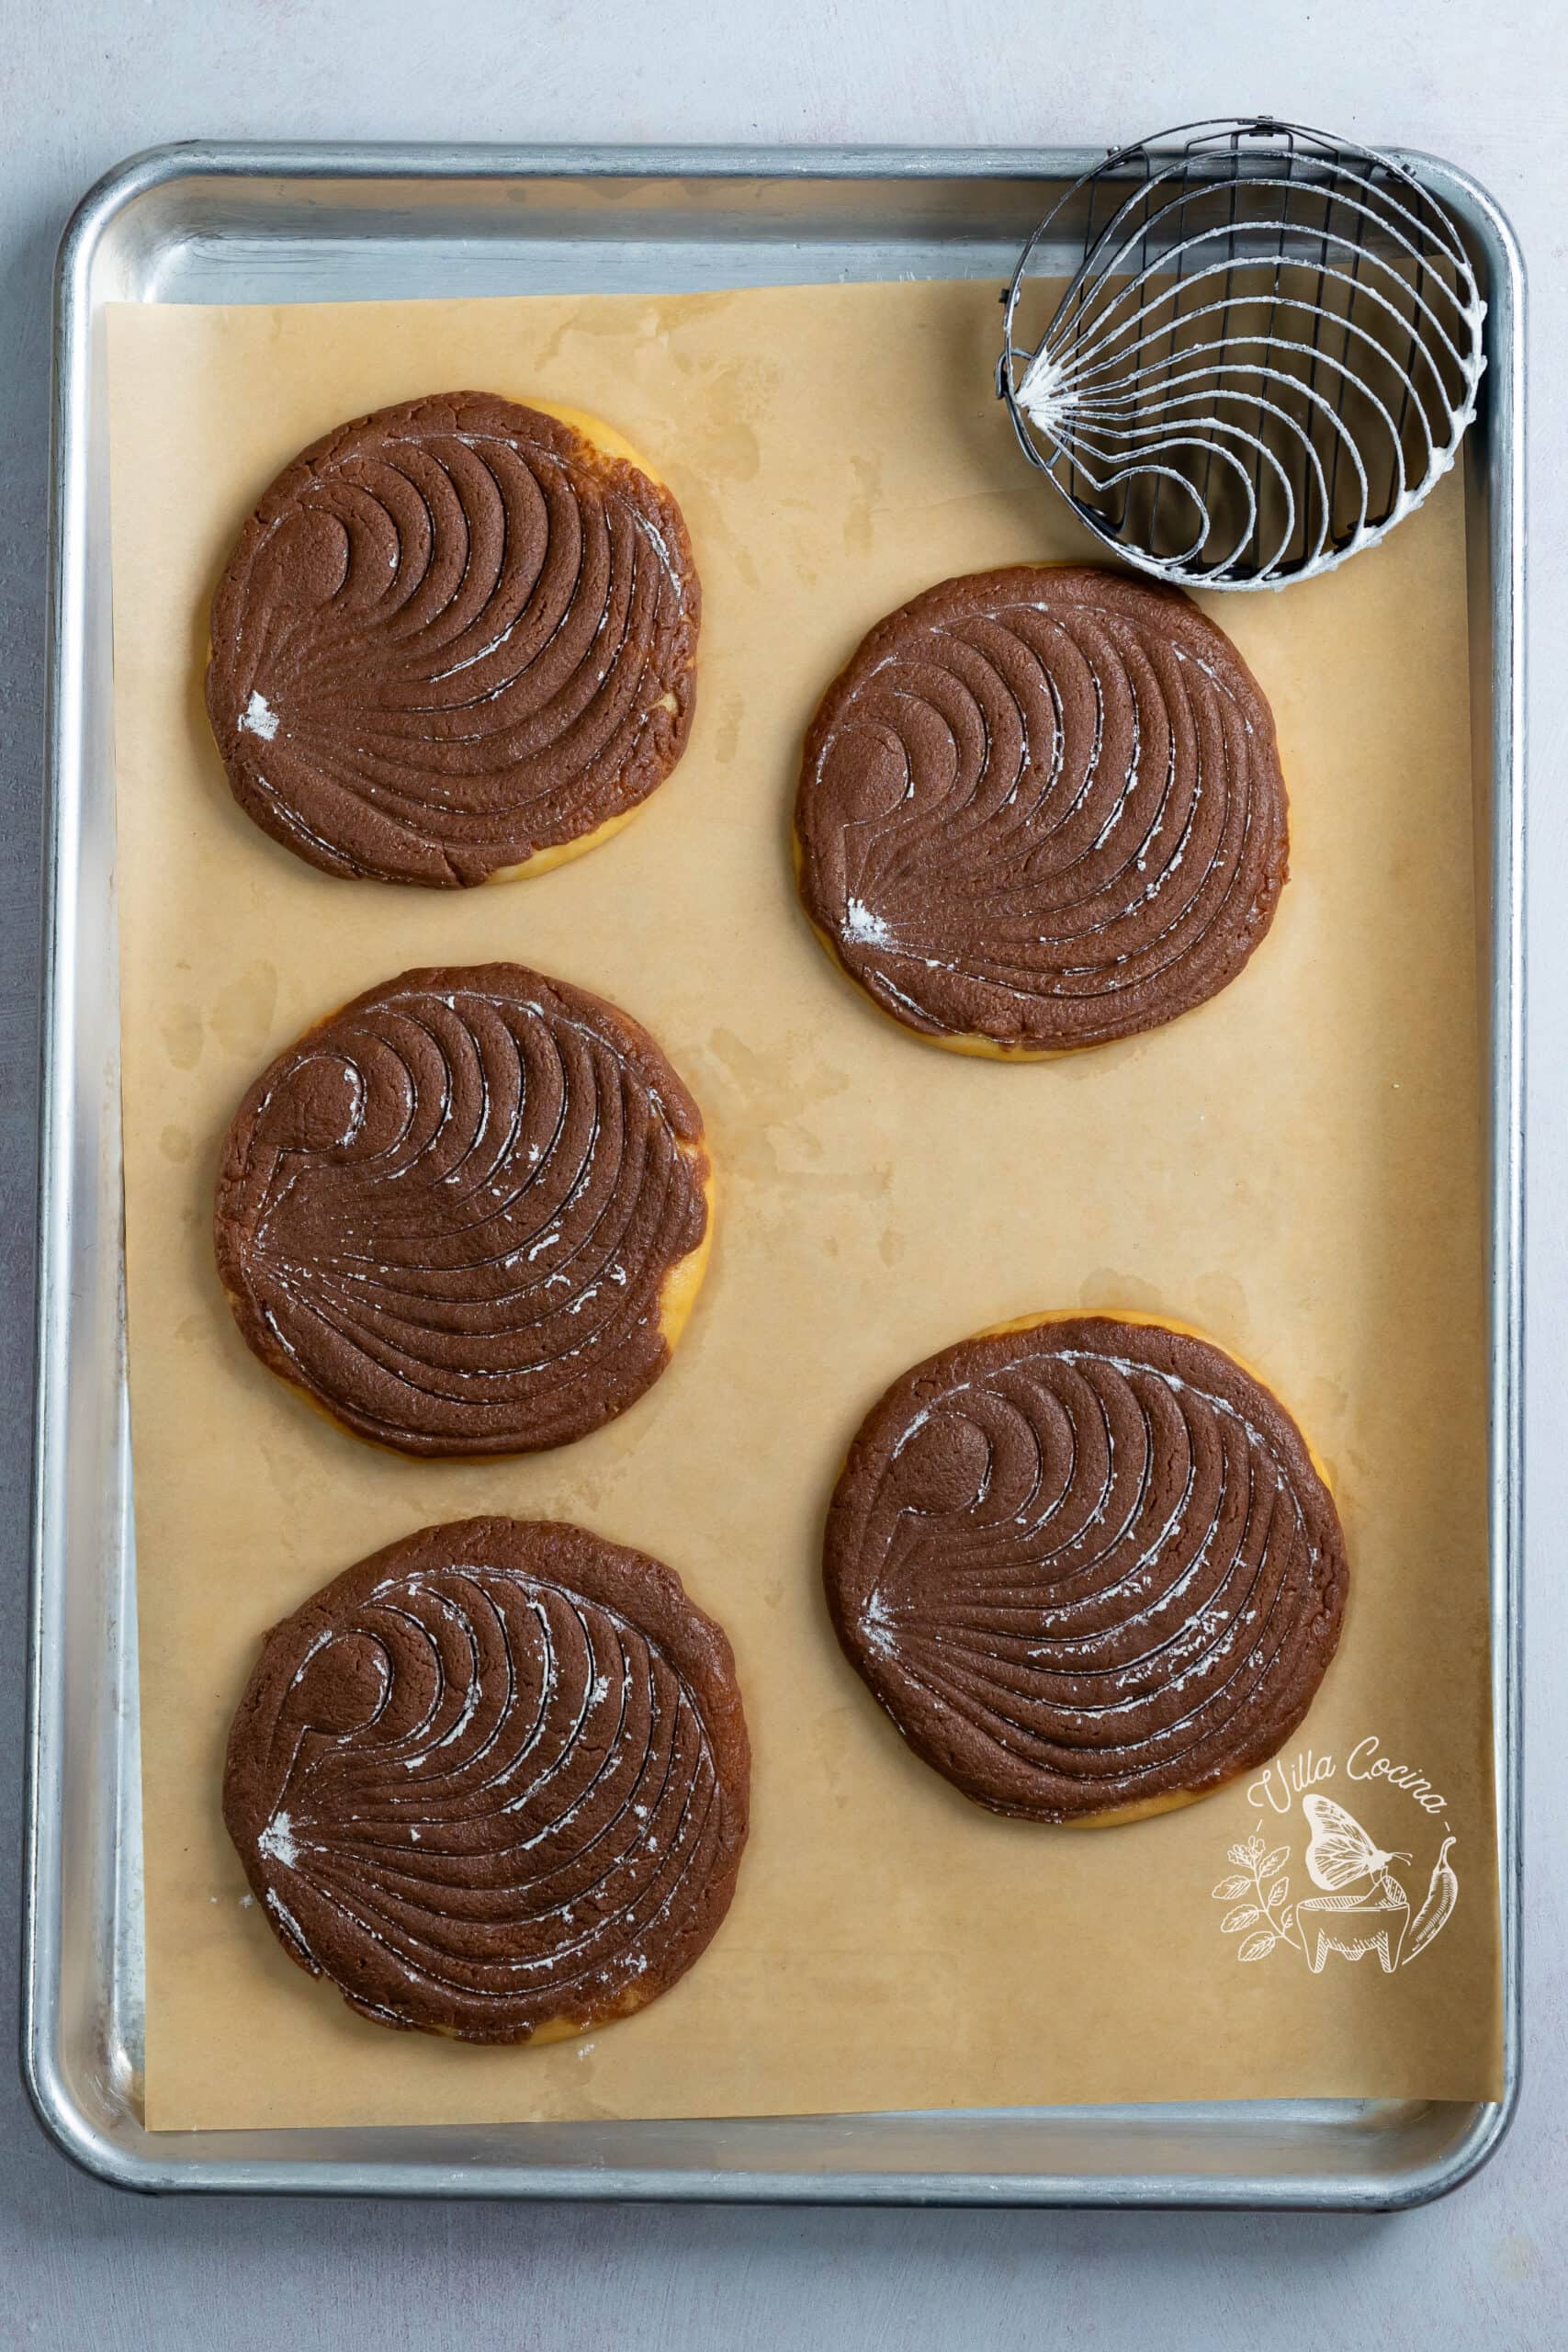
Final Proof and Bake
Loosely cover the conchas without pressing against the topping. Let rise in a turned-off oven with the light on until puffy and nearly doubled in size.
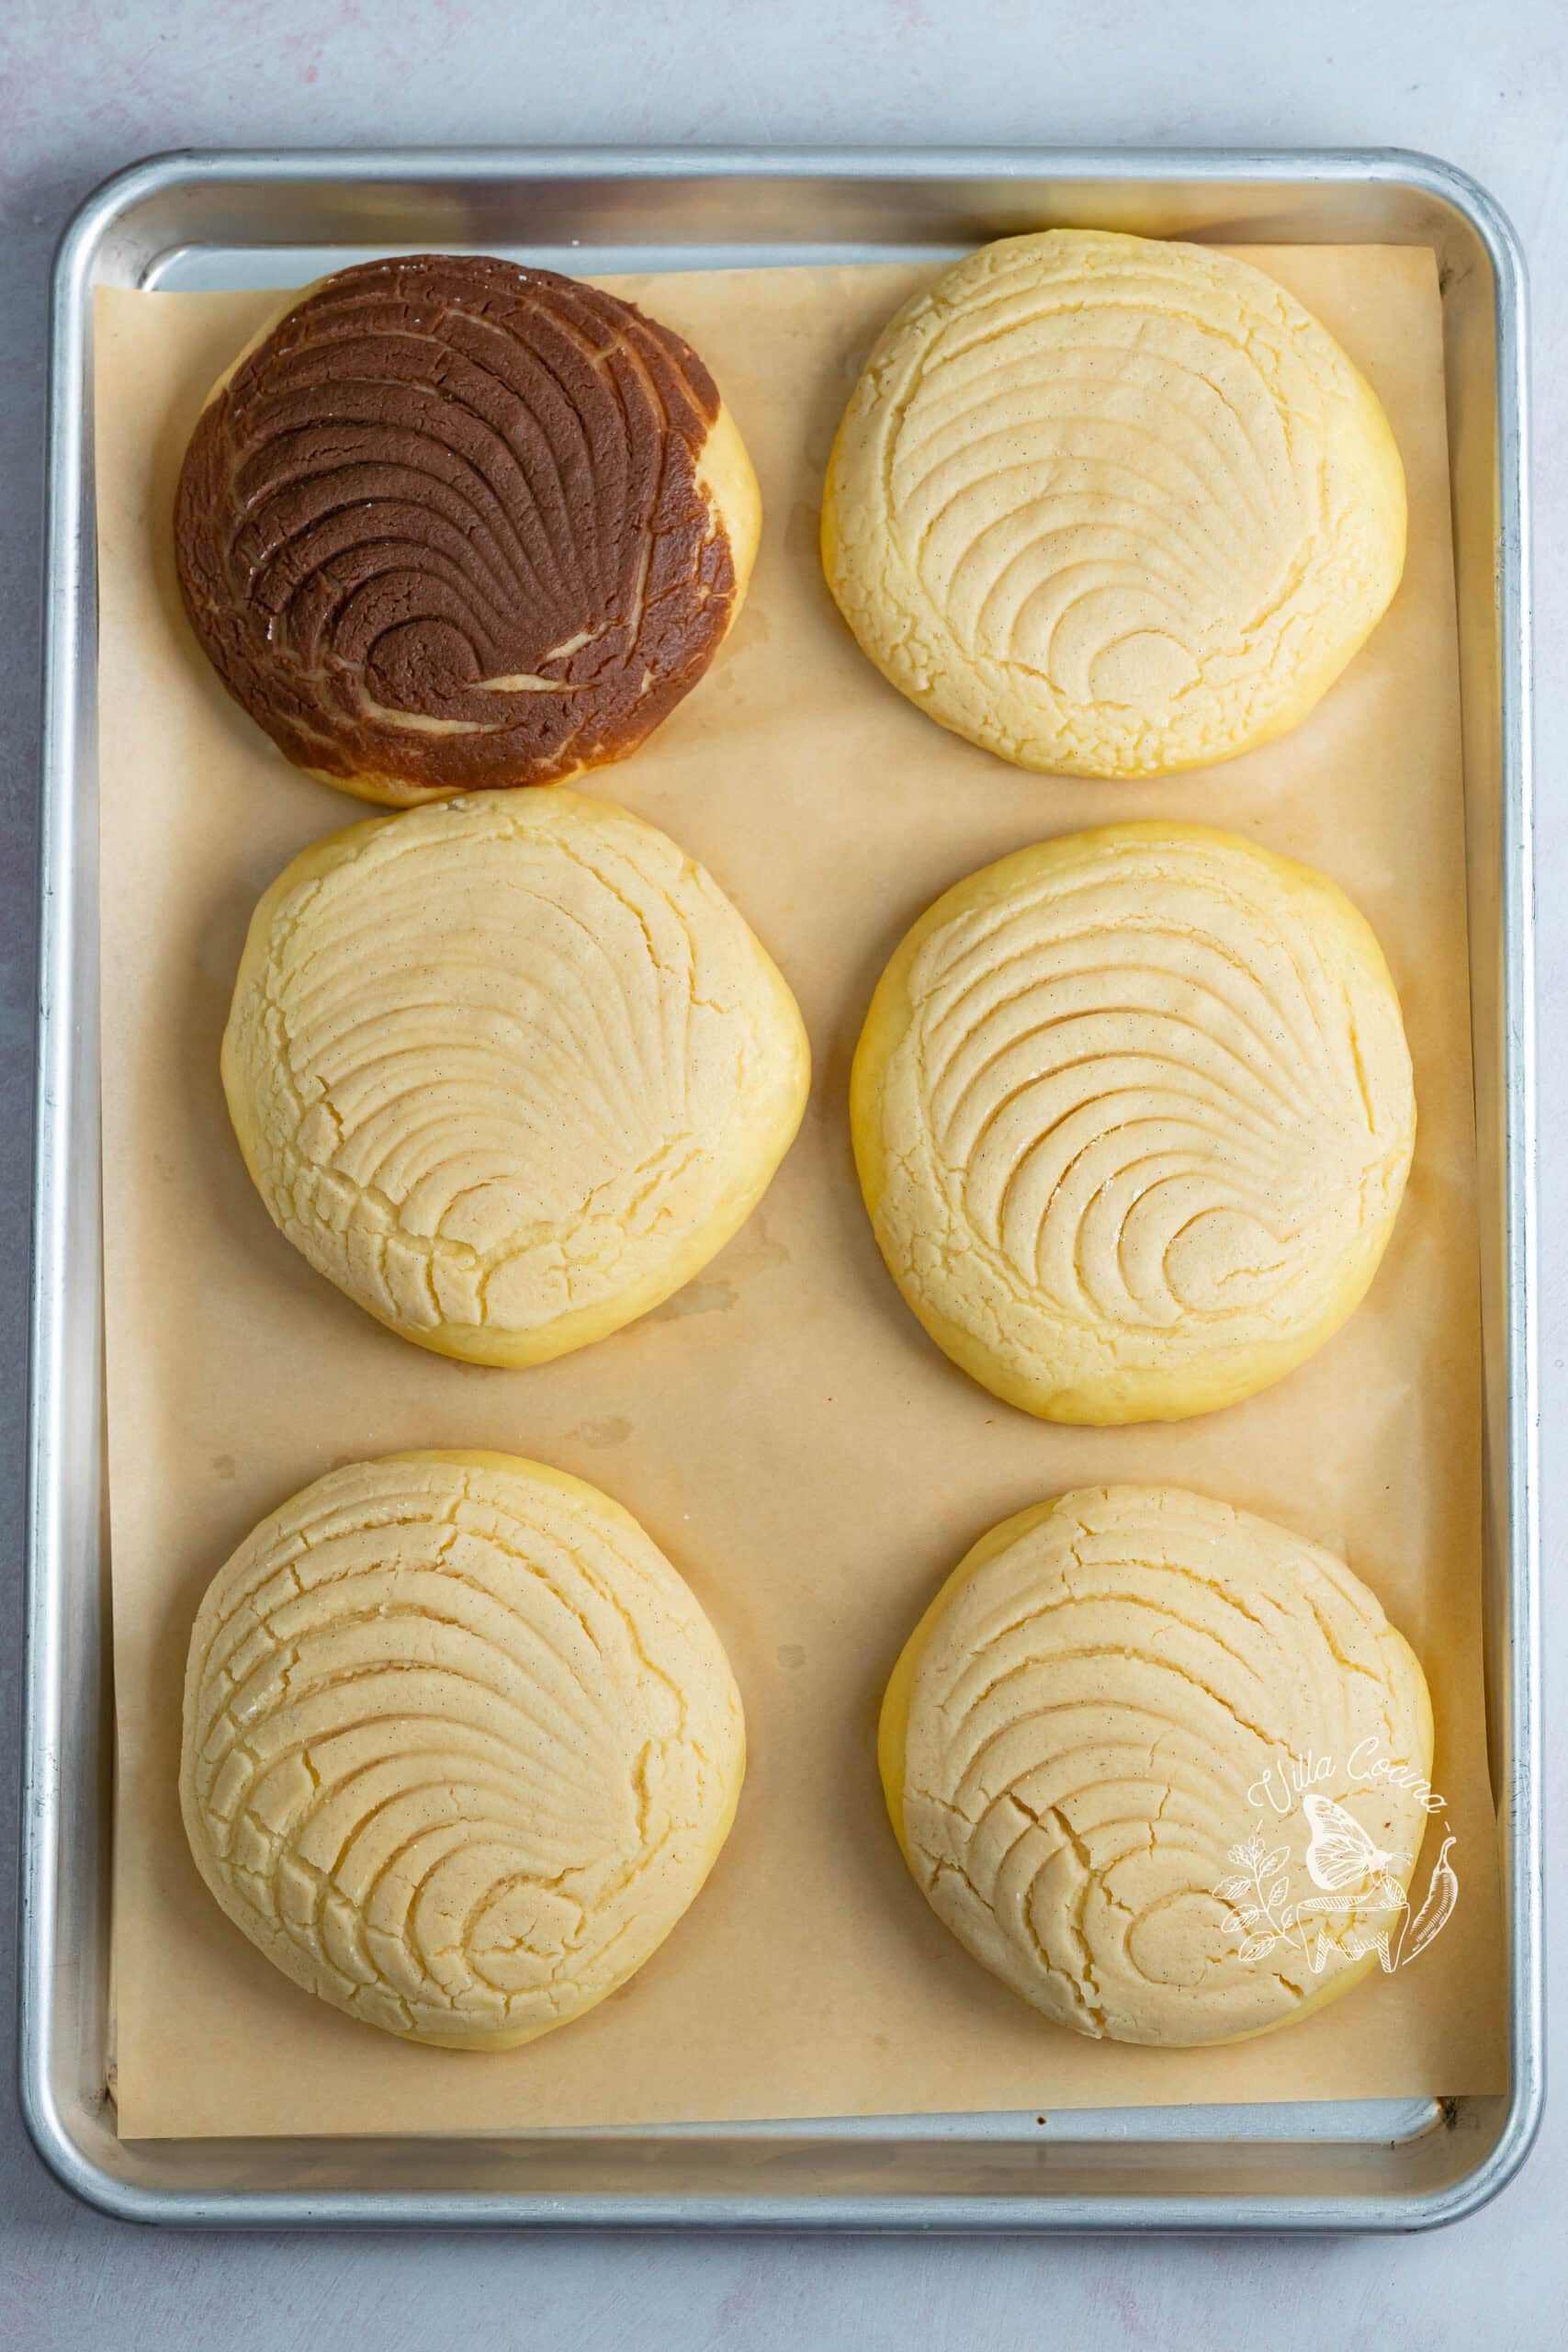
Remove the pans and preheat the oven to 350°F, letting the conchas finish rising at room temperature. Uncover and bake for 15–20 minutes, rotating halfway through, until baked through with lightly golden bottoms.
Let rest briefly on the pans, then transfer to a wire rack. Enjoy warm or at room temperature.
Recipe Video Tutorial
Watch my easy video tutorial for step-by-step visuals on making Mexican Conchas.
Enjoyed the video? Subscribe and tap the bell for updates on new recipes. Thank you for your support!
Tips for Soft, Fluffy Bread
Activate the Yeast
- Yeast: Check the expiration date and warm the milk to 105–110°F. If too cool, the yeast will not activate; too hot can kill it. If the mixture isn’t foamy after about 5 minutes, start again with fresh yeast and properly warmed milk.
Mix and Knead
- Start with the paddle: It combines the ingredients evenly. Switch to the dough hook once the mixture thickens.
- Go easy on the flour: When kneading by hand, add only enough to prevent excessive sticking. Stop kneading once you reach the desired consistency. Too much flour can make conchas dry and dense.
Proof and Shape
- Butter helps: Use softened unsalted butter to grease the bowl, keep the dough moist, help the topping stick, and make it easier to handle with lightly buttered hands.
- Proofing: Use the dough’s size and appearance as your guide, since it rises faster in a warm environment and slower in a cool one.
- Preheating: Remove the pans before turning on the oven and let the conchas finish rising at room temperature. My oven takes about 8–10 minutes to preheat, so plan ahead to avoid letting them rise too long.
Bake and Cool
- Check each pan: Look for lightly golden bottoms and an internal temperature of 205°F. Avoid over-baking, which can dry out the bread.
- Cool on a rack: After 5 minutes on the baking sheets, transfer the conchas to a wire rack. Air circulation helps prevent soggy bottoms.
Conchas: Origin and Tradition
Conchas are a beloved part of Mexico’s pan dulce tradition, blending Spanish breadmaking and French influences with the creativity of Mexican bakers. Named for the seashell pattern in their sugar topping, these sweet breads are a familiar sight in Mexican panaderías.
What to Serve with Conchas
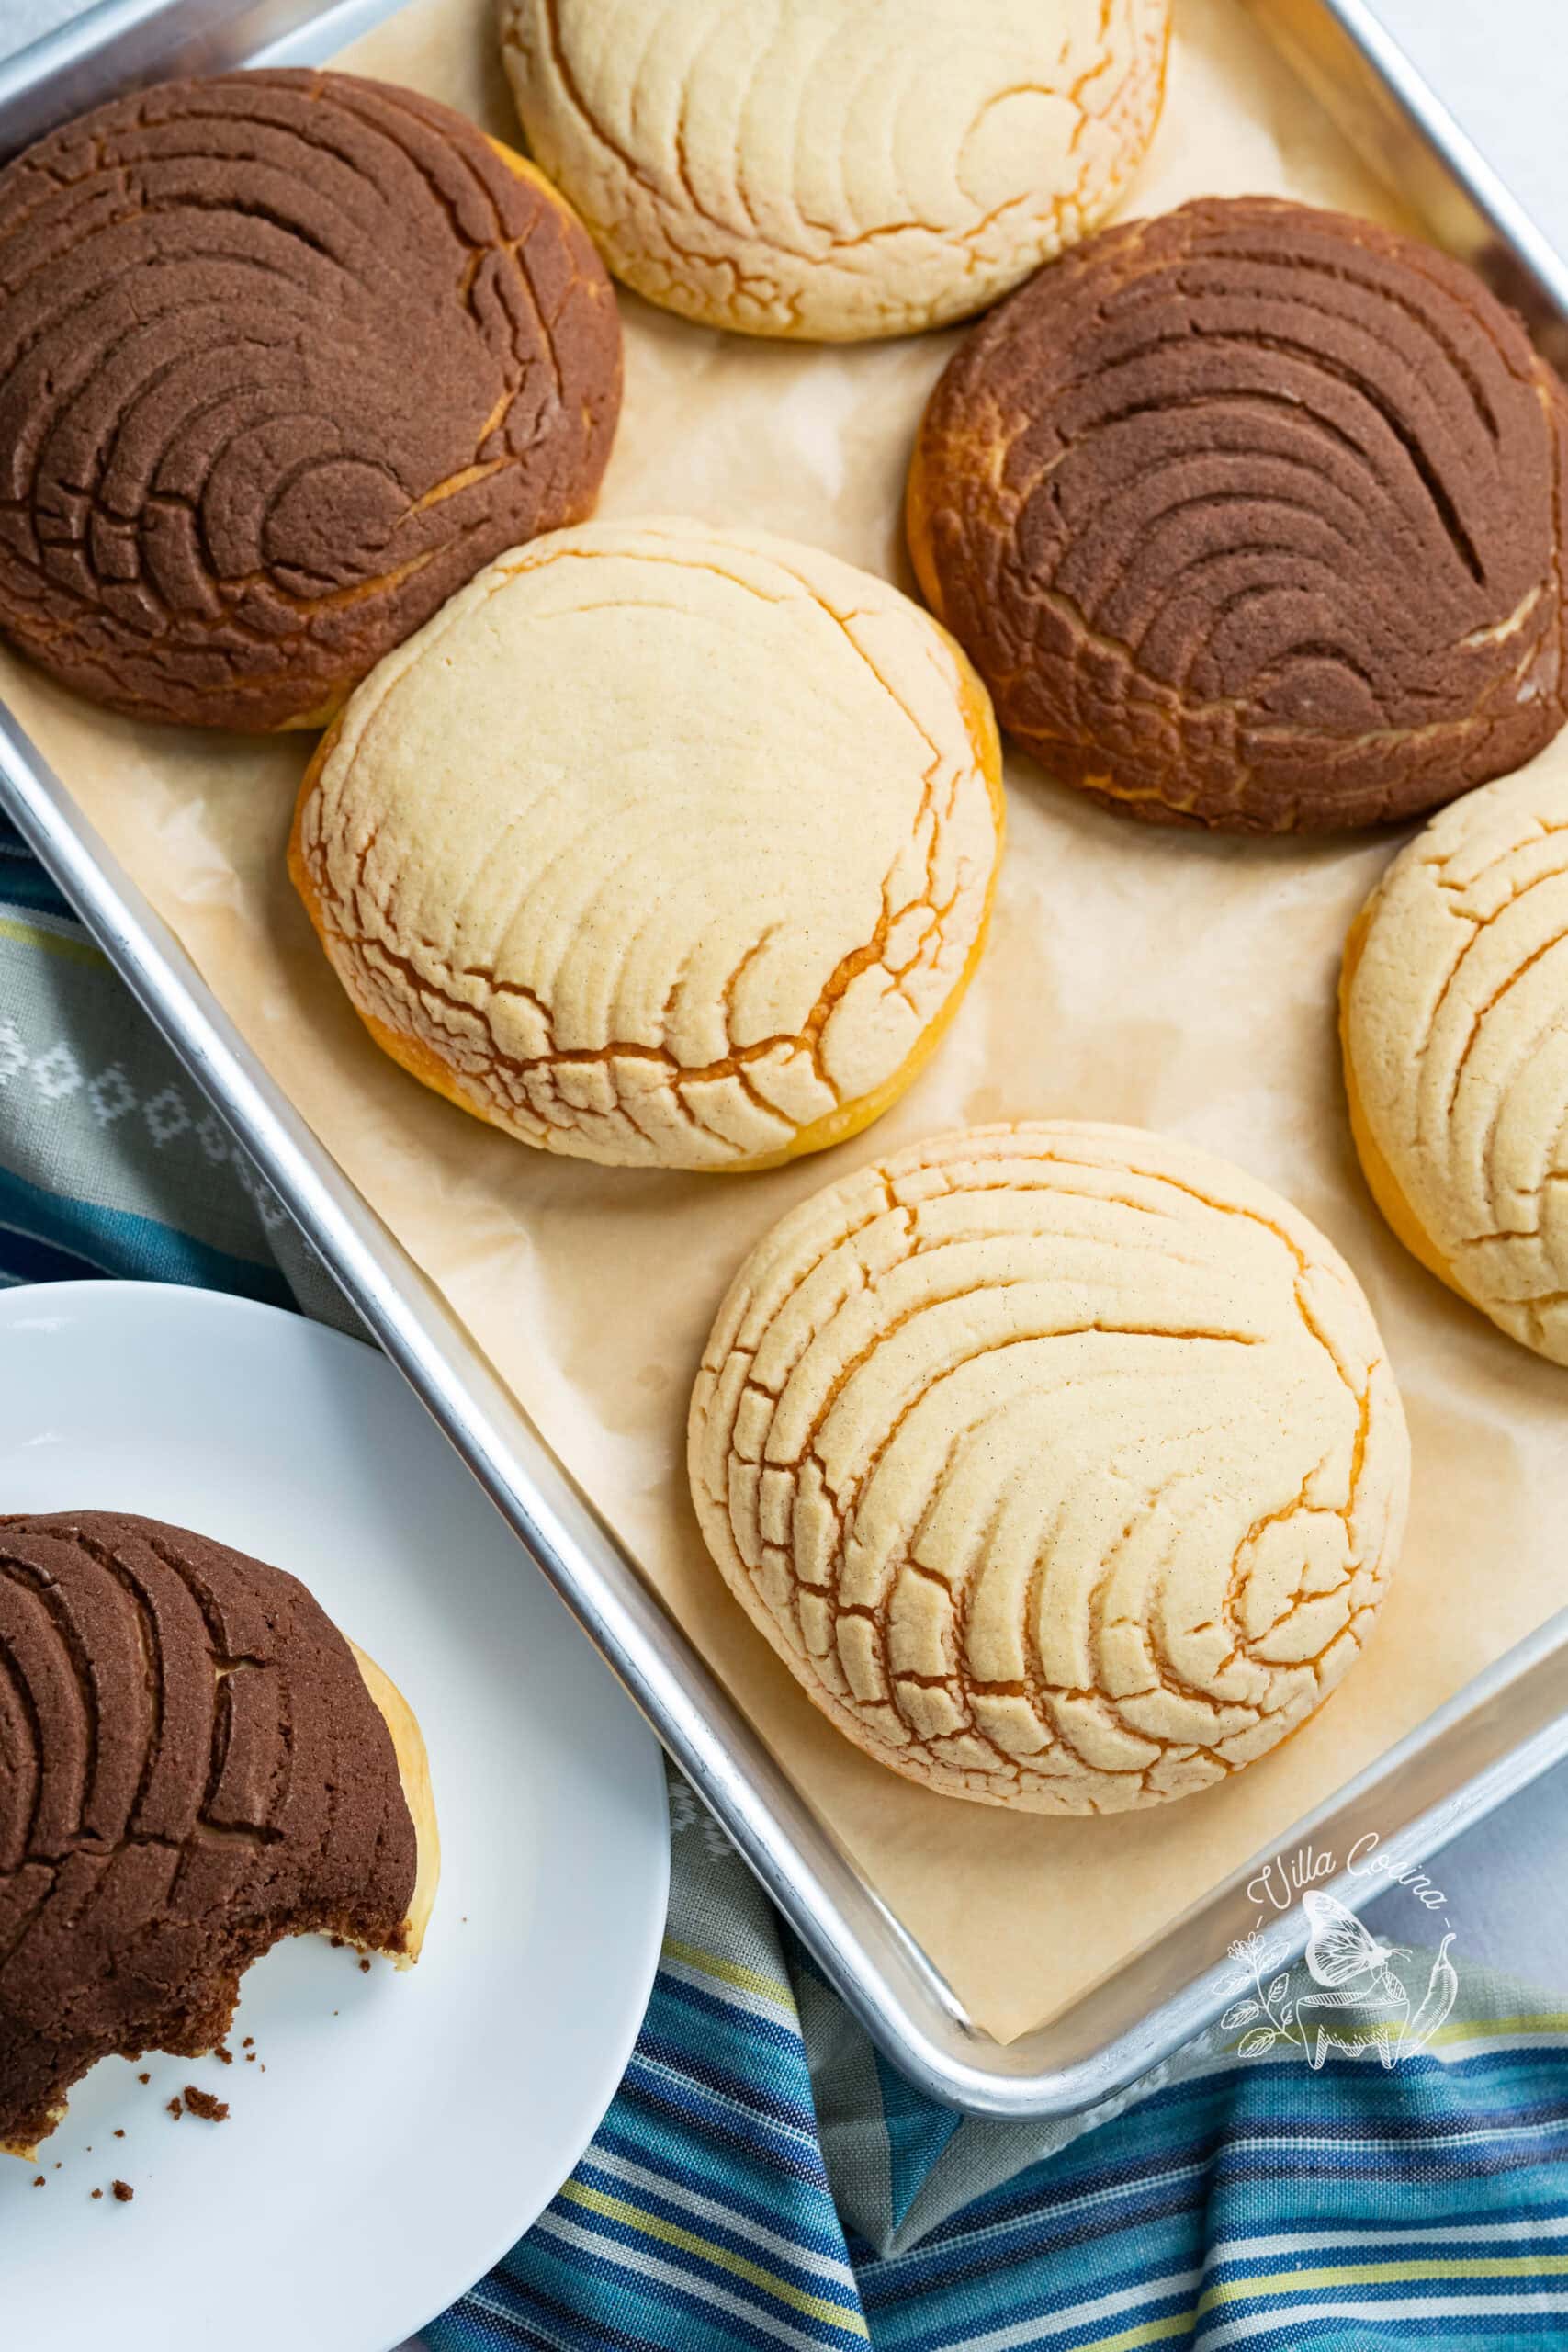
Growing up, we enjoyed conchas with a glass of milk, té de hojas de limón, made from the leaves of a lime tree, or lightly sweetened Mexican cinnamon tea.
These days, I love mine with Mexican hot chocolate or atole, especially champurrado. My husband prefers a cappuccino, which he makes with our much loved Breville machine.
Whether you choose tea, coffee, or chocolate, there’s something comforting about a warm drink and freshly baked pan dulce.
Helpful Tools
- Concha cutter: I found mine on Etsy, but Amazon has options too. Search for “concha cutter” or “concha stamp.” A knife also works for scoring the topping.
- Stand mixer: I’ve had my limited edition KitchenAid for over 10 years. While that model may be hard to find, the KitchenAid 7 Quart Stand Mixer is another option.
- Silicone baking mat: Optional, but it helps prevent sticking and reduces the need for extra flour.
- Sheet pans and parchment: You’ll need two half-sheet pans. I love these precut parchment sheets because they fit neatly inside.
Storing
Refrigerator: Let the conchas cool completely, then store in an airtight container or resealable bag for up to 5 days, taking care not to crush the topping.
Freezer: Let the conchas cool completely, then freeze in a single layer on a sheet pan until firm. Transfer to a freezer bag and store for up to 2 months. Thaw at room temperature until soft throughout, about 1–2 hours.
Warm Before Serving: Refrigeration and freezing can dry out the bread, so I microwave mine for about 15-20 seconds, just until warmed through. If frozen, thaw first. Adjust the time as needed, and check before eating, as the topping can get hot.
Frequently Asked Questions
Why are my conchas dry or dense?
Too much flour, insufficient rising time, or over-baking can affect the texture.
Why does my dough separate when I add the butter?
This is normal. Continue kneading to allow the butter to incorporate and the dough to come back together before adding extra flour.
Do I need a concha cutter?
No. Use a knife to create the seashell pattern, scoring only the topping without cutting into the bread dough.
Why did the topping crack outside the scored lines?
Some cracking is normal as the bread expands.
Mexican Conchas (Pan Dulce)
Ingredients
Shared Ingredients
- 4¾ cups all-purpose flour, divided, plus more for dusting as needed
- ½ cup unsalted butter, softened and cut into small cubes, plus more for greasing and coating
- 1 cup granulated sugar, divided, plus a pinch for the yeast
Concha Dough
- ½ cup whole milk
- 7 g active dry yeast, (1 packet)
- 3 large eggs, room temperature
- 1 tsp vanilla extract
- ½ tsp kosher salt
Sugar Topping
- ½ cup vegetable shortening
- 2 tsp vanilla paste
- 1 Tbsp cocoa powder, unsweetened
Instructions
Prepare the Dough
- Warm the milk to 105–110°F. Sprinkle in the active dry yeast and a pinch of sugar, then whisk to combine. Let stand for about 5 minutes, or until foamy.
- In the bowl of a stand mixer fitted with the paddle attachment, mix the eggs, activated yeast mixture, and vanilla extract on low speed just until combined. With the mixer running, gradually add the ½ cup sugar and kosher salt, mixing until incorporated.
- Gradually add the 3½ cups all-purpose flour. Once the mixture thickens and begins forming a dough, switch to the dough hook, scraping down the bowl and attachment as needed.
- Knead on low speed for about 2 minutes, until the dough comes together and begins pulling away from the sides of the bowl.
- Gradually add the ½ cup softened butter one piece at a time, allowing each addition to mostly incorporate before adding the next. The dough may initially separate, which is normal.
- Continue kneading for about 5 minutes, until the dough comes back together and becomes more cohesive and elastic. It should remain slightly tacky, as we’ll finish kneading it by hand.
- Transfer the dough to a nonstick work surface lightly dusted with some of the ¼ cup flour reserved for kneading. Knead by hand, adding more from that ¼ cup only as needed, until smooth, soft, and moist without sticking excessively to your hands.
- Stop adding flour once you reach the desired consistency. Continue kneading for 5–8 minutes, until the dough holds its shape while remaining slightly tacky.
First Proof
- Shape the dough into a smooth ball by tucking the edges underneath as you rotate it, applying gentle pressure to tighten it. Place in a large bowl greased with softened butter, turning to coat evenly.
- Cover with a clean kitchen towel and place in a turned-off oven with the light on and the door closed. Let rise for 1½–2 hours, or until doubled in size.
Prepare the Sugar Topping
- Using the paddle attachment, beat the shortening and ½ cup sugar on medium-high speed for 3–5 minutes, until creamy, lighter in color, and slightly fluffy. Scrape down the bowl as needed.
- Add the vanilla bean paste and 1 cup of flour. Mix on the Stir setting to incorporate, then increase to medium-low speed until a smooth, pliable paste forms.
- Divide the topping evenly in half. Add the cocoa powder to one half and mix briefly with the paddle attachment until fully incorporated.
- Divide the vanilla topping into 5 equal portions and the chocolate topping into 6 equal portions. Roll each into a ball, flatten slightly, and set aside.
Shape the Conchas
- Transfer the risen dough to a clean, nonstick work surface, lightly floured only if needed to prevent sticking. Avoid excess flour, which can dry it out. Divide into 3 oz portions.
- Shape each portion into a smooth, round ball by tucking the edges underneath as you rotate, gently tightening the dough. For a smoother finish, cup your hand over it and roll in a circular motion. Lightly coat them with softened butter.
- Lightly butter your hands and flatten a portion of sugar topping into a circle large enough to cover the surface of the dough ball.
- Gently press the topping into place, smoothing it over the top and partway down the sides while slightly flattening the dough into a thick, round disk. Repeat with the remaining portions.
- Arrange on two parchment-lined half-sheet pans, leaving enough space to expand during proofing and baking.
- Lightly flour a concha stamp and press firmly into the sugar topping, scoring only the topping without cutting into the dough. Alternatively, use a knife to score the design.
Final Proof and Bake
- Loosely cover the conchas with plastic wrap, keeping it from pressing against or sticking to the topping. Place in a turned-off oven with the light on and the door closed. Let rise for 1½–2 hours, or until noticeably puffy and nearly doubled in size.
- When the conchas are nearly ready, remove them from the oven and preheat to 350°F. I removed mine after 1 hour and 20 minutes, allowing them to finish rising at room temperature while my oven preheated for about 10 minutes.
- Carefully remove the plastic wrap and bake for 15–20 minutes, rotating the pans halfway through for even baking.
- The conchas are ready when the bottoms are lightly golden brown and the bread is baked through, with an internal temperature of 205°F. Check each pan individually, as one may finish sooner.
- Let the conchas rest on the baking sheets for 5 minutes, then carefully transfer them to a wire rack to finish cooling. Enjoy warm or at room temperature.
Equipment
- Concha cutter, I found mine on Etsy, but Amazon has options too. Search for “concha cutter” or “concha stamp.”
- Plastic Wrap
Notes
Nutrition
Did you make this recipe?
Show some love! Tag @villacocinaofficial on Instagram and drop a 5-star review. Your support means everything—thanks!