Tostadas Raspadas
Tostadas raspadas is a type of tostada that uses a very interesting technique I came across when visiting Jalisco, Mexico. Its name translates to “scraped tostadas.” If you ever had one in the past, then you know, this is only the tip of the iceberg when it comes to flavors and options. The main difference between this tostadas, opposed to the traditional kind, is that they get part of the masa scrapped off during the cooking process. This, in part, makes them that much crunchy and interesting to work with. Moreover, they can be topped with some delicious shredded pork, chicken Tinga, or the meat of your choice.
Common tostadas vs Tostadas raspadas
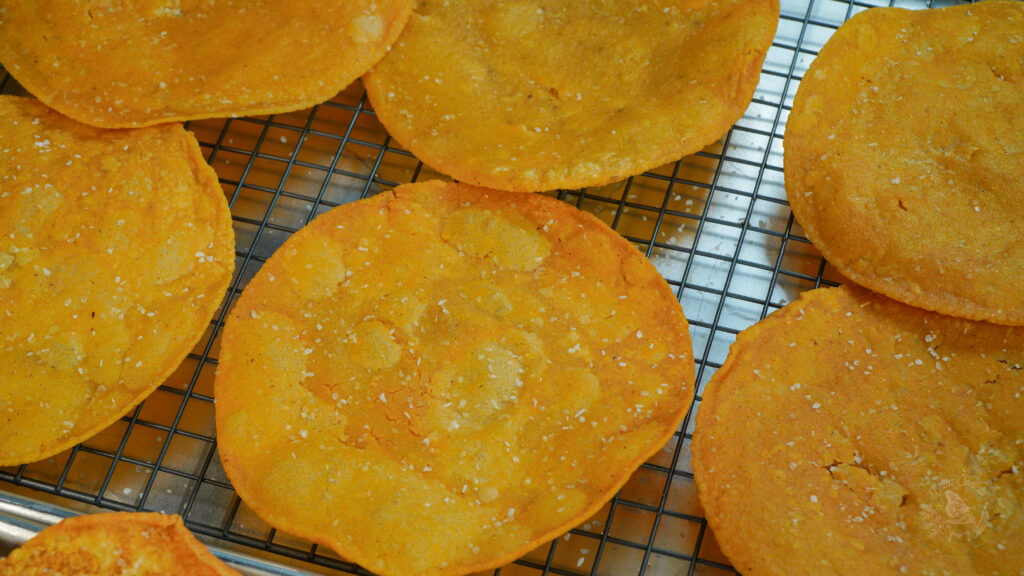
The difference is obvious when it comes these tostadas. The most commonly known is basically a fried or baked tortilla. It does not tend to involve any extra steps when frying. In the other hand, the “raspadas” version does require for a layer of the masa to be removed during the cooking process. It’s a step that may seem meaningless if you don’t pay close attention. The end result does yield great revelations. for instance, the raspada is thiner with a rough texture which makes it slightly crunchier than the normal one. Overall, there are different options, each having something special to offer.
Video Tutorial
Enjoyed the video? Subscribe and tap the bell for updates on new recipes. Thank you for your support!
Tostadas Raspadas
Ingredients
- 2 cups instant corn masa harina
- 1 1/4 – 1 1/2 cups room temperature or warm water
Deep Fry
Season
- kosher salt
Instructions
- Prepare the masa dough: Place the corn masa harina in a large bowl and gradually pour in the warm water. Knead in between additions until it is fully hydrated and the masa comes together/there is no dry patches. Then, continue kneading for 5 more minutes until smooth, firm, and will not stick to your clean hands (note # 1.)
- Portion the dough into 2.5 oz balls. Then, in a rocking motion, flatten each one into a disk by slightly applying pressure in between your hands.
- Mold the tortillas: Heat a comal over medium heat, so the tortilla cooks though but does not burn. Place the disk of masa in between the two pcs of plastic circles that line the tortilla press (note # 2.) Press the dough to form the tortilla, leave it slightly thick, but not too thick because we will have a hard time chewing it.
- Peel the plastic pieces from the tortilla and in a smooth, backhanded sweeping motion, lay it flat on the comal (which should be hot by now.) We are only going to flip the tortilla ONE time instead of the usual TWO because we don’t want them to puff. Cook for 30 seconds and once the edges begin to change color, flip it. Let the underside cook for about 2:00 minutes. We want the bottom to cook through because if it doesn’t, it will tare when we crape the top off. Once the bottom looks toasty, cooked through, and has golden browns spots, quickly transfer on to a silpad or non-stick heat proof surface.
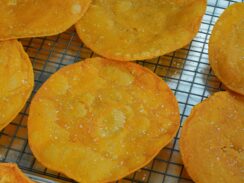
- Scrape the tortilla: Gently hold it down with a paper towel to prevent your hand from burning. While still hot, gently but quickly scrape off the side of the tortilla that was cooked first with a stainless steel scraper. Use the paper towel wisely to protect yourself from the heat and steam.
- Transfer them onto a rack with a sheet pan under it and continue with the rest. Preheat the oven to 350 F degrees. Once hot, bake the scraped tortillas for about 10 minutes to draw out some of the moisture. The rack will allow the heat to circulate, targeting both sides of the tortilla. Remove from the oven let them cool down so we can handle them.
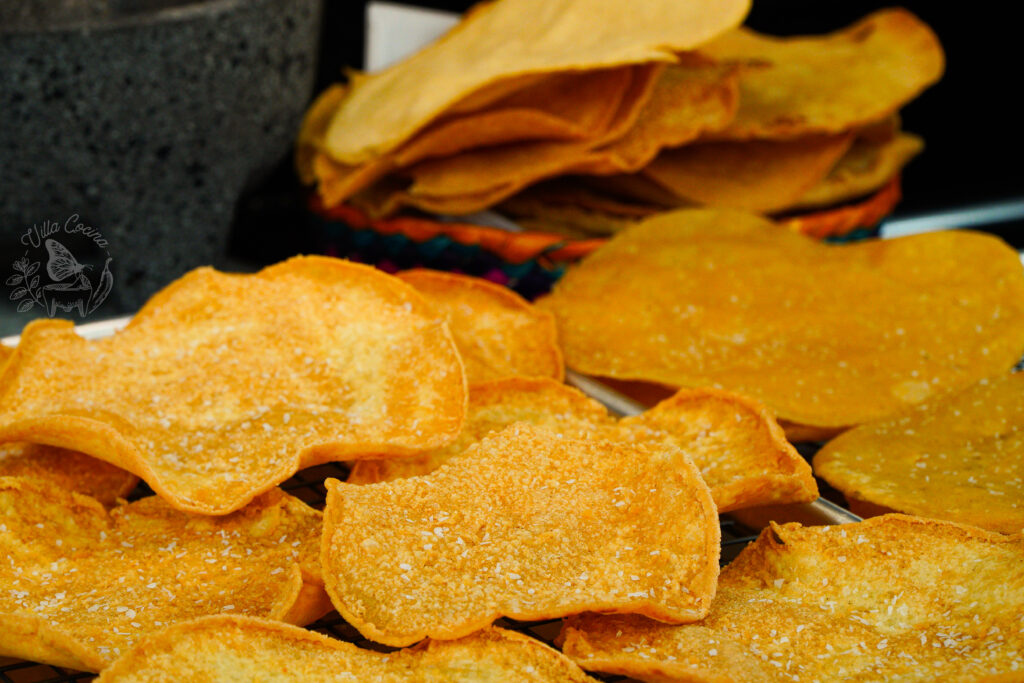
- Deep fry: heat about 1.5 inches of a neutral oil, one that’s good for frying, to a safe temperature of 350 F degree. Deep fry the tortillas until both sides are golden brown, crispy hard, and toasted, about 30-40 seconds total. Transfer onto a rack (with a sheet pan under it) to drain some of the excess oil and while still hot lightly season each one with salt. Let them cool down.
- Store in a air tight container or resealable bag at room temperature for up to one week or 7 days.
- Then, all thats left to do is ENJOY as a side with pozole or turn it into a dish.
Notes
Did you make this recipe?
Show some love! Tag @villacocinaofficial on Instagram and drop a 5-star review. Your support means everything—thanks!