
Crispy Chicken Tacos
Crispy Chicken Tacos with juicy marinated chicken and melted cheese, shallow-fried until golden and crisp. Easy to make and loaded with flavor.
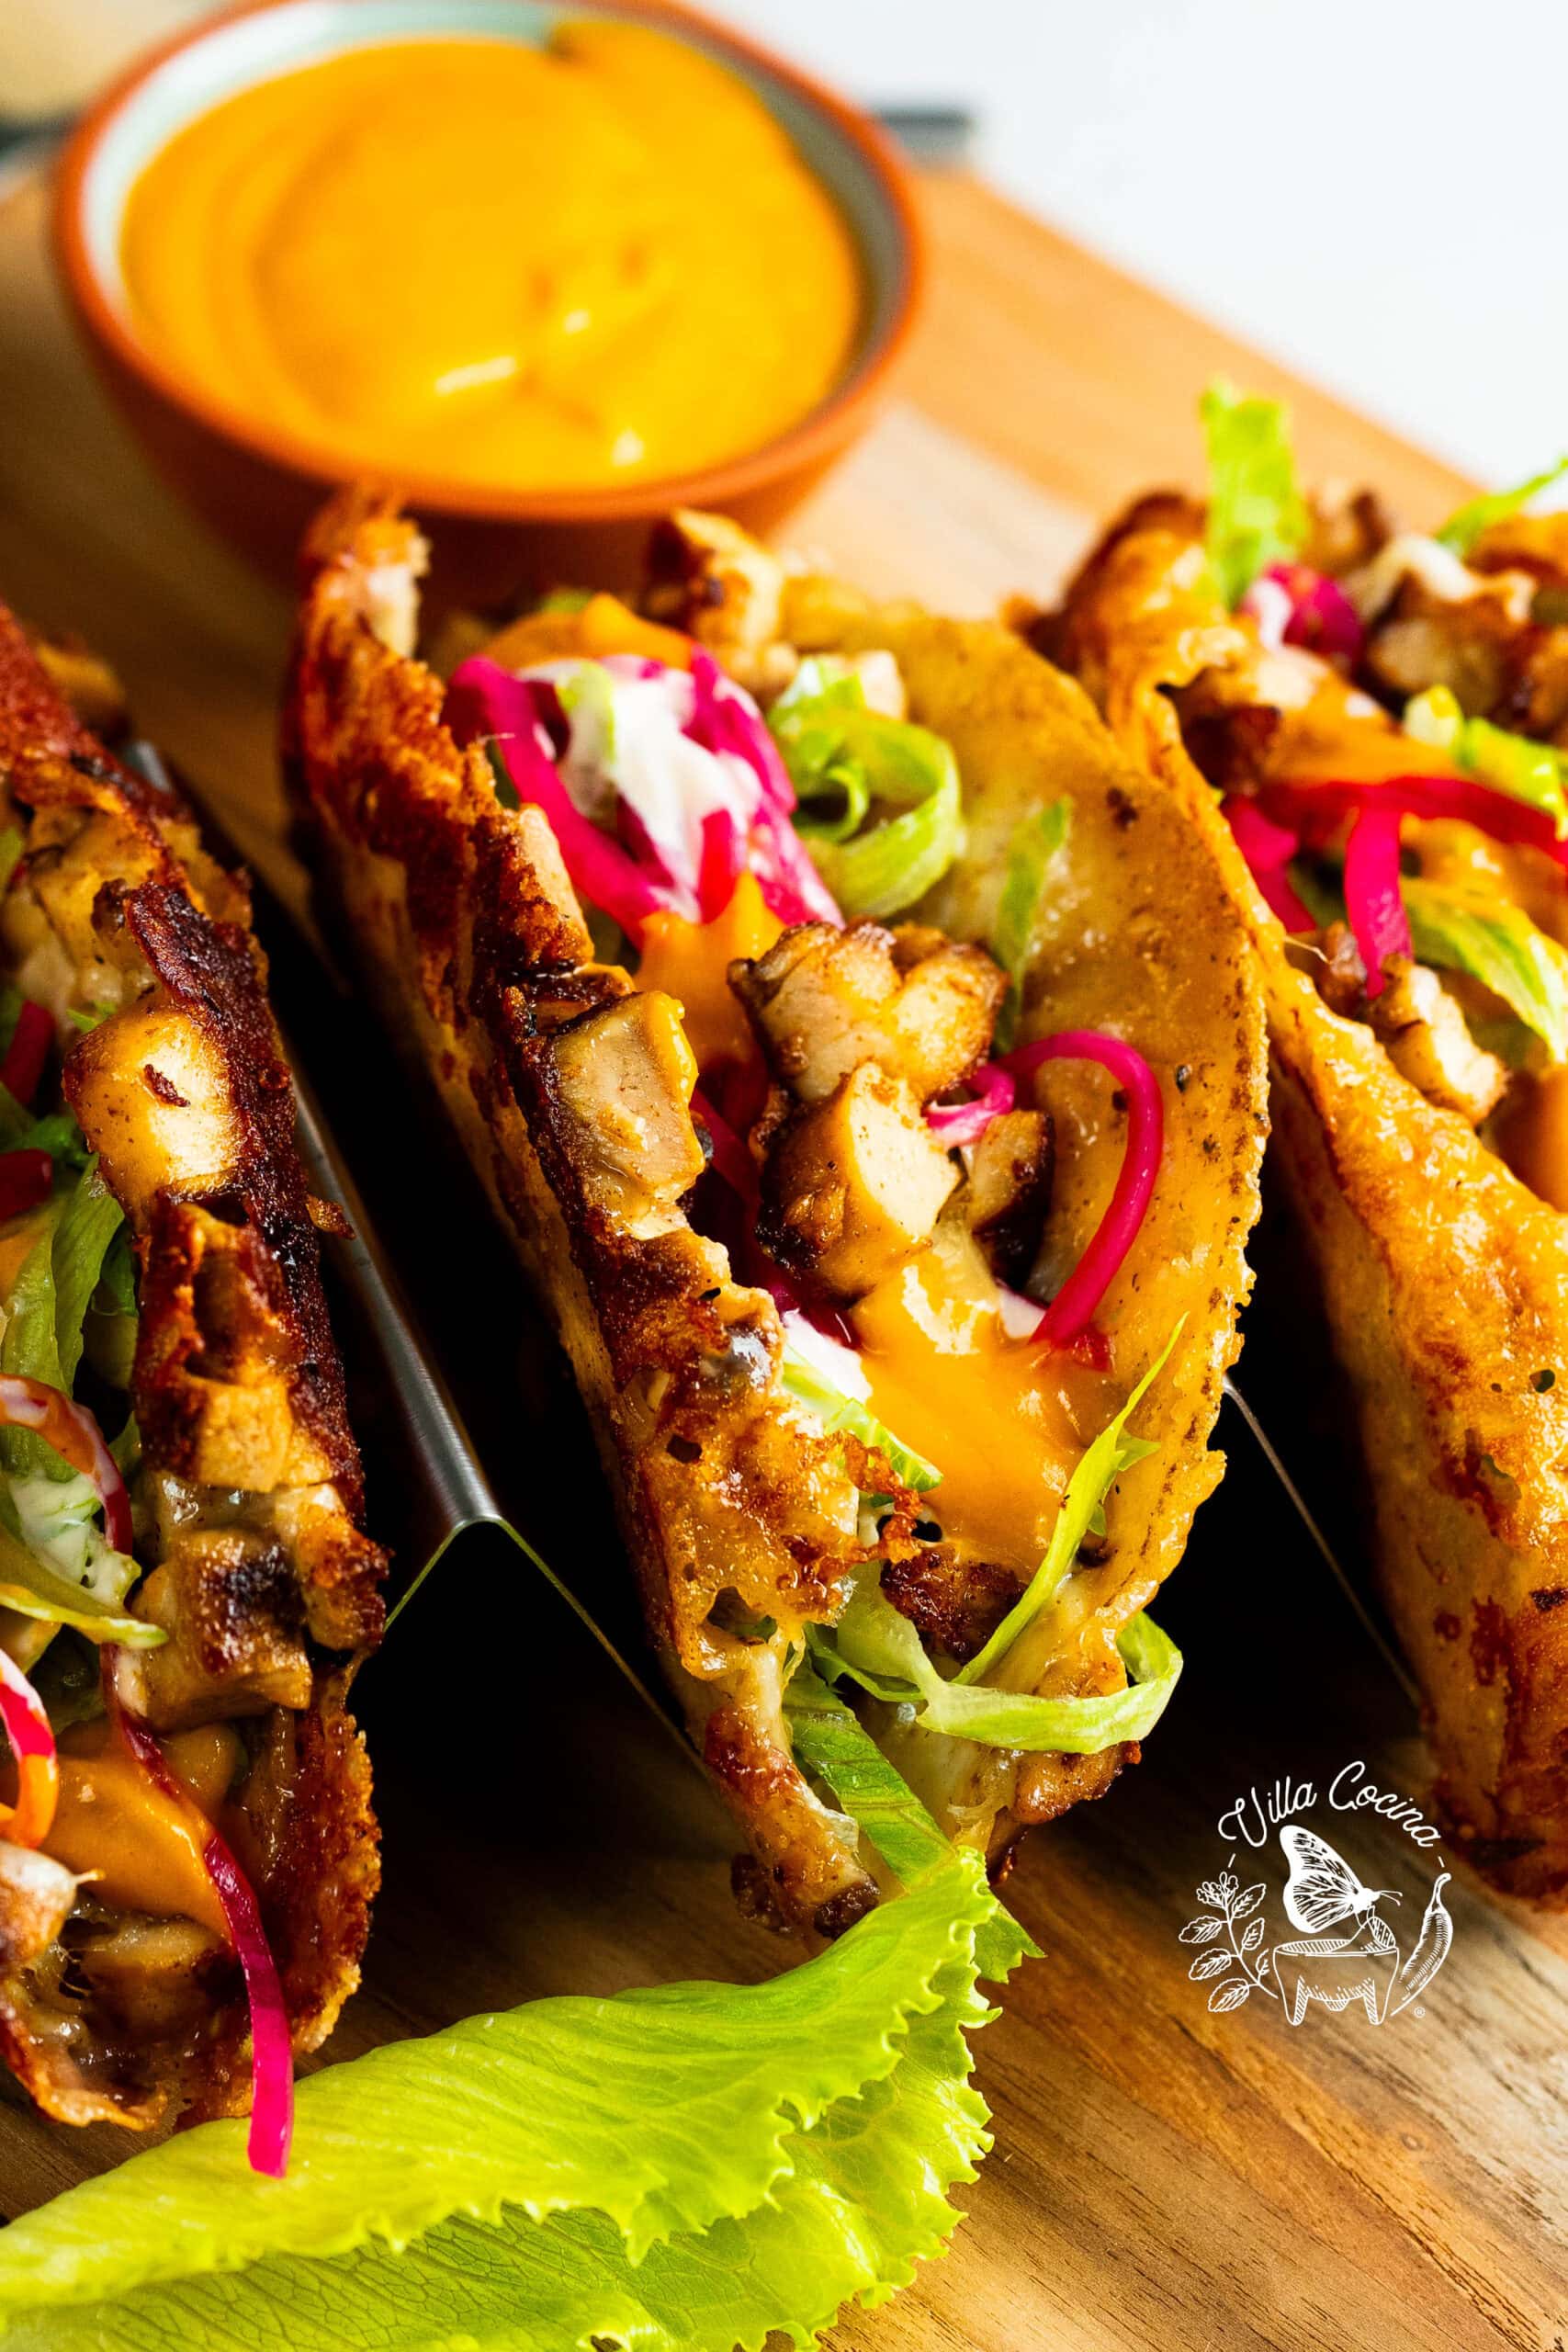
When it comes to tacos, the word itself carries a lot of weight. There’s an expectation that comes with it, and I can’t imagine a taco that isn’t packed with flavor.
To me, a great taco needs layers: a well-seasoned filling, something rich and melty, plenty of crunch, a fresh element, and a salsa that brings everything together. That contrast is what makes every bite so satisfying.
With this recipe, I wanted to get the taco right before even thinking about the toppings. Adding Oaxaca cheese and shallow frying brought the base together in exactly the way I hoped.
Then came the toppings, which my husband absolutely fell in love with. But as good as they are, the taco underneath had to stand on its own, and this one does.
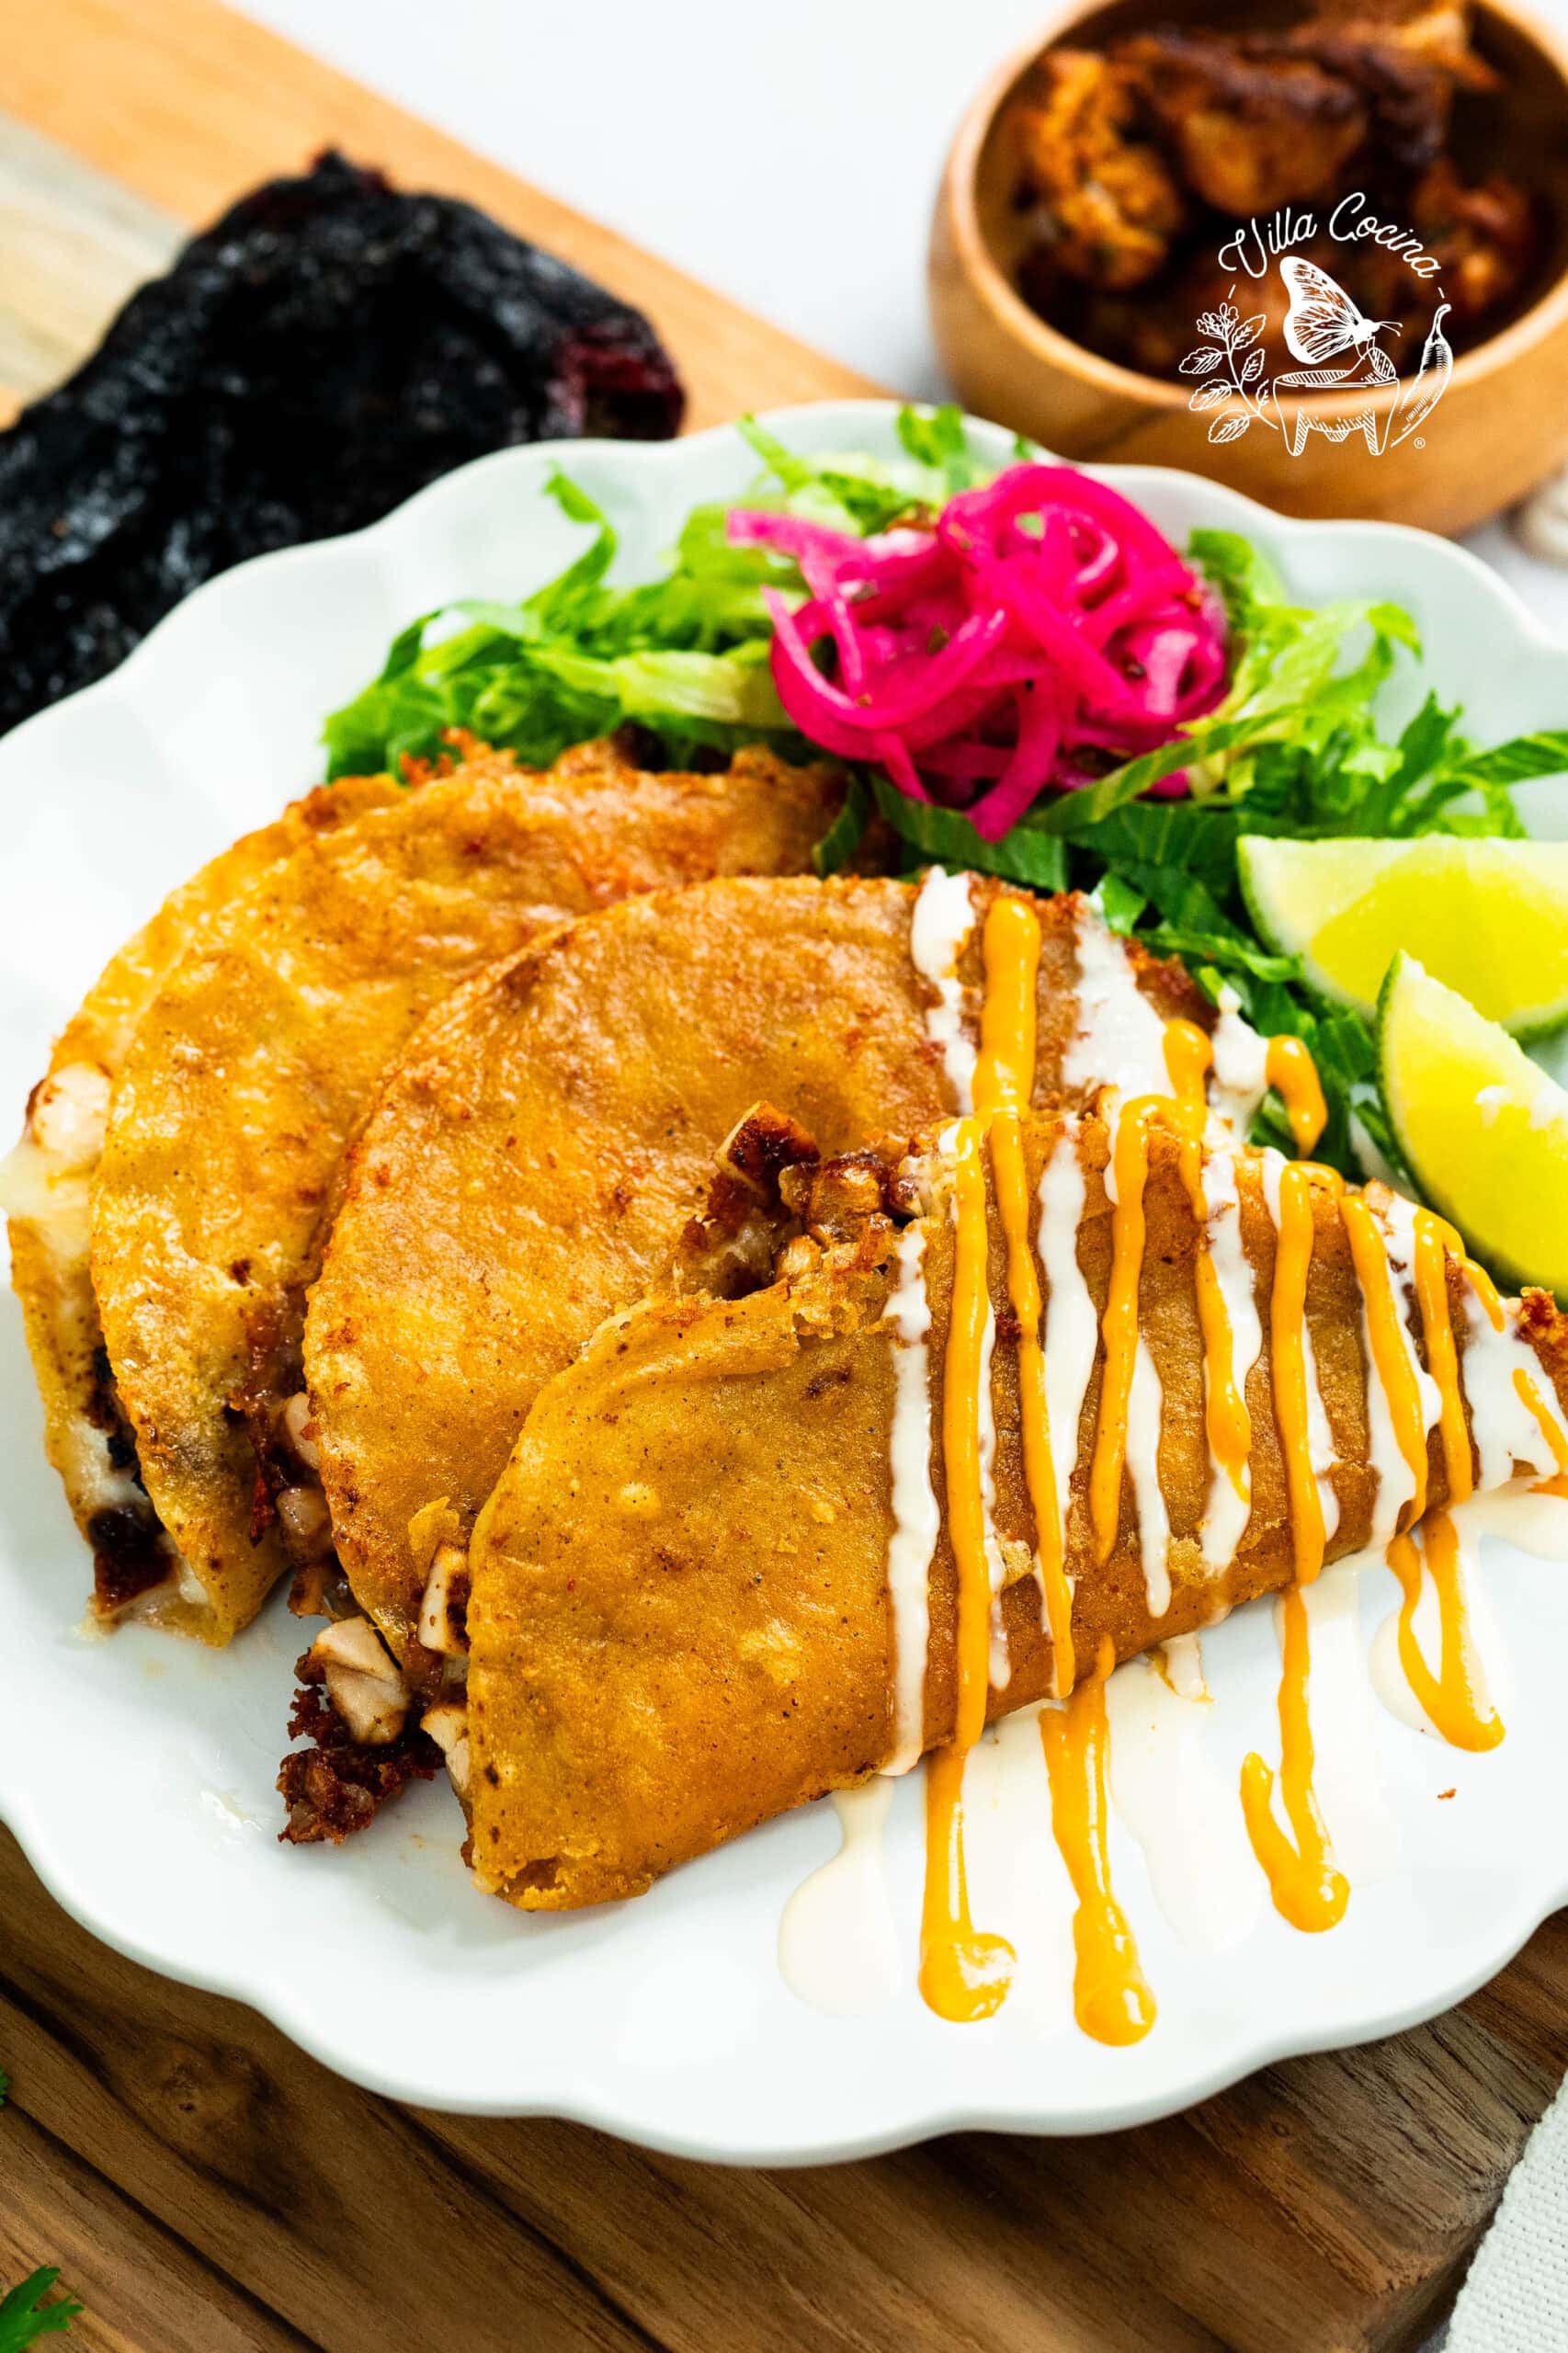
Ingredients
- Chicken thighs: Boneless, skinless chicken thighs stay juicy, tender, and flavorful.
- Corn tortillas: Fry up beautifully crisp while adding that delicious toasted corn flavor.
- Oaxaca cheese: Mild, creamy, and beautifully melty. In Oaxaca, this beloved cheese is known as quesillo.
- Avocado oil: Used in both the marinade and for frying. Its neutral flavor and high smoke point make it a great choice for both.
- Citrus & vinegar: Orange juice adds subtle sweetness and fruitiness, while lime juice brings bright acidity. The zest adds fresh citrus aroma and lets us make the most of the lime. White wine vinegar adds tang and helps balance the richness of the chicken.
- Spices & salt: This blend creates a bold balance of smoky, earthy, warm, and savory flavors with just enough heat. Together, the spices give the chicken depth and that unmistakable Mexican-inspired flavor that makes the marinade stand out.
- Toppings: Simple Mexican favorites like shredded lettuce, pickled red onions, crema Mexicana, and salsa add freshness, acidity, creaminess, and heat, creating the perfect balance for these crispy tacos.
How to Make Crispy Chicken Tacos
Here’s a quick overview of how everything comes together. For full, step-by-step instructions, be sure to check out the recipe card below.
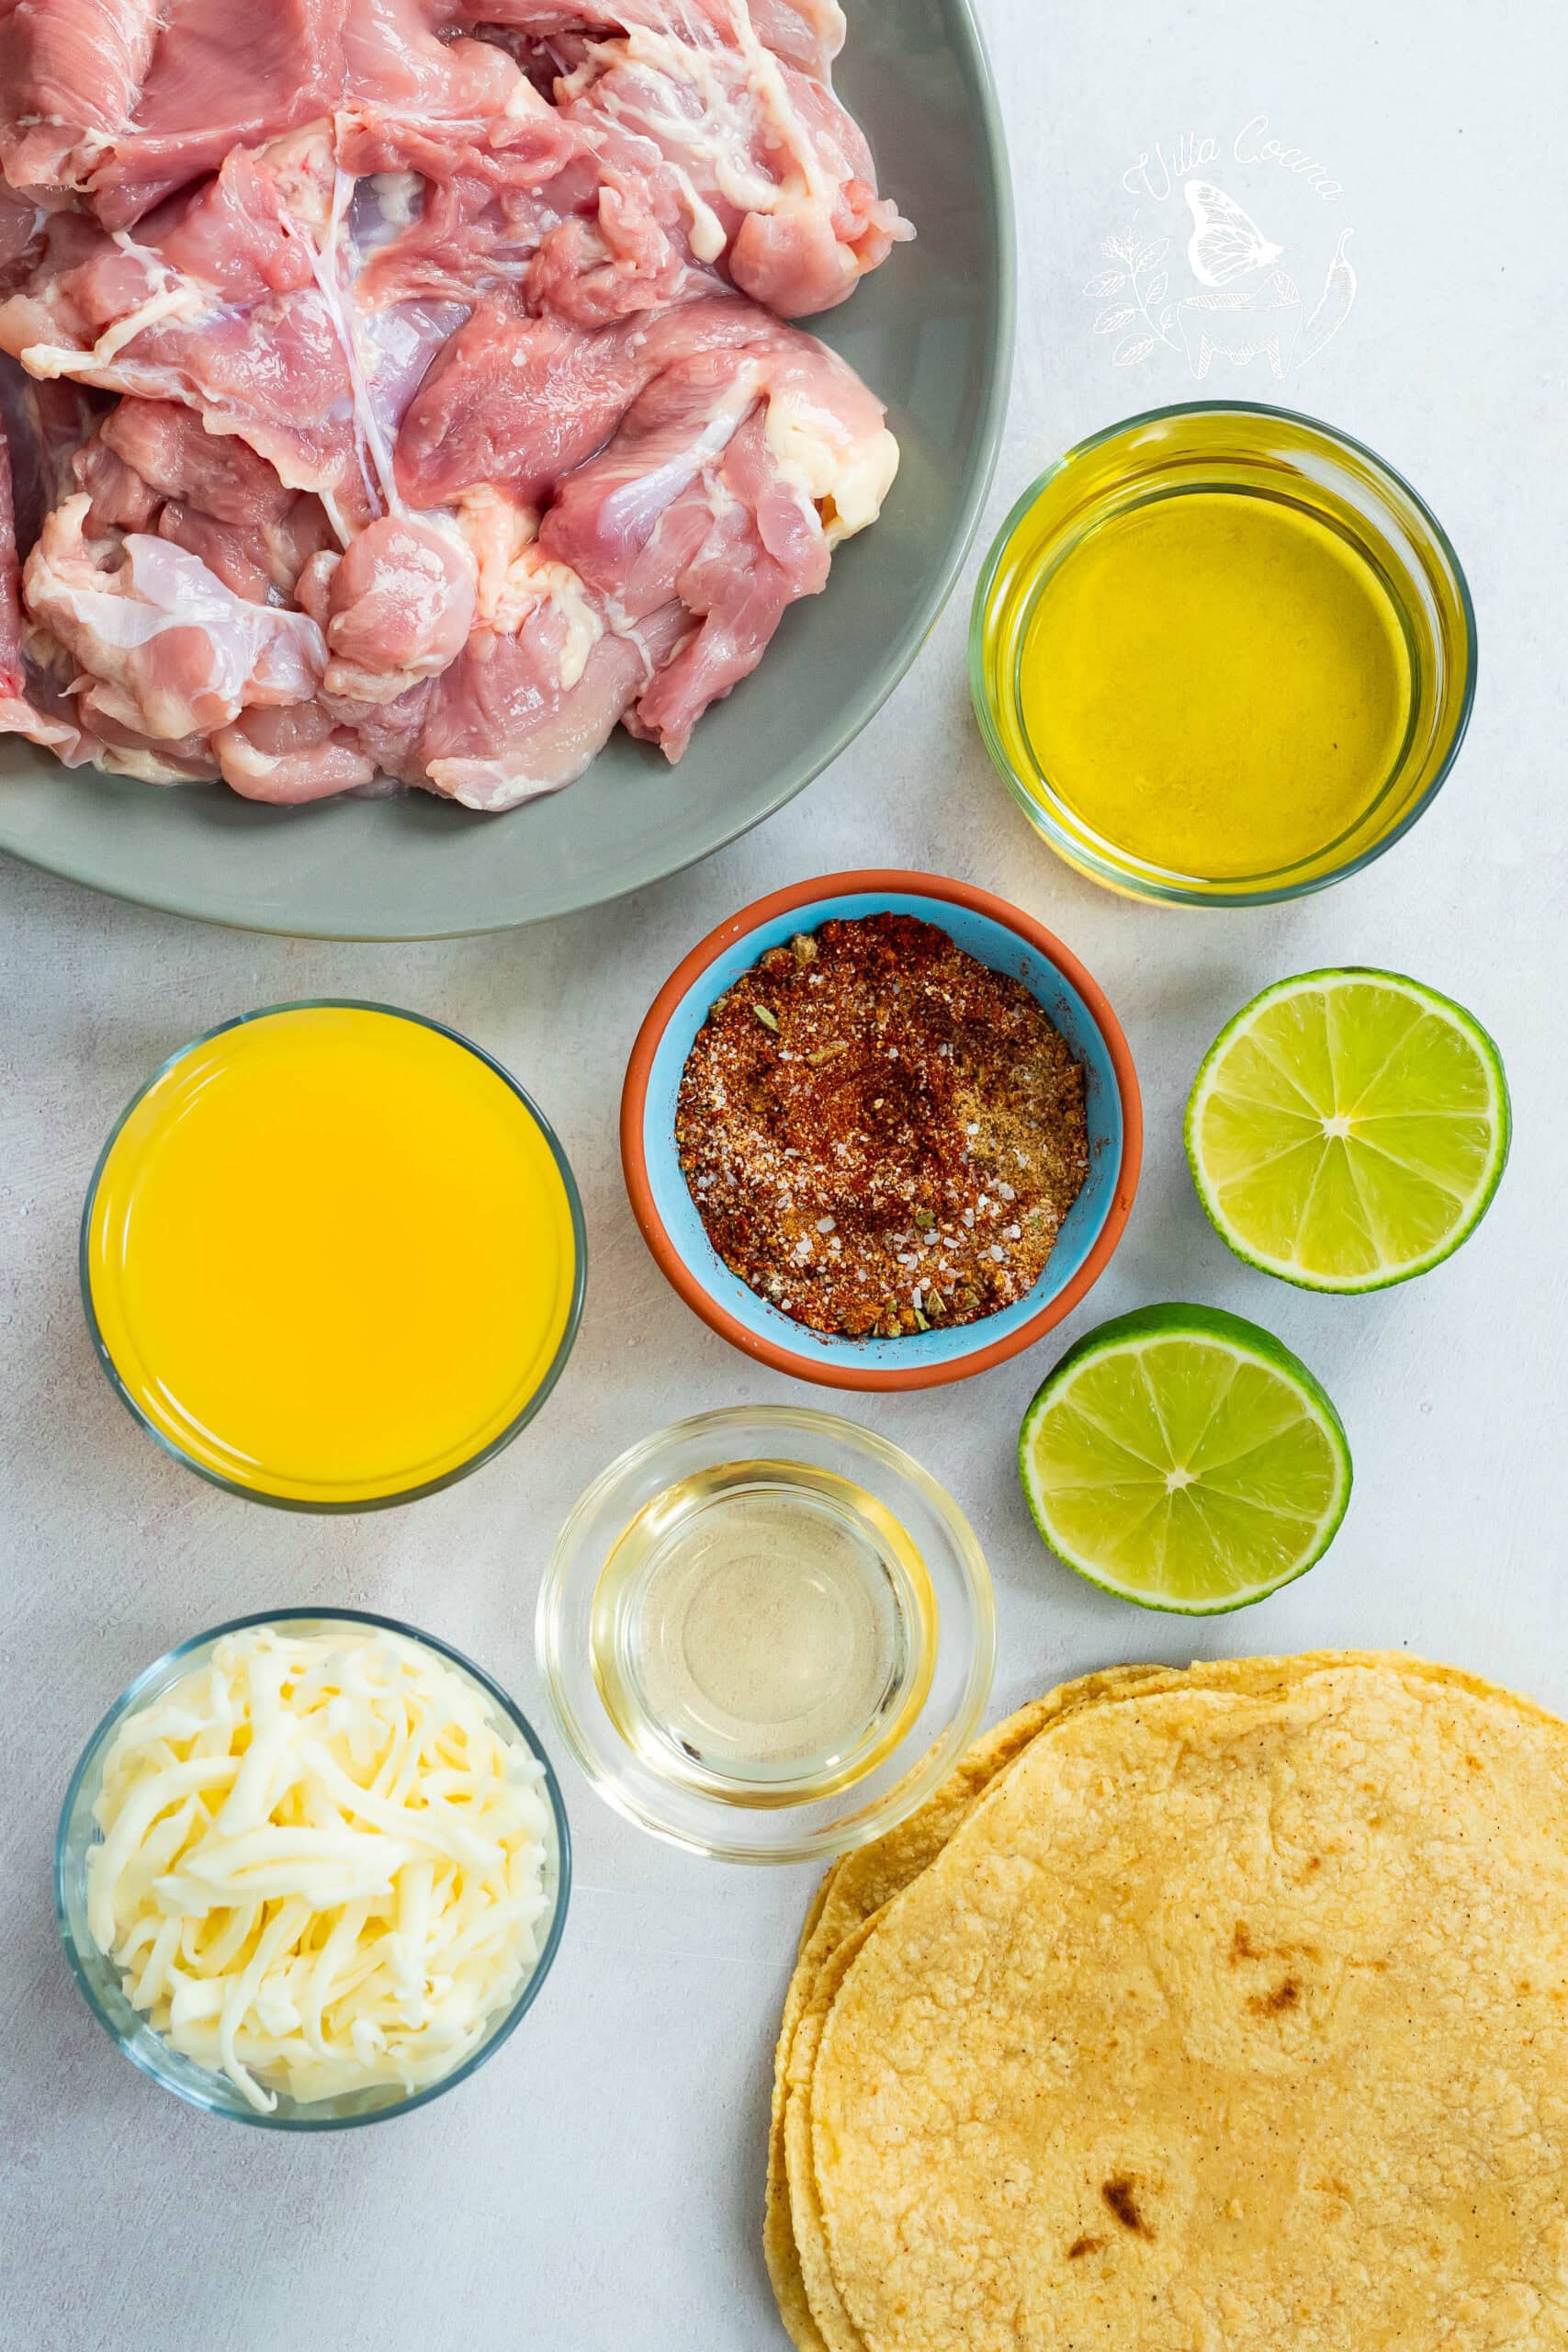
Marinate and Cook the Chicken
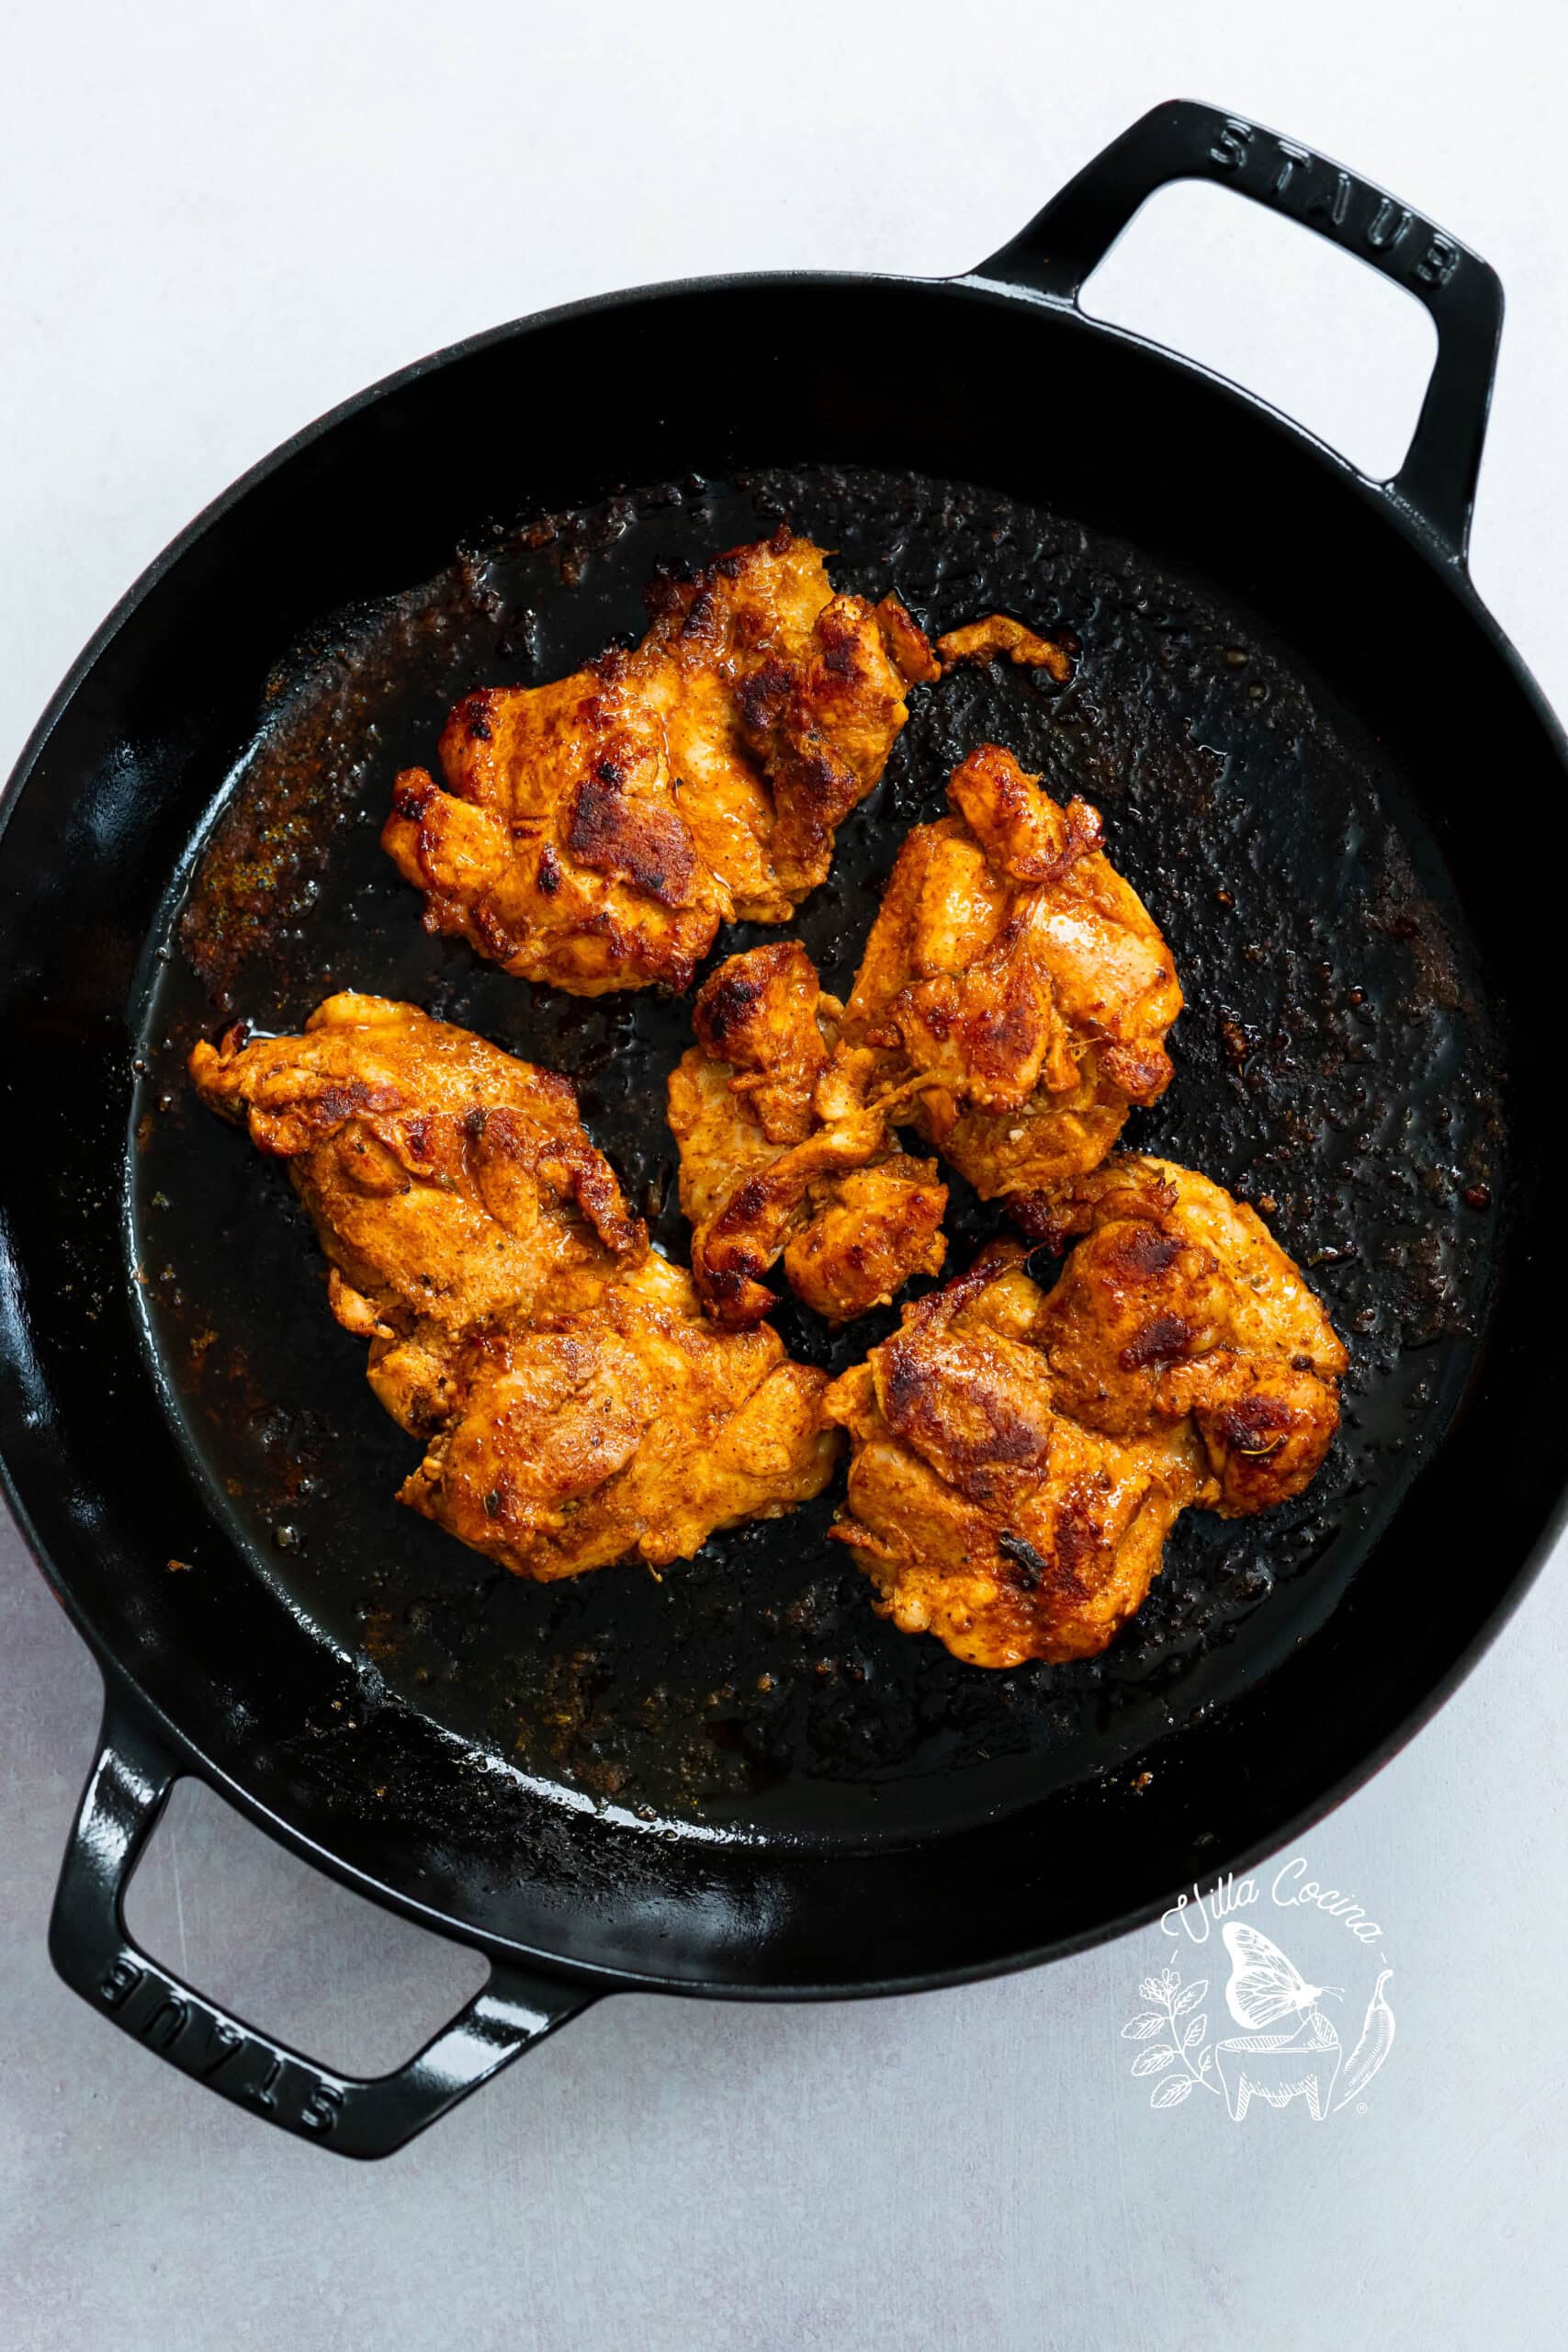
Whisk the marinade ingredients together, add the chicken, and coat well. Cover and refrigerate for 4 to 6 hours. Cook in a hot skillet until browned and cooked through, then let rest before dicing into bite sized pieces.
Make the Tacos
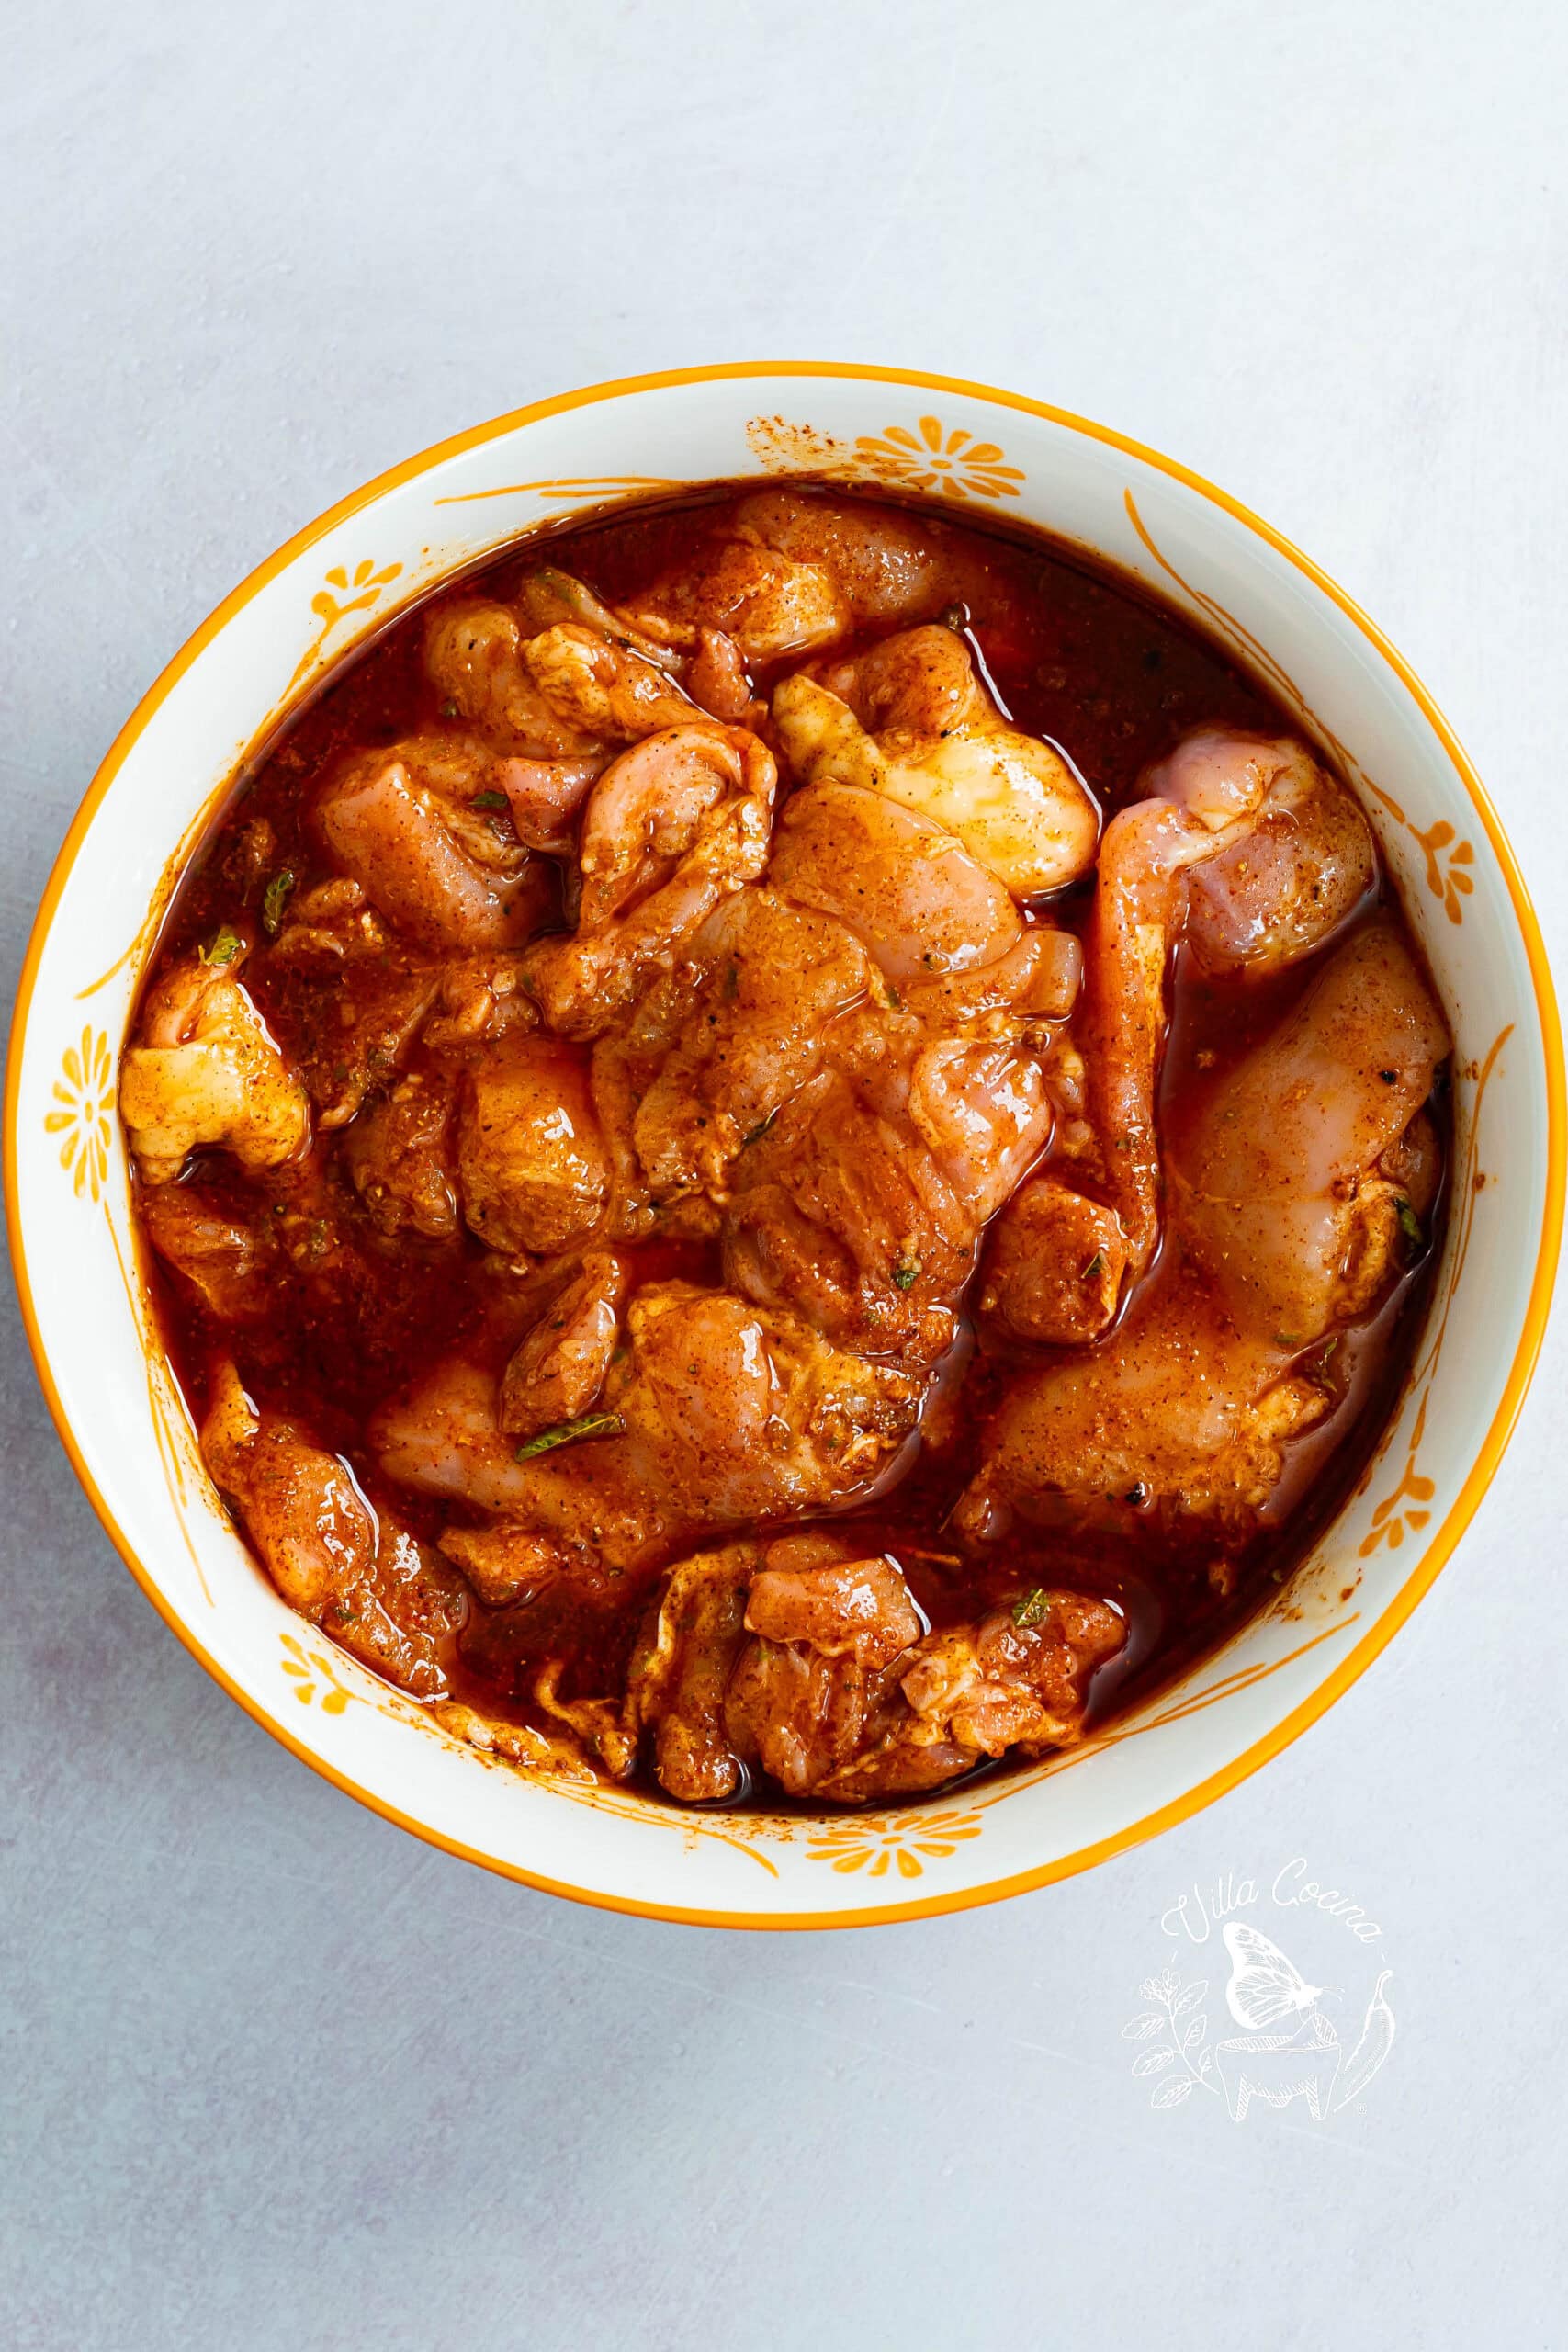
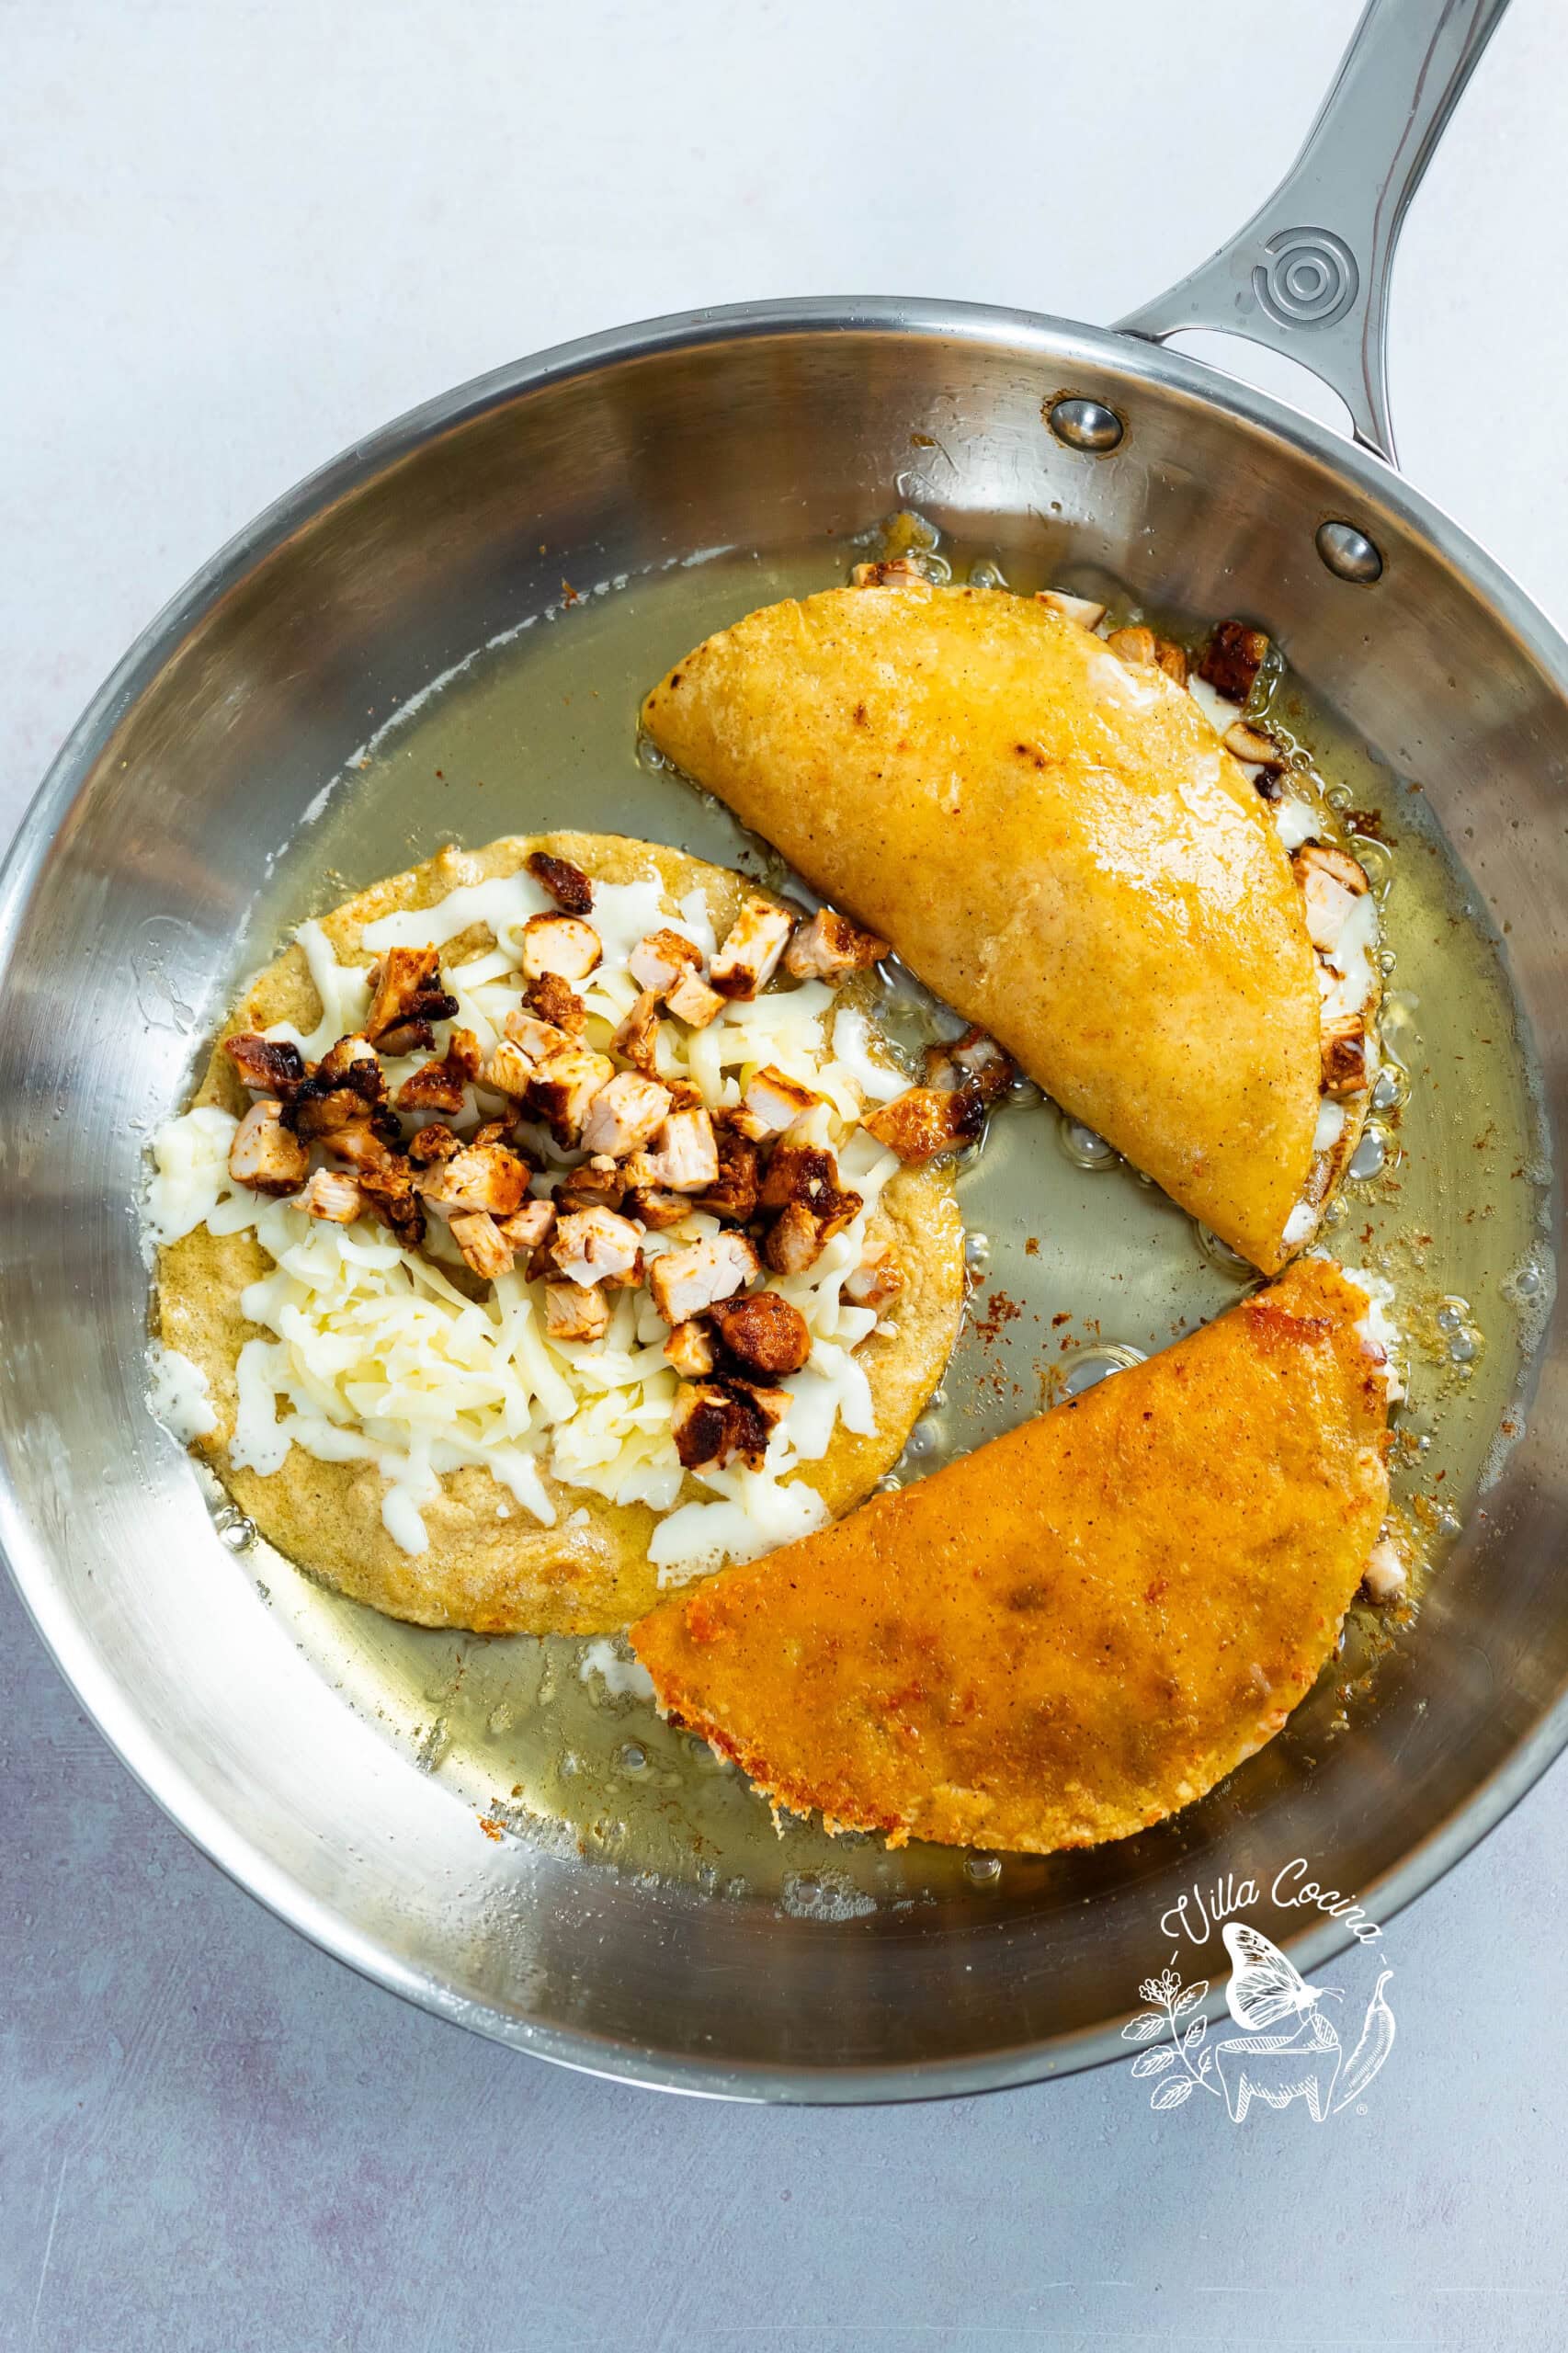
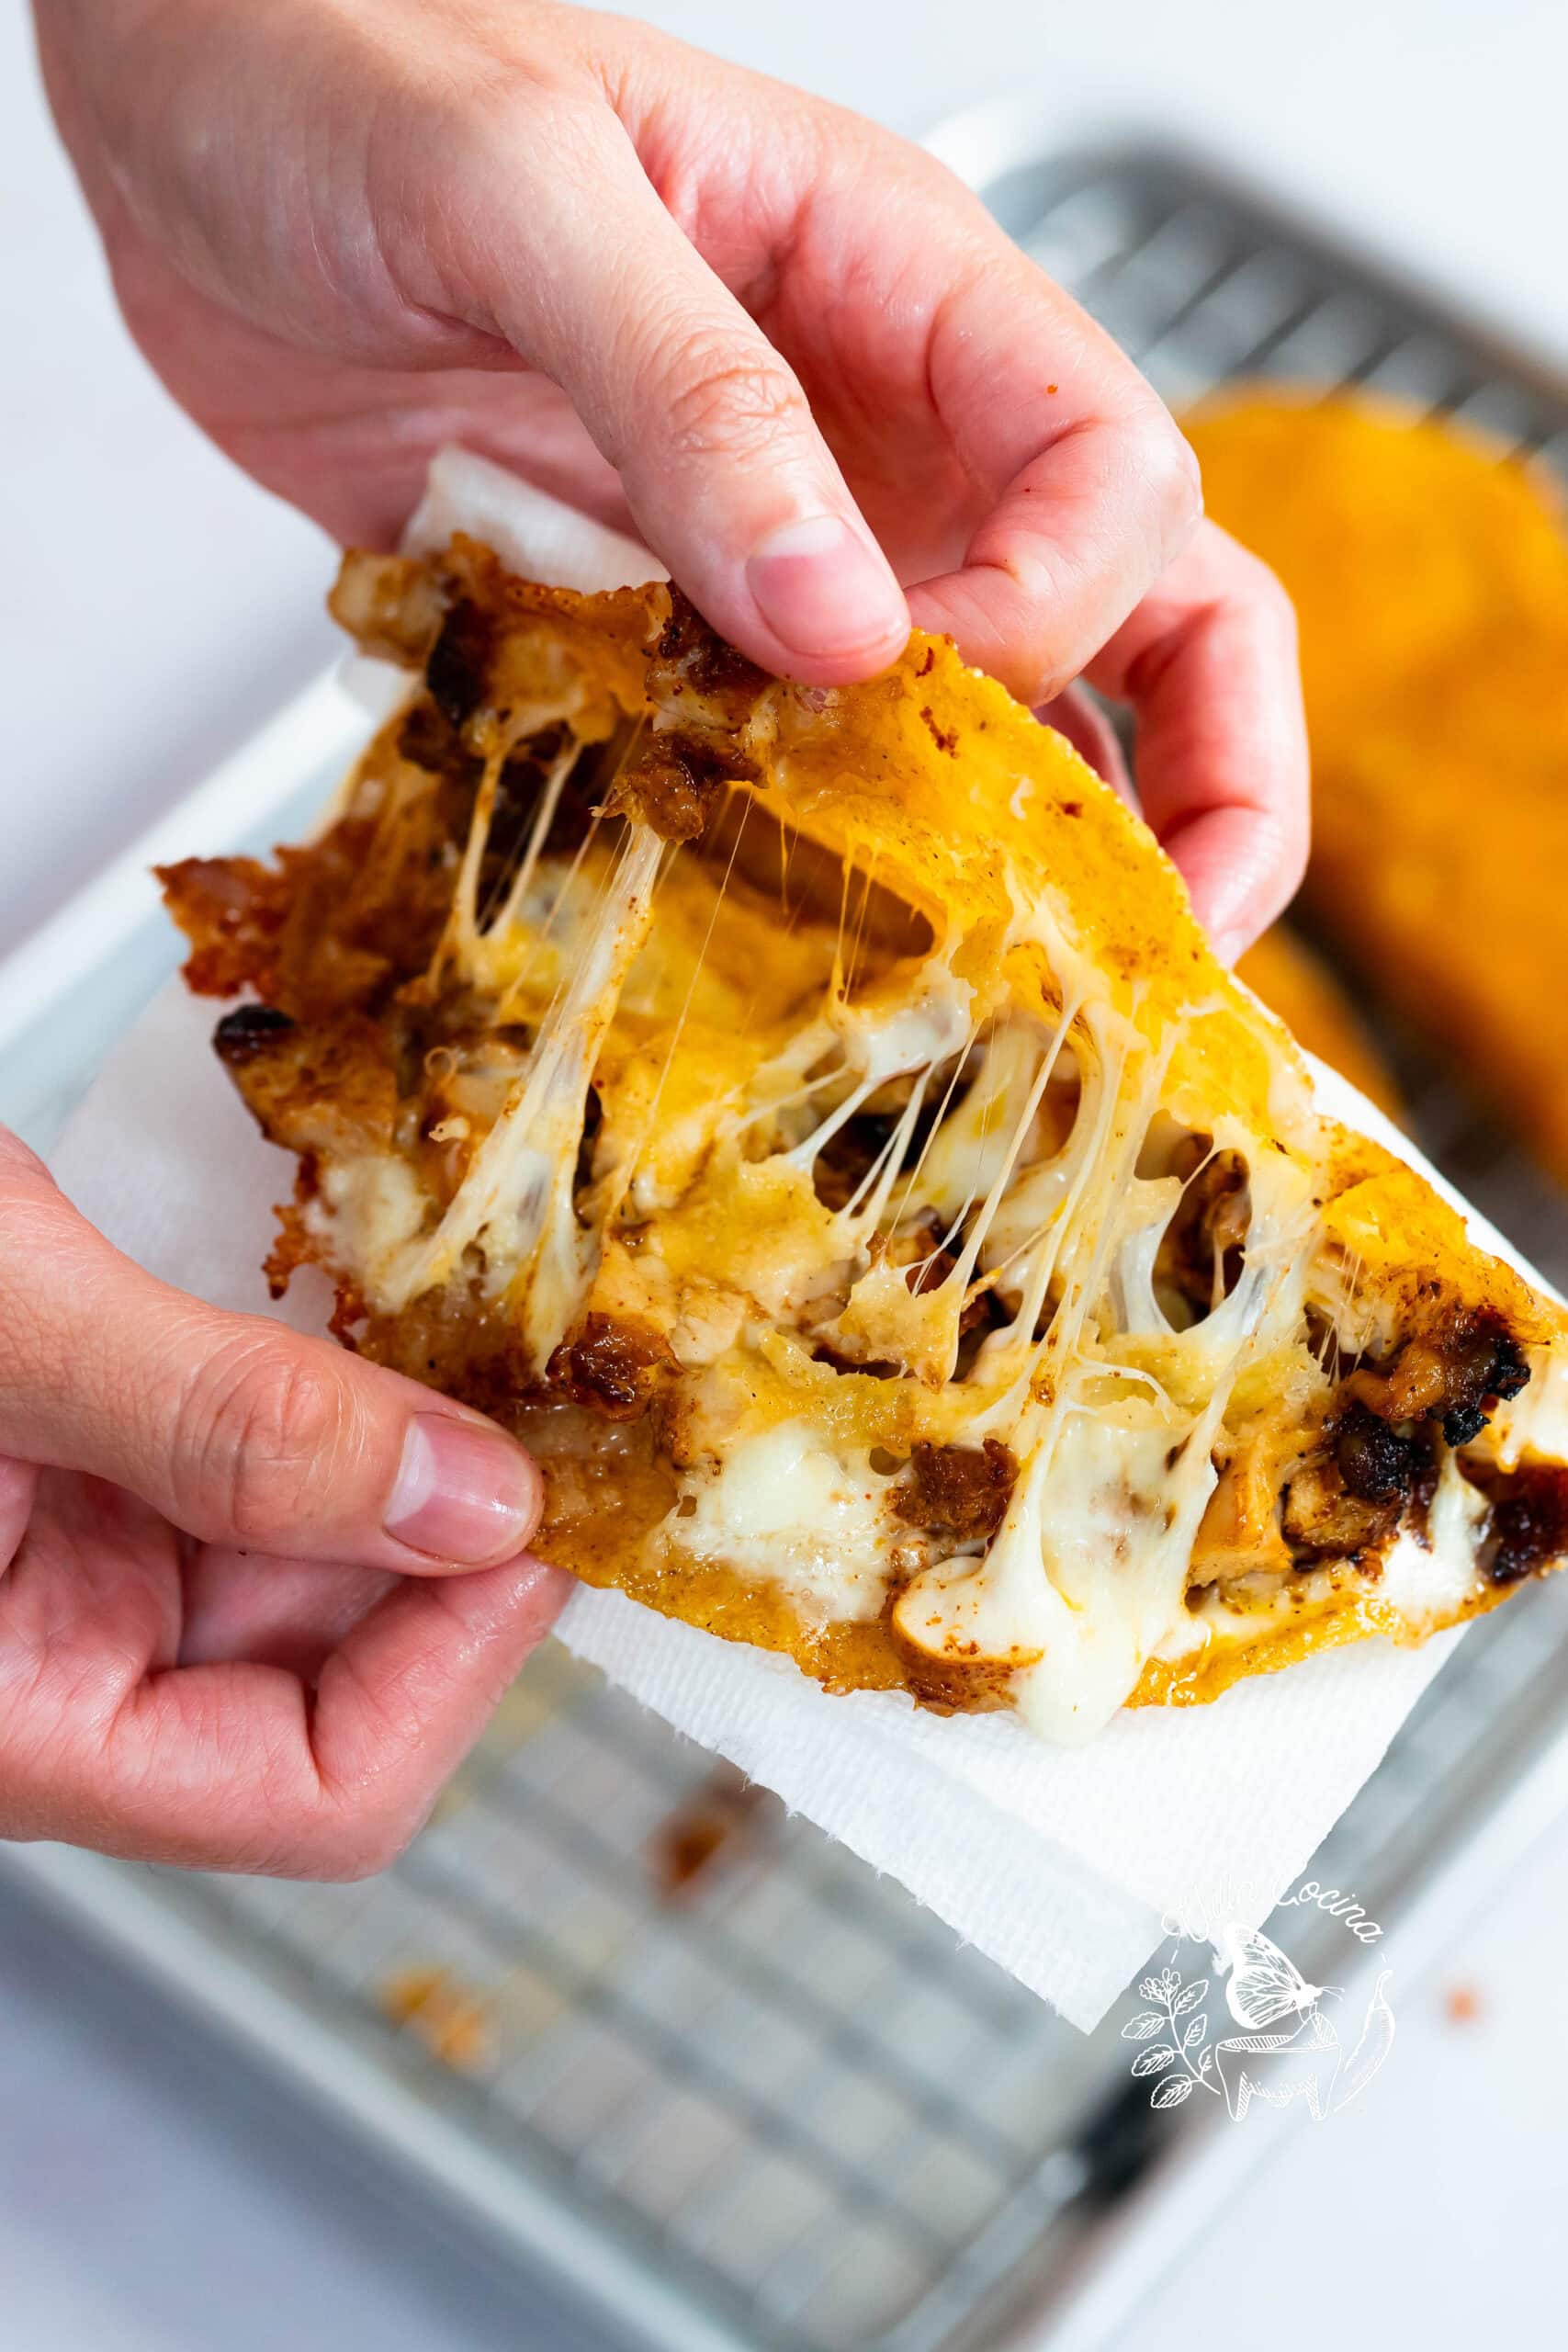
Place a corn tortilla in the hot oil and cover with Oaxaca cheese. Add chicken to one half, then fold and cook until golden and crisp on both sides and the cheese has melted. Transfer upright to a paper towel lined bowl to drain.
Serve
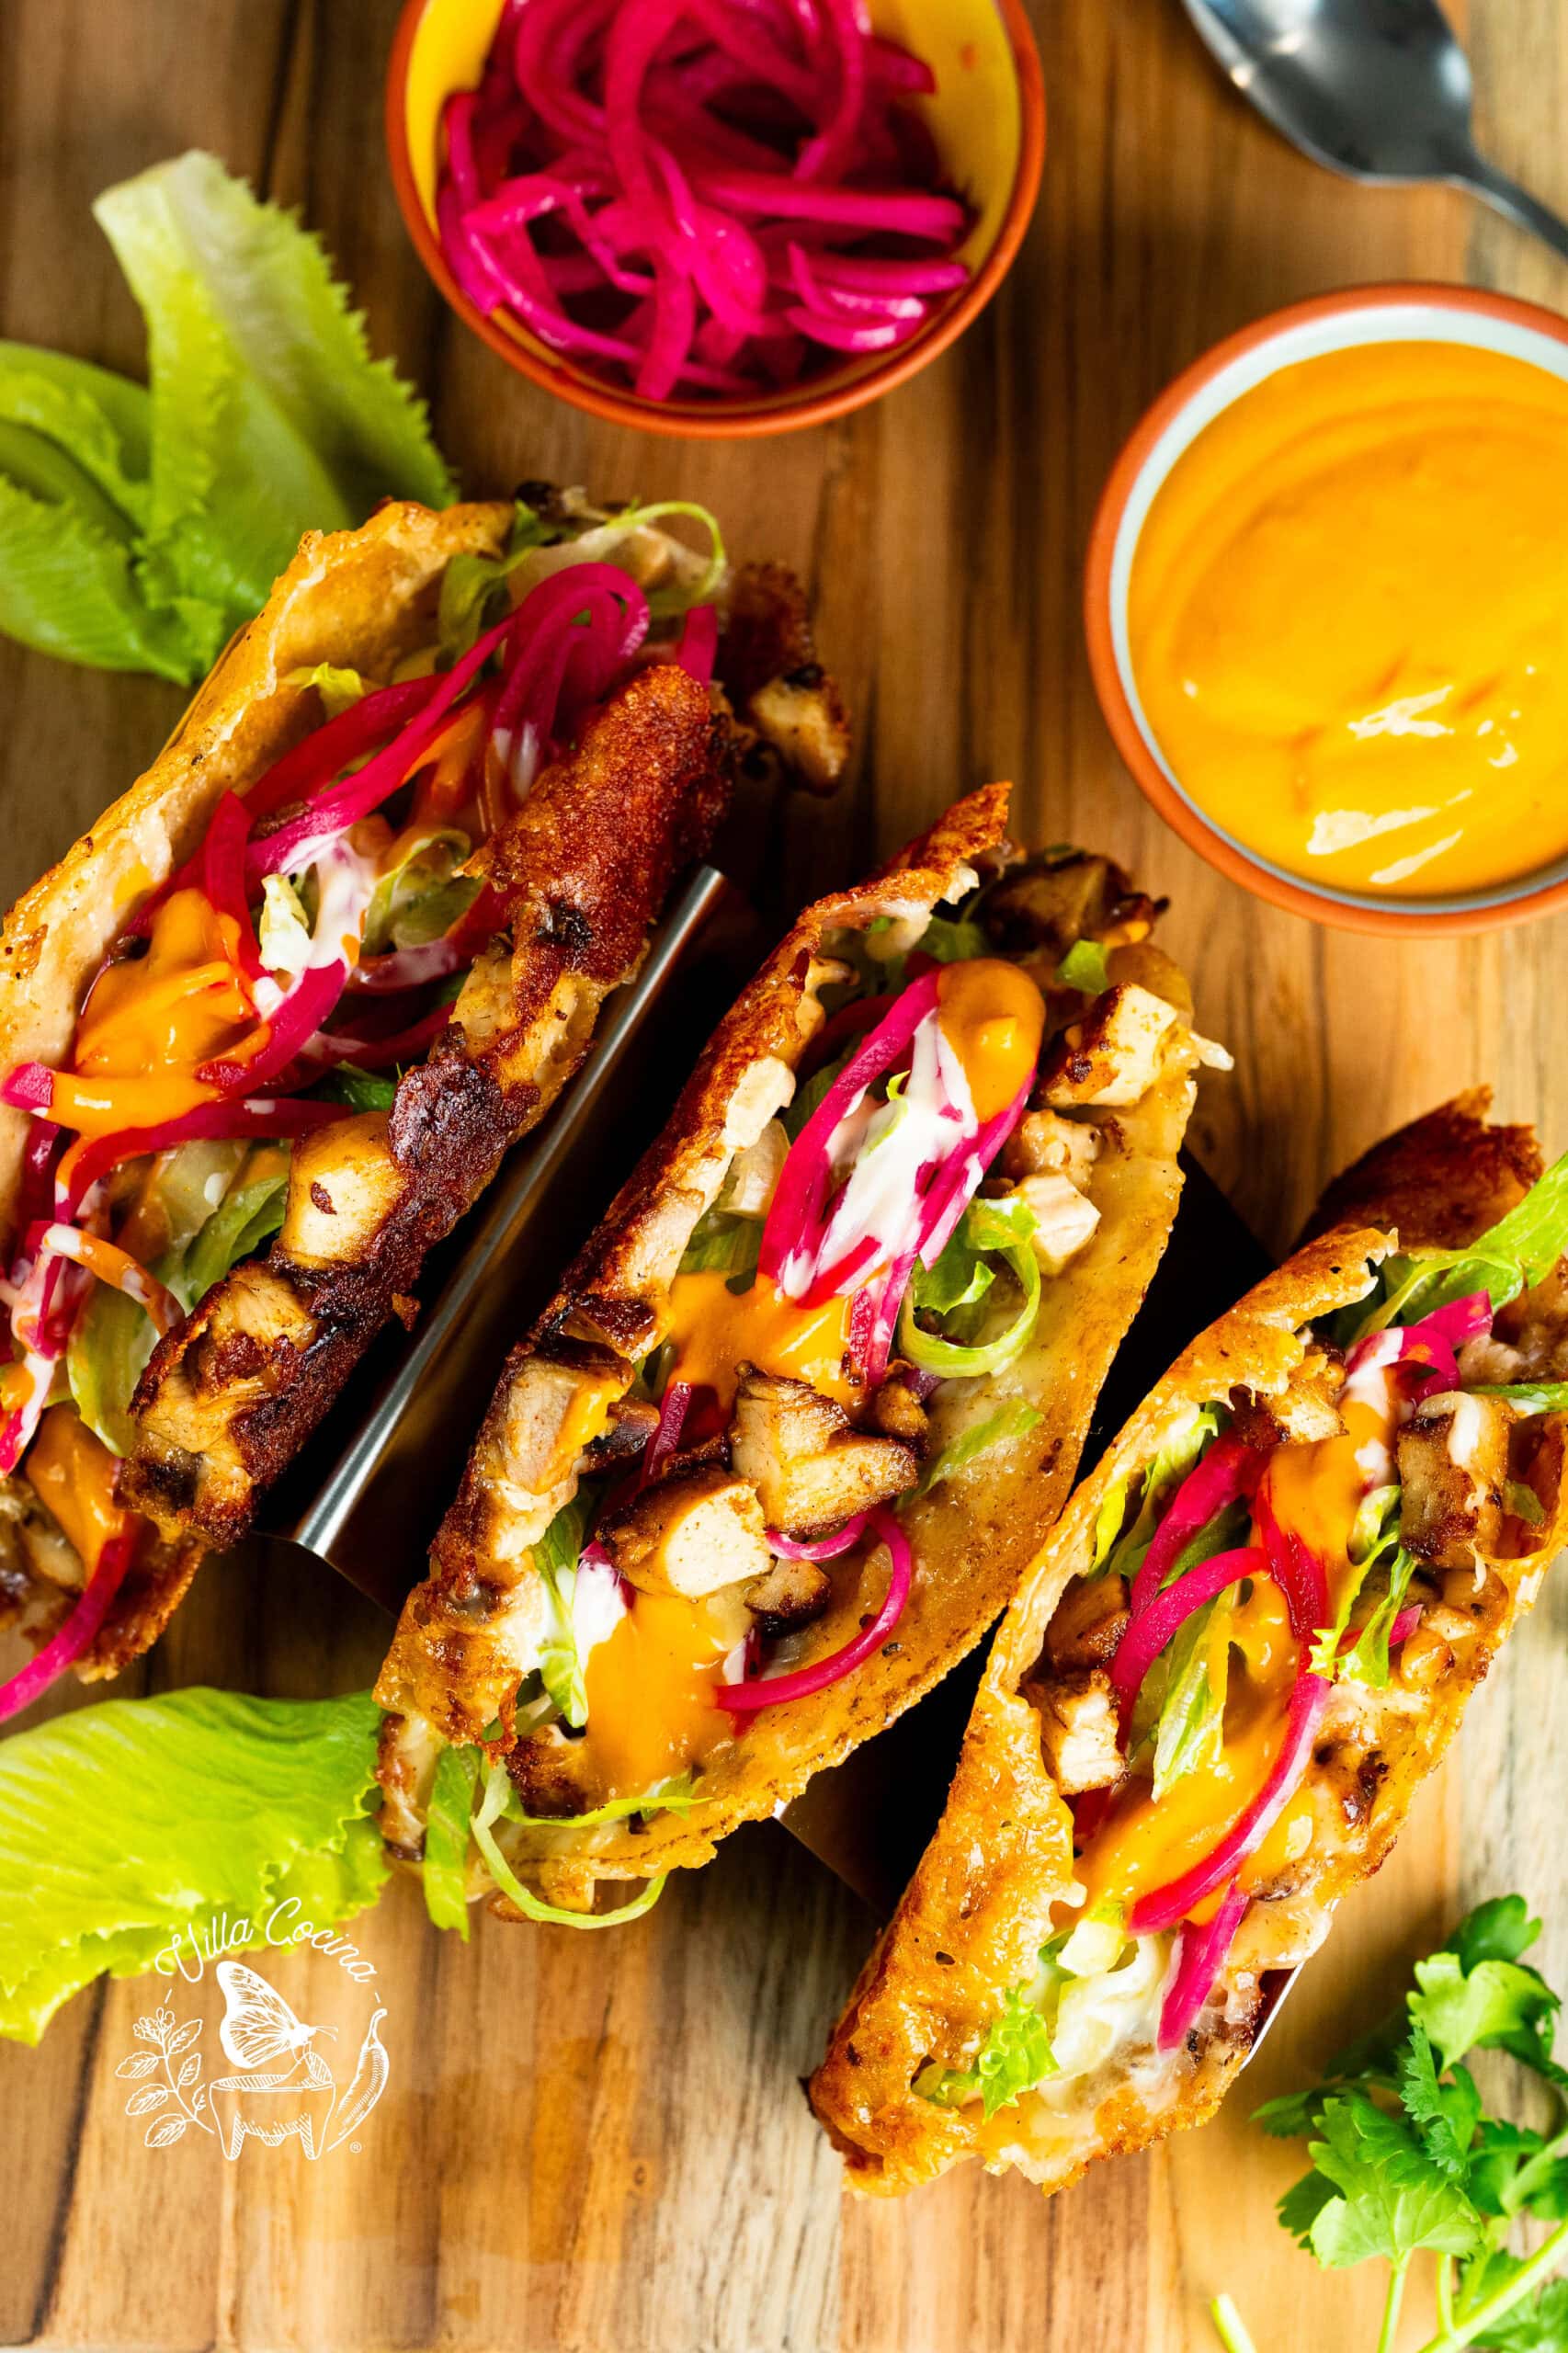
Carefully open the tacos while still warm and fill with shredded lettuce, pickled red onions, crema Mexicana, and creamy salsa. Serve right away.
Recipe Video Tutorial
Watch my easy video tutorial for step-by-step visuals on making these Crispy Chicken Tacos.
Enjoyed the video? Subscribe and tap the bell for updates on new recipes. Thank you for your support!
A Few Things to Keep in Mind
Here are a few extra tips I picked up while testing the recipe that can help you get the best results.
- Corn Tortillas: Store-bought corn tortillas work perfectly well, but homemade tortillas take these tacos to another level. Make them a day ahead, let them cool completely, wrap in parchment paper, and refrigerate in a zip-top bag. Day-old tortillas are actually ideal here because they hold up well when frying.
- Pickled red onions: Don’t skip them! That acidity cuts through the richness of the cheese and fried tortilla beautifully. My pickled red onion recipe includes habanero, but I recommend leaving it out here, especially if you’re serving the tacos with a spicy salsa.
- Chile de Árbol Salsa Taquera: This salsa was part of the plan from the beginning, and it turned out to be the perfect match. It is spicy, but you can easily control the heat by reducing the chiles de árbol. I found 5 chiles gave me a milder version.
- Choosing your pan: A stainless steel skillet worked beautifully and gave me those delicious crispy edges. However, if you’re not comfortable cooking with stainless steel, a nonstick skillet works just fine. Simply adjust the heat as needed to get a crisp, golden tortilla and fully melted cheese.
How to Keep Chicken Tacos Crispy
When it comes to crispy tacos, these definitely deliver, but managing the heat is key. The oil needs to be hot enough to crisp and brown the tortilla while giving the cheese time to melt. If the pan isn’t hot enough, the tortillas can absorb more oil and turn greasy instead of crisp.
Another great tip is to drain the tacos upright so excess oil can run off instead of collecting underneath. Finally, wait until you’re ready to serve before adding lettuce, crema, salsa, or other moist toppings. It’s a simple step that helps preserve that delicious contrast of crispy tortilla, melted cheese, and fresh toppings.
Additional Toppings & Pairings
These tacos are incredibly versatile. While the toppings in the recipe are more than enough to keep me coming back for more, feel free to switch things up. Here are a few more delicious options:
Pairings:
Make Ahead & Storing
You can prepare several parts of these tacos ahead of time, which makes everything much easier when you’re ready to serve.
- Chicken: Marinate and cook the chicken ahead of time, then refrigerate in an airtight container.
- Pickled red onions and salsa: Both can be prepared in advance and kept refrigerated until ready to serve.
- Corn tortillas: If making your own, prepare them a day ahead. Day old tortillas actually work especially well for this recipe.
Refrigerate: For the best crispy texture, assemble and fry the tacos just before serving. Store leftovers without the toppings in an airtight container in the refrigerator for up to 3 days.
Reheat: My favorite way to reheat these tacos is in a hot skillet, starting around medium heat. Adjust as needed and turn until crispy on both sides, heated through, and the cheese is melty. Add toppings and enjoy.
Avoid the Microwave: The microwave will soften the tortillas and take away that crispy texture.
Frequently Asked Questions
Can I use store bought corn tortillas?
Absolutely. Store bought corn tortillas work well. If using homemade tortillas, I prefer making them a day ahead because they hold up especially well for frying.
What can I substitute for Oaxaca cheese?
Low moisture mozzarella is a great substitute.
Can I use a different oil for frying?
Yes. Choose a neutral oil with a high smoke point, such as canola or vegetable oil.
First published in May 2023, this recipe has been updated with new photos, more helpful tips and instructions, and a few tweaks to enhance the overall experience.

Crispy Chicken Tacos
Ingredients
- 2 lbs chicken thighs, boneless, skinless
- 10 corn tortillas
- 15 oz Oaxaca cheese, grated
- Avocado oil, cooking & shallow frying
Marinade
- ¼ cup avocado oil
- ¼ cup orange juice, no added sugar, no pulp
- 2 tbsp white wine vinegar
- Zest of 1 lime
- 2 tbsp fresh lime juice
- 1 tsp chipotle powder
- 1 tsp smoked paprika
- 1 tsp ancho chile, ground
- ½ tsp cumin, ground
- 1 tsp Mexican oregano, dried
- 1 tsp onion, ground
- 1 tsp garlic, ground
- 1 tsp coriander, ground
- ½ tsp black pepper, ground
- 1½ tsp kosher salt, or to liking
Toppings
- Lettuce, shredded
- Pickled red onions, (omit habaneros)
- Mexican crema
- Chile de árbol salsa taquera
Instructions
Marinate the Chicken
- In a large non-reactive bowl, whisk together all the marinade ingredients until well combined. Add the chicken, making sure each piece is evenly coated in the marinade.
- Cover and refrigerate for 4–6 hours. For the best texture, avoid marinating longer than 8 hours.
Cook the Chicken
- Heat a large skillet over medium-high heat. Once hot, add the chicken in a single layer. Avoid overcrowding to prevent steaming; cook in batches if needed.
- Cook until browned on both sides and the internal temperature reaches 165°F, flipping as needed and adjusting the heat to prevent burning.
- Transfer the cooked chicken to a separate dish and let rest for 5 minutes, loosely tented with aluminum foil. Then dice into small, bite-sized pieces.
Assemble & Crisp the Tacos
- Heat about ¼ cup oil in a large stainless steel skillet over medium heat, or enough to generously coat the bottom.
- Place a tortilla in the hot oil. Spread about 1½ oz Oaxaca cheese, or to your liking, evenly over the entire surface. Add chicken to one half, then fold to form a taco.
- Cook until crisp and golden, then flip and brown the other side. Adjust the heat as needed so the cheese fully melts without burning the tortilla.
- Cook as many tacos at a time as you can comfortably manage without overcrowding the pan.
- Transfer each taco to a paper towel-lined plate, standing it upright to drain excess oil. Add more oil and adjust the heat as needed between batches.
Serve
- While still warm, carefully open the tacos and fill with lettuce, pickled red onions (omit habaneros), crema, and creamy salsa. Serve immediately and enjoy.
Equipment
- Glass Bowls, A nonreactive choice for marinating the chicken with citrus and vinegar.
- Microplane Zester, For finely zesting the lime.
- Fry Pan 12”, For frying the tacos until golden and crispy.
- Grease Splatter Screen, Helps contain splatter while cooking the chicken.
- Thermometer, For checking that the chicken is fully cooked.
- Chefs Knife, For dicing the cooked chicken.
- Aluminum Foil, For loosely covering the chicken while it rests.
Notes
Nutrition
Did you make this recipe?
Show some love! Tag @villacocinaofficial on Instagram and drop a 5-star review. Your support means everything—thanks!


Barbie
Rossana you’ve done it again! These tacos are amazing. I’m sure that mine are not as good as yours, yet, as I haven’t made my own corn tortillas, but I’m getting the techniques down. I have also made several of your salsas and they are all so delicious it is impossible to pick a favorite.
Thank you for the awesome content you provide. Your recipes are always on point and I am grateful to have found my way to your channel.
My Comal is on the way!
Villa Cocina
Yay! my pleasure!