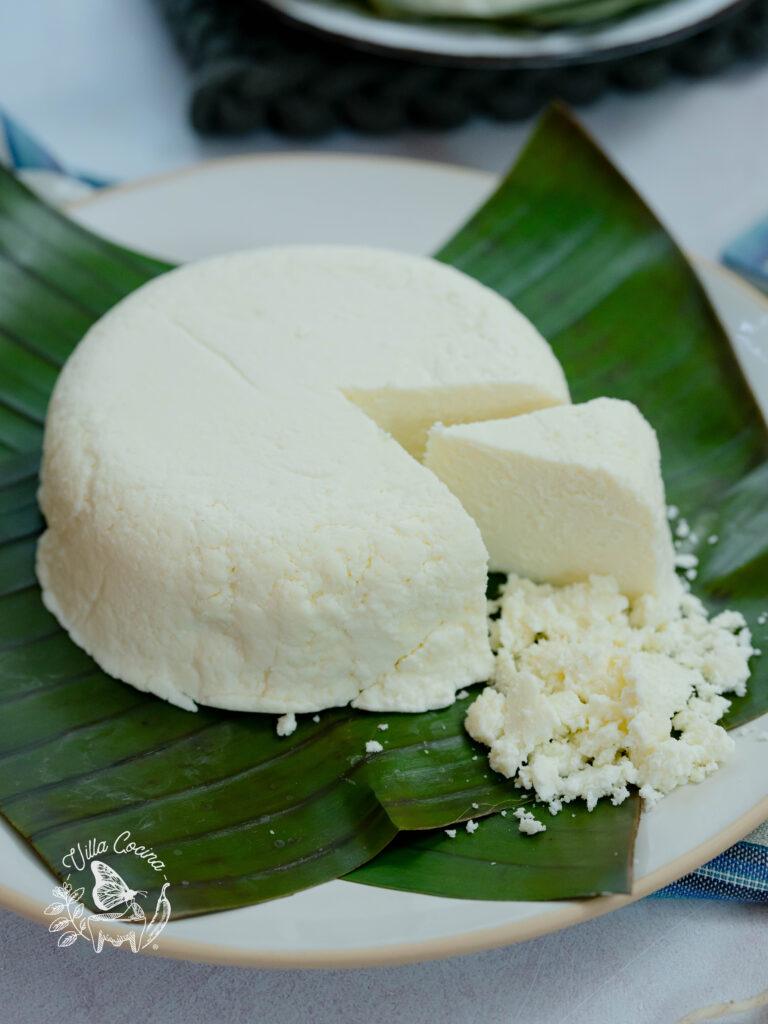
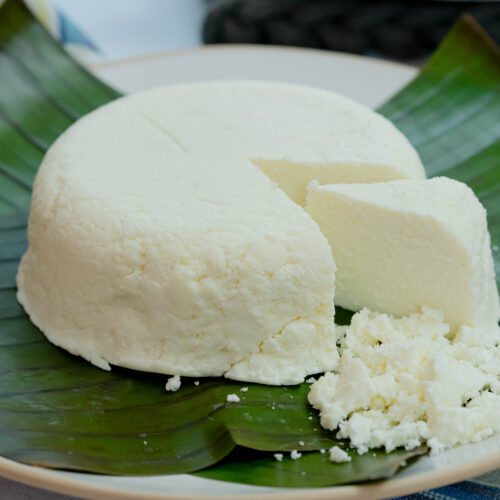
Queso Fresco
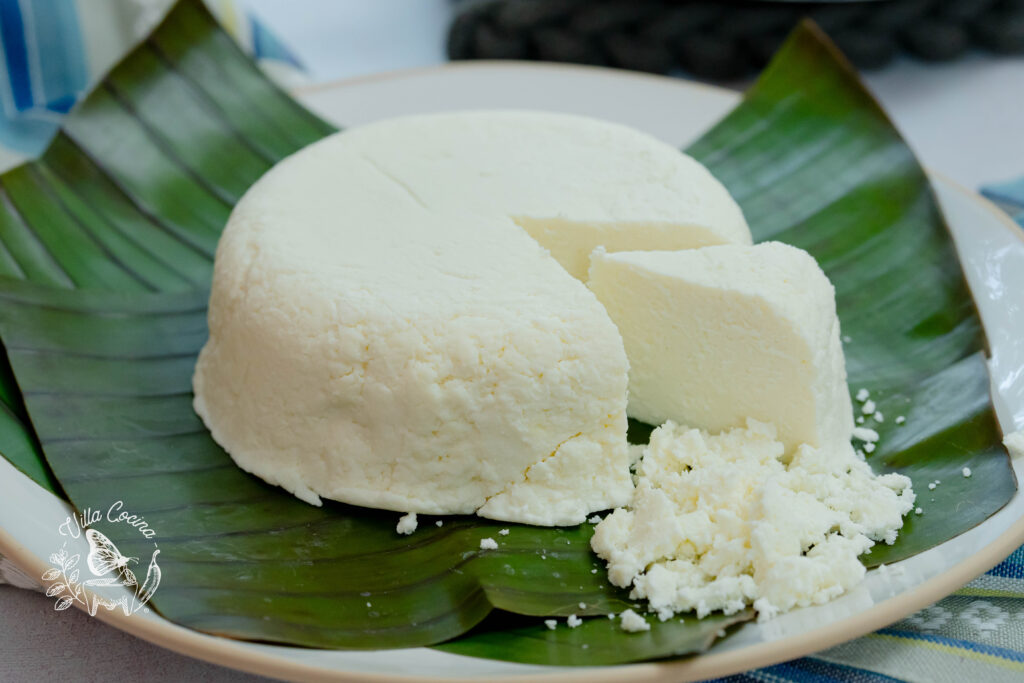
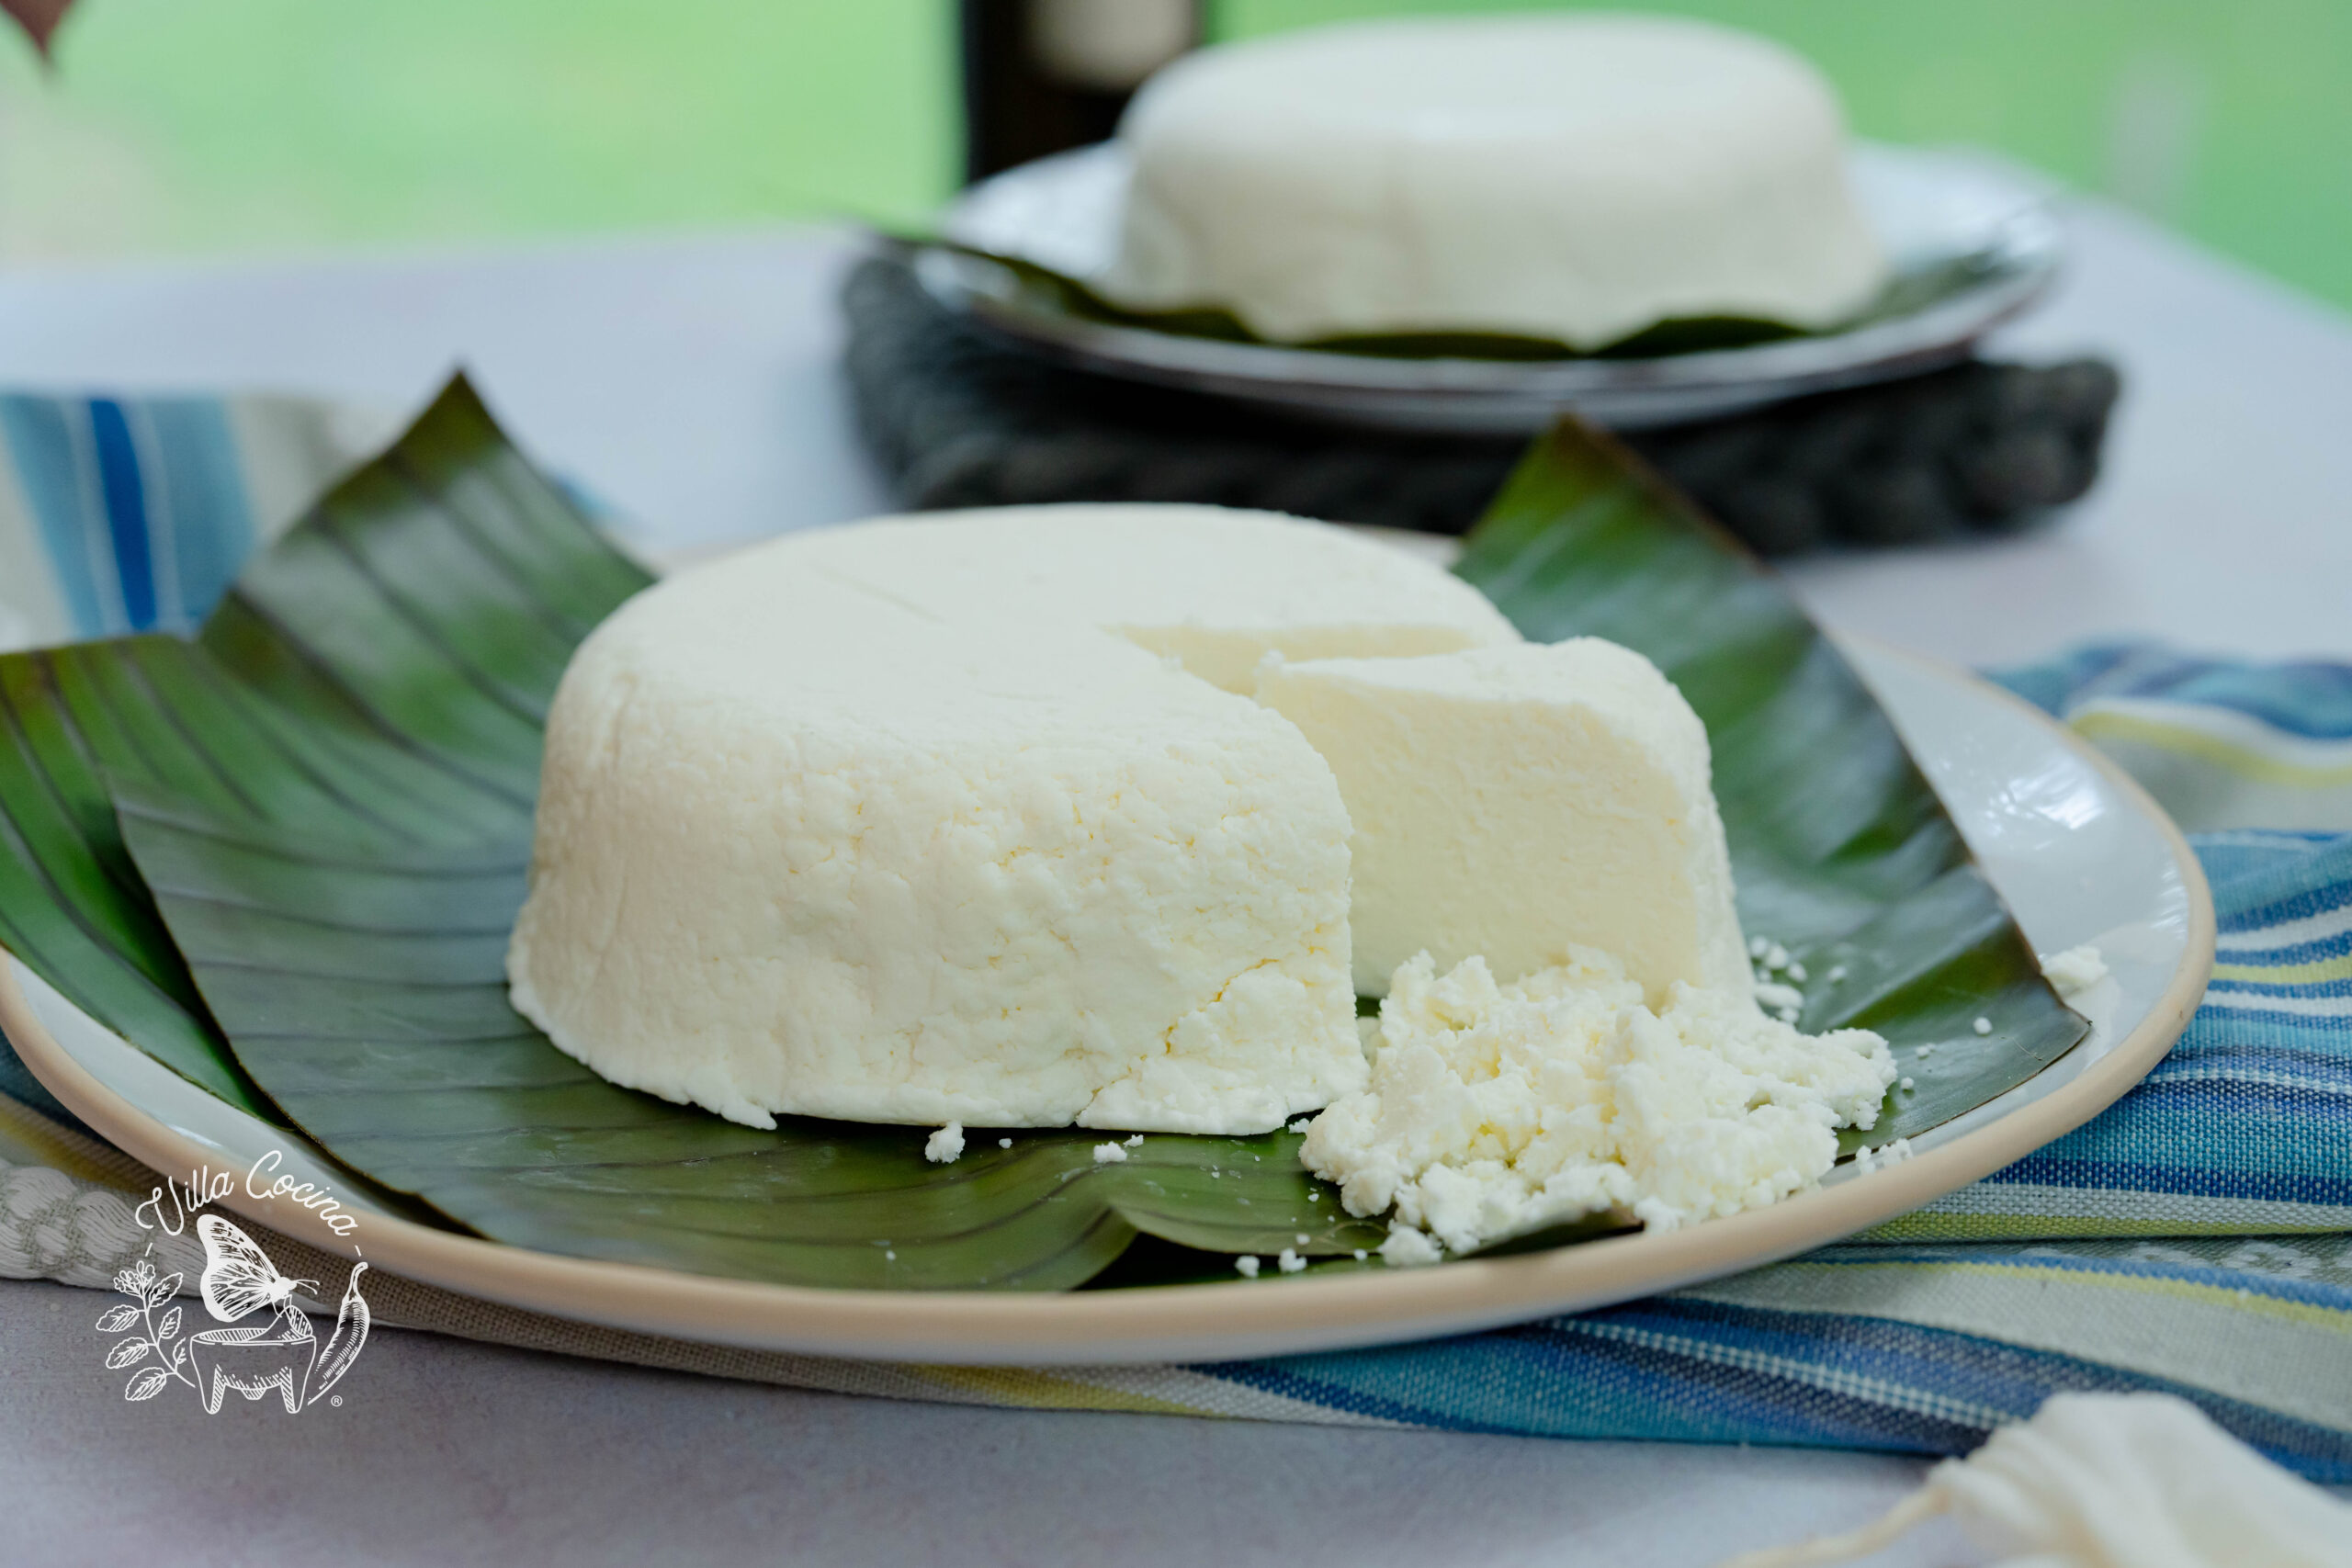
Queso fresco is a Mexican semi-soft cheese made from cow’s milk, acclaimed for its iconic crumbly texture. This popular cheese has a mild, slightly tangy flavor and is not aged, making it a versatile addition to a variety of dishes.
It is commonly crumbled over popular Mexican dishes like taquitos dorados, enchiladas, sopes, empanadas, and gorditas. Making queso fresco at home is both simple and economical, costing under $5.00, and allows you to enjoy this delicious cheese fresh and at its best.
Delicious Flavors!
Growing up, I had the pleasure of enjoying some of the finest cheeses Mexico has to offer, including cotija, requesón, and of course, the beloved queso fresco!
In fact, I fondly remember trucks driving around our town, stopping at homes to sell baskets of queso fresco wrapped in banana leaves. My mother would always buy some, and I recall us devouring it with homemade fresh tortillas and a classic salsa.
This recipe draws from the unique, classic, and fresh flavors that sparked my deep affection for Mexican cheeses. With just a few simple steps, you can easily create unforgettable flavors and everlasting memories.
Vinegar vs. Lemon Juice
Vinegar and lemon juice are two of the most natural acid options for making cheese. Personally, I’ve found that vinegar provides better and more consistent results. Here are a few things to consider when choosing between these two acidity options.
Vinegar
- Consistent Acidity: Vinegar has a standardized acidity level of about 5%, ensuring consistent results every time.
- Clear Flavor: It imparts a clean, neutral flavor to the cheese.
- Curd Formation: Vinegar helps create firmer, more defined curds, resulting in a firmer cheese.
Lemon Juice
- Variable Acidity: Lemon juice can vary in acidity levels depending on factors like growing conditions and ripeness, leading to inconsistent results.
- Curd Formation: The variability in acid levels can produce softer, smaller curds, resulting in a softer queso fresco.
- Flavor: It imparts a subtle, mild lemon flavor that adds a sweet, tangy note to the cheese.
Having said that, both options will create queso fresco, but I find vinegar to be the easier and more reliable choice, resulting in better-tasting cheese.
Choose The Correct Milk
When making queso fresco, it’s important to use whole pasteurized milk rather than ultra-pasteurized milk. Doing so will help avoid the following issues:
- Poor Curd Formation
- Texture Issues
- Inconsistent Results
- Flavor Imbalance
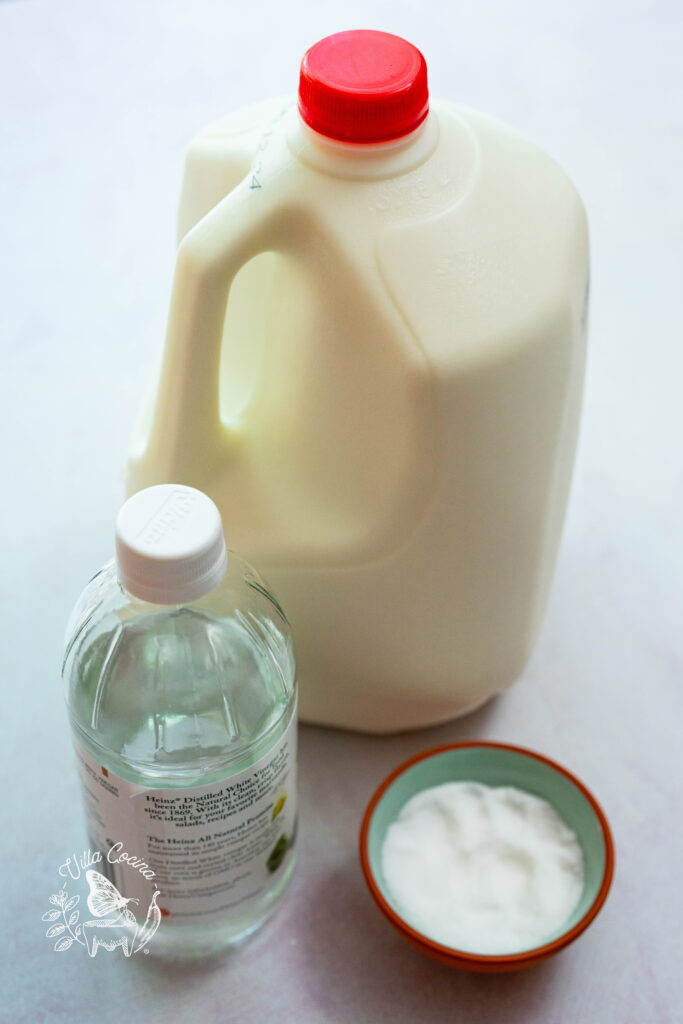
Ingredients
- Whole milk is essential for achieving the best results and should be the only type used for making queso fresco.
- White distilled vinegar provides a consistent, clean flavor and produces the best curds for queso fresco.
- Iodized salt seasons the cheese evenly and enhances all the flavors effectively.
Prep the Banana Leaves
Preparing fresh banana leaves is essential; this process softens and cleans them, making them ready for use.
- Remove Stems: Cut off any remaining rough and hard stem parts.
- Blanch: Immerse the leaves in hot water for 30 seconds to 1 minute.
- Rinse: Quickly rinse the leaves under cold water.
- Dry: Pat the leaves dry with a towel.
I prefer using fresh banana leaves, which I typically find at my local Mexican store. However, frozen banana leaves will work as well.
Equipment
Making queso fresco is simple and doesn’t require fancy equipment. With just a few basic tools you likely already have, you can easily get the job done. Here are the tools you’ll need:
- Large Stainless Steel Stock Pot
- Instant-Read Thermometer
- Skimmer
- Fine-Mesh Strainer
- Cheesecloth
- Measuring Cups
How To Make Queso Fresco
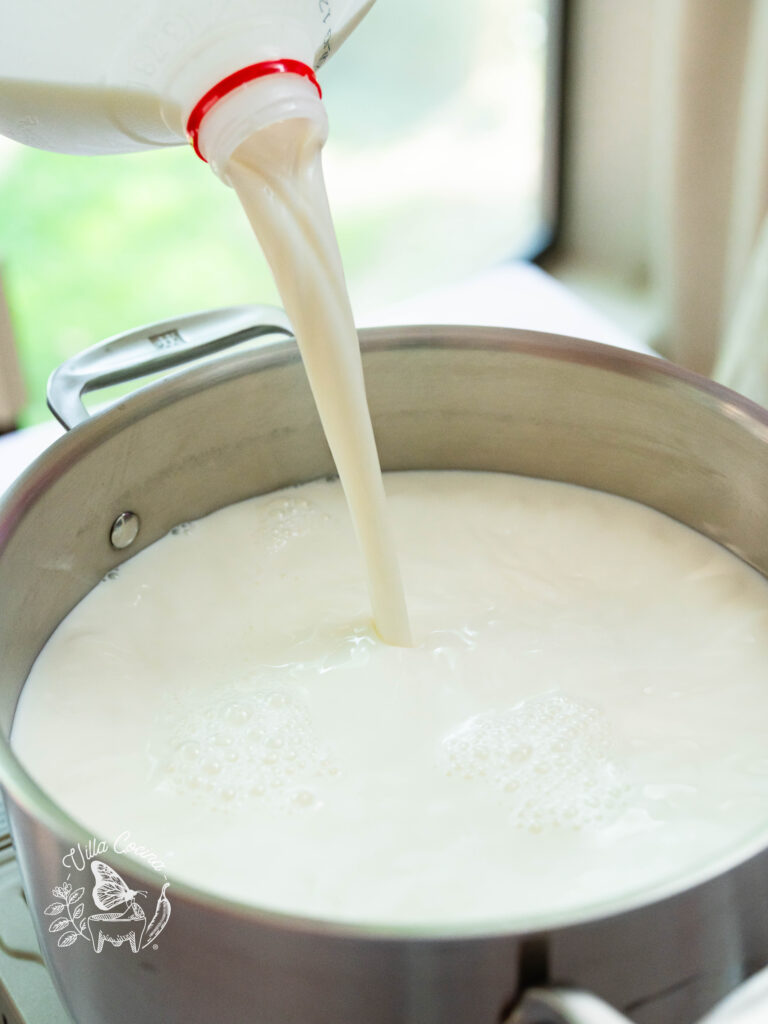
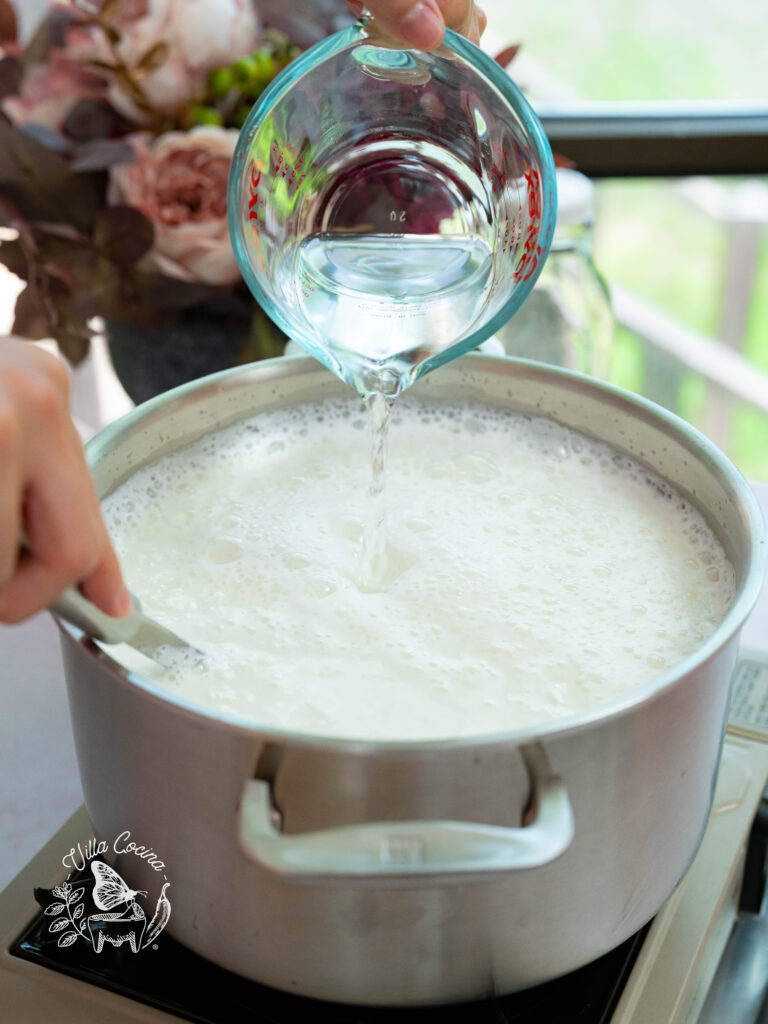
In a large pot over medium heat, slowly heat a gallon of whole milk to 185-190°F. Stir occasionally at first, then continuously as the milk warms to prevent it from sticking to the bottom and burning. It’s important to stay attentive and not walk away, ensuring the milk doesn’t boil.

Once the milk reaches 185-190°F, remove the pot from the heat. Add the vinegar in two portions, mixing well after each addition to ensure it is evenly distributed. Let the mixture sit undisturbed for 20 minutes.
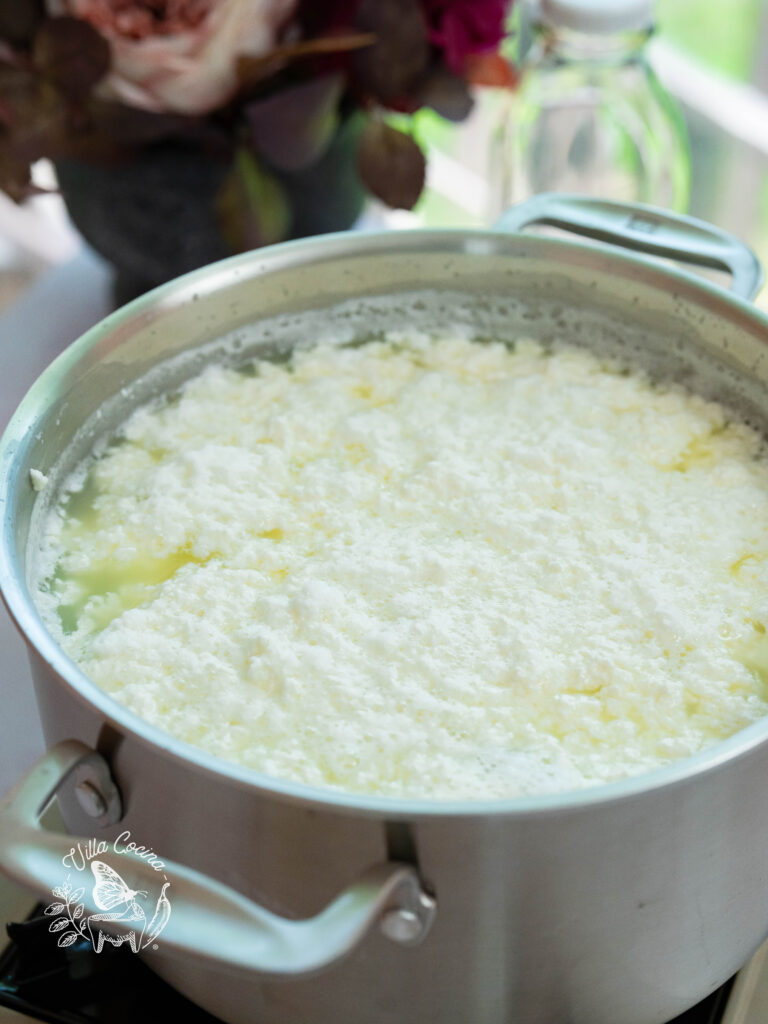
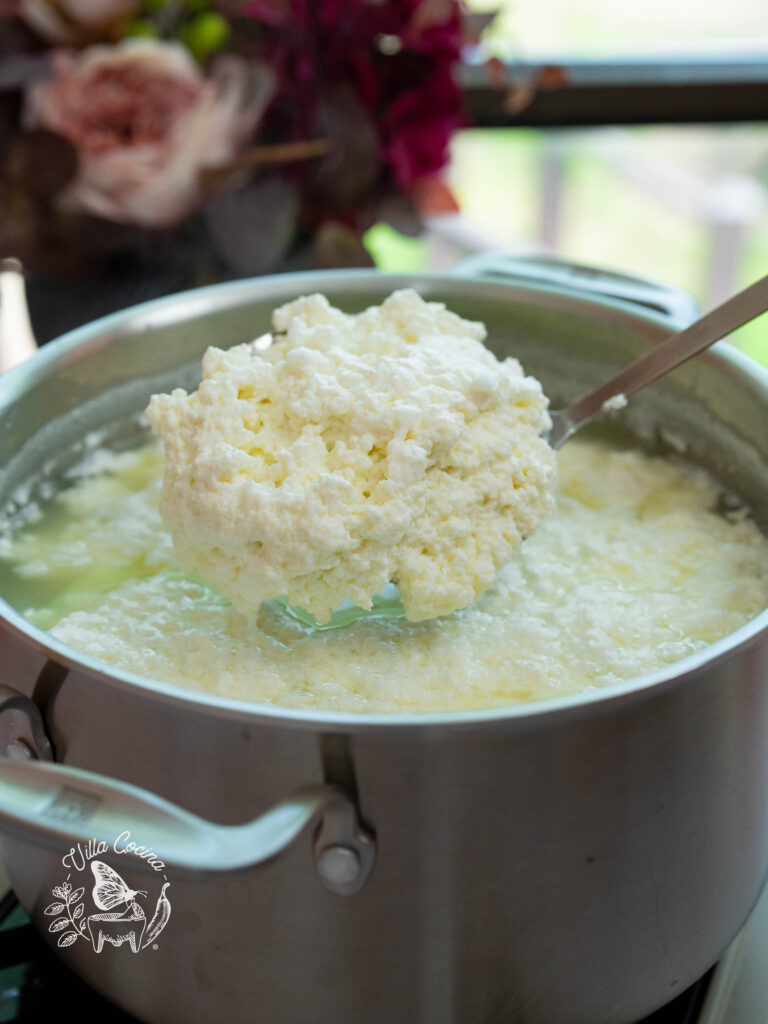
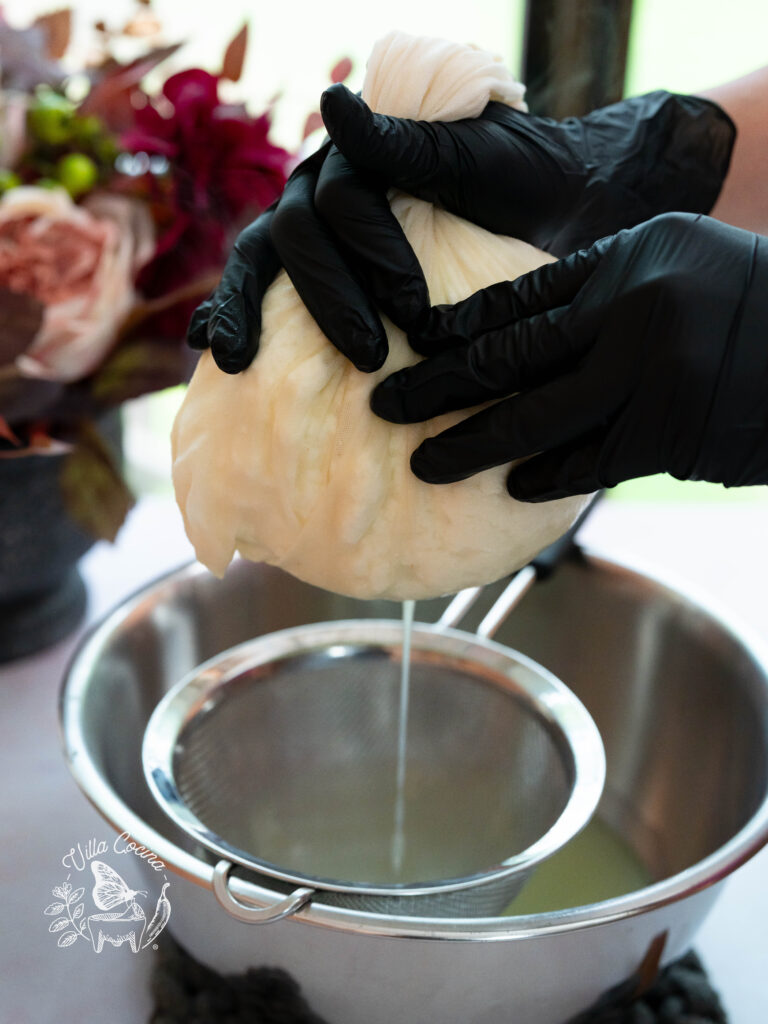
Place a fine-mesh strainer inside a large bowl and cover it with a large piece of cheesecloth. Using a skimmer, break apart the firm yet smooth curds and scoop them into the cheesecloth, leaving the whey behind.
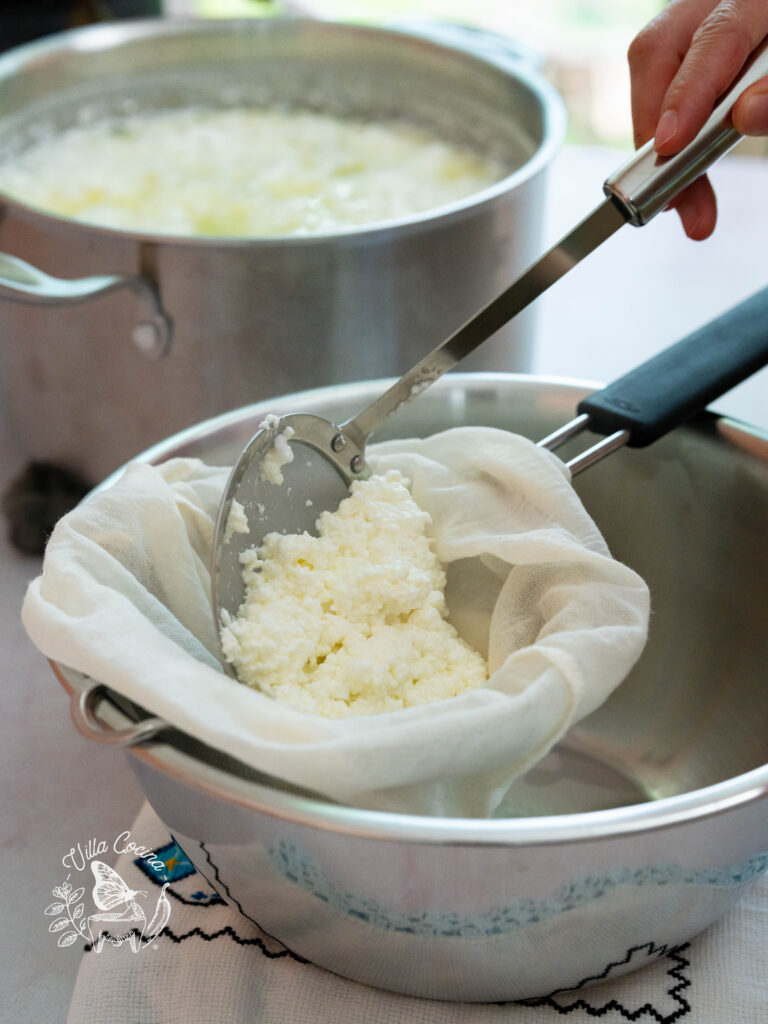
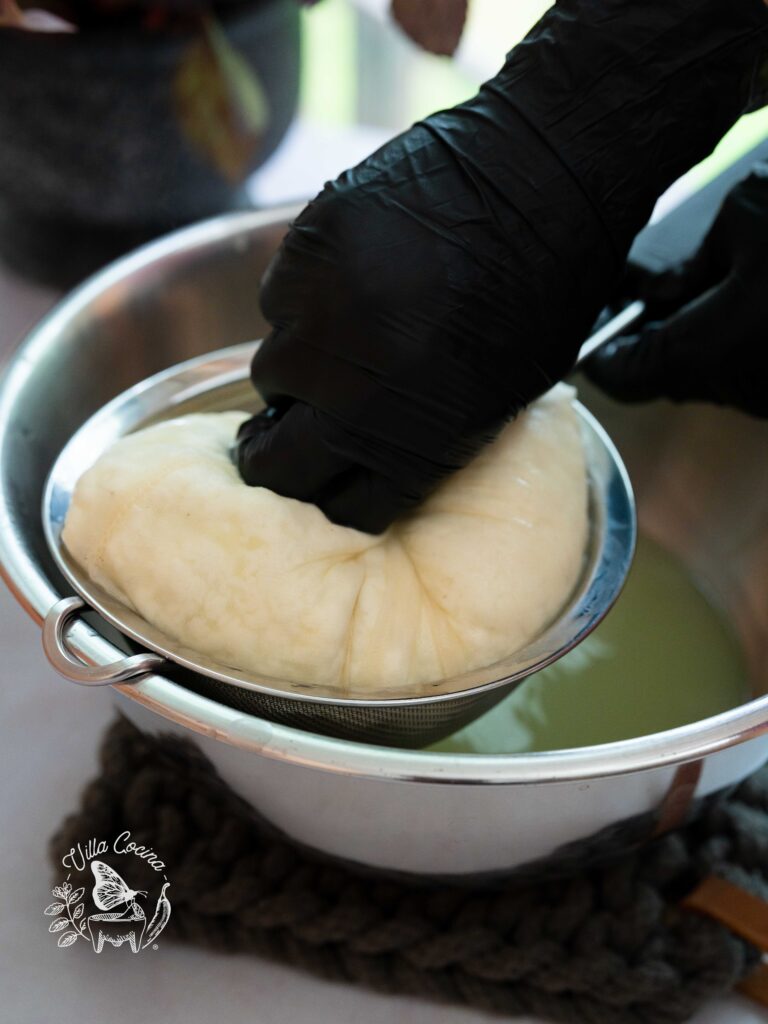
Close and secure the cheesecloth, letting it sit in the strainer for a few minutes to slightly cool down. Then, carefully squeeze out most of the whey by twisting or pressing down while it remains inside the strainer.
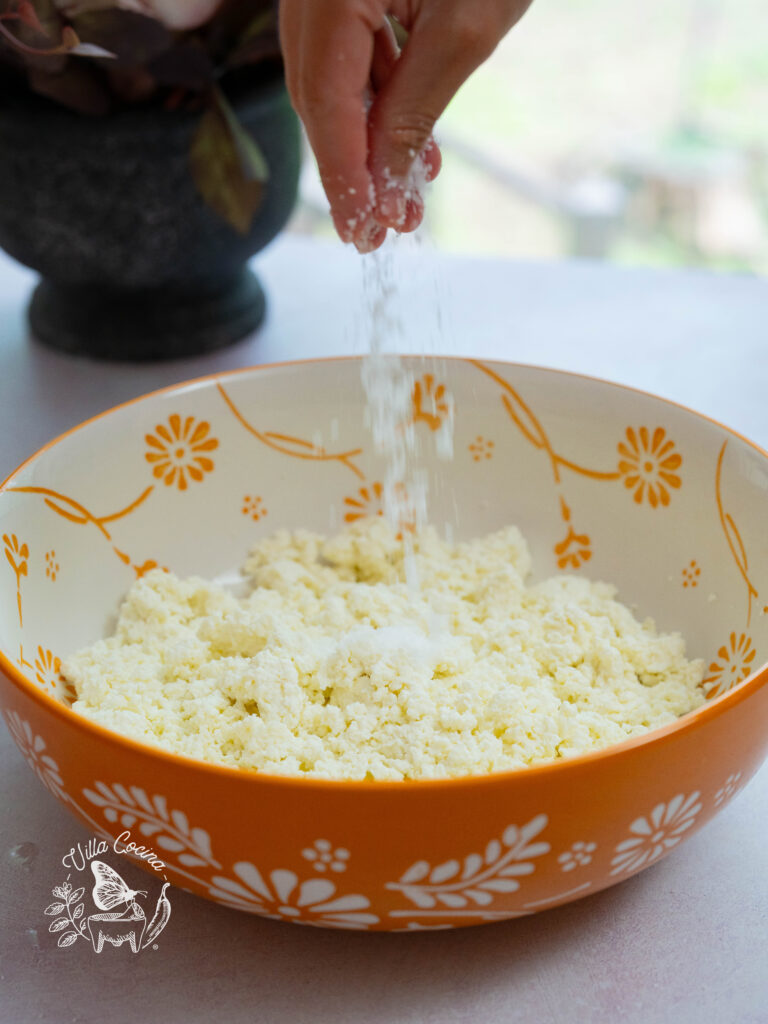
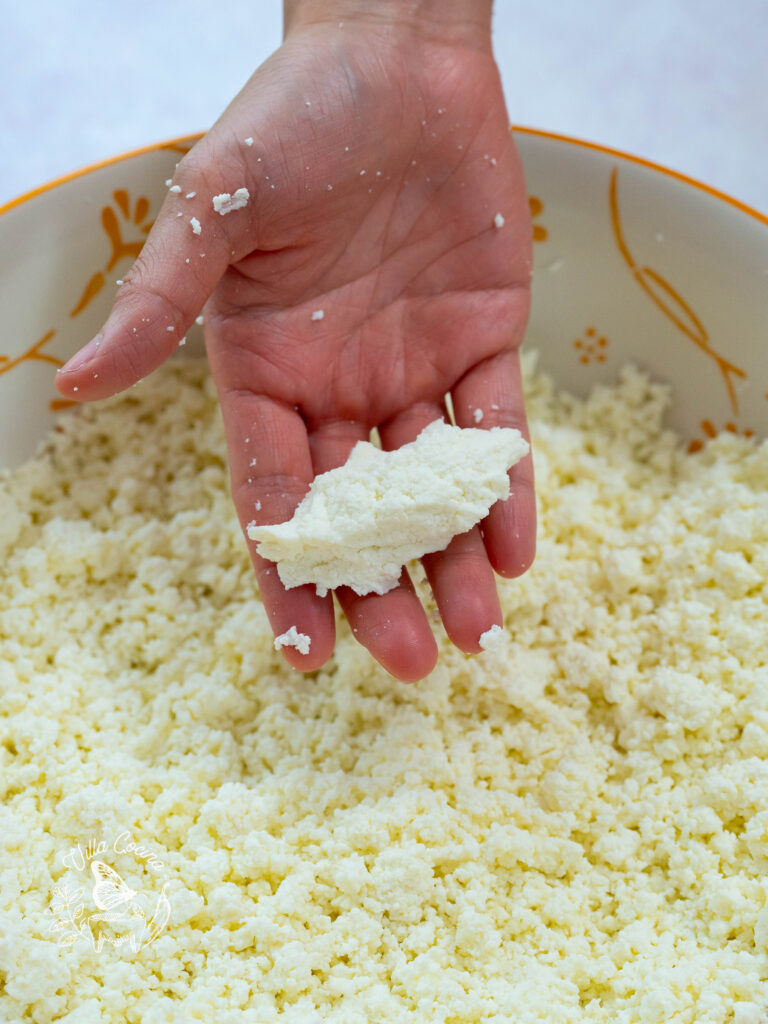
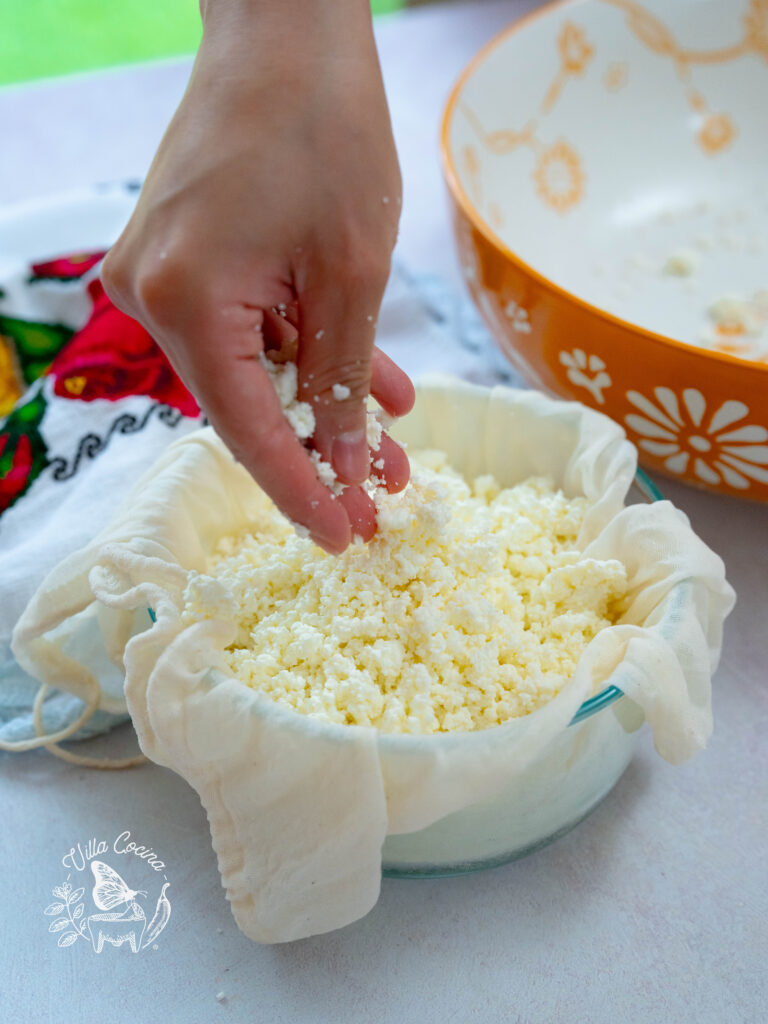
Transfer the curds into a large bowl and break them apart. Add salt to taste and knead by hand for about 2 minutes, until the mixture becomes smooth but maintains a crumbly texture.
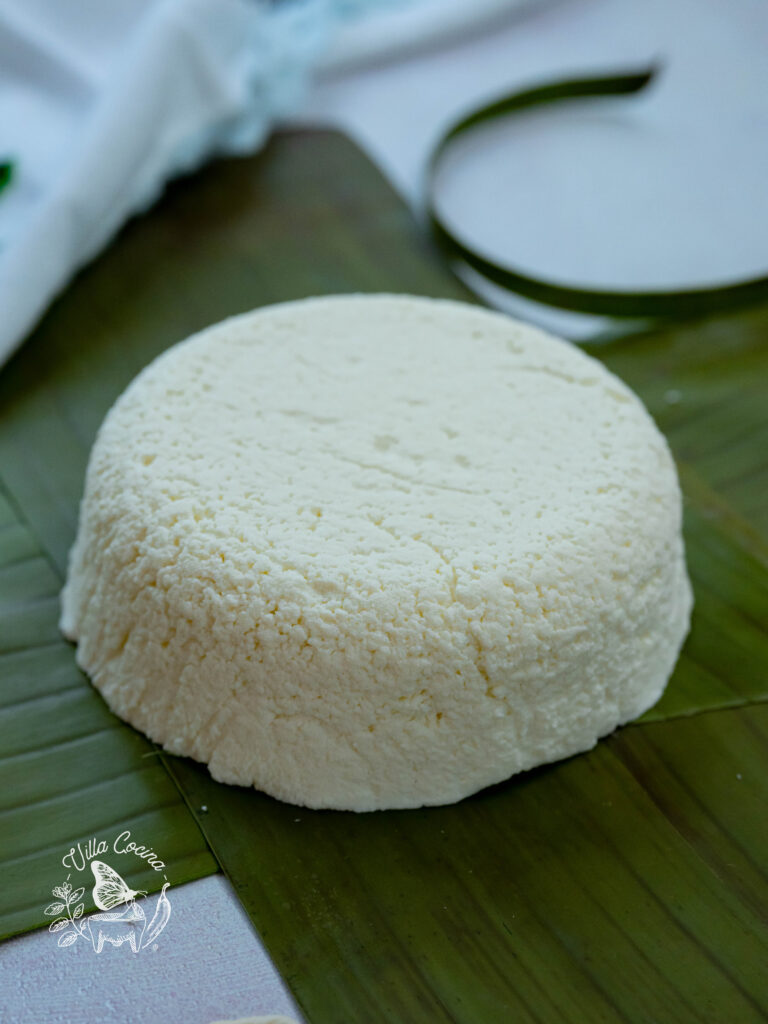
Line a round glass container with the squeezed cheesecloth. Add the cheese in sections, pressing down each time to mold it smoothly until all the cheese is in the container. Use the bottom of a glass to press the top, ensuring a smooth surface.

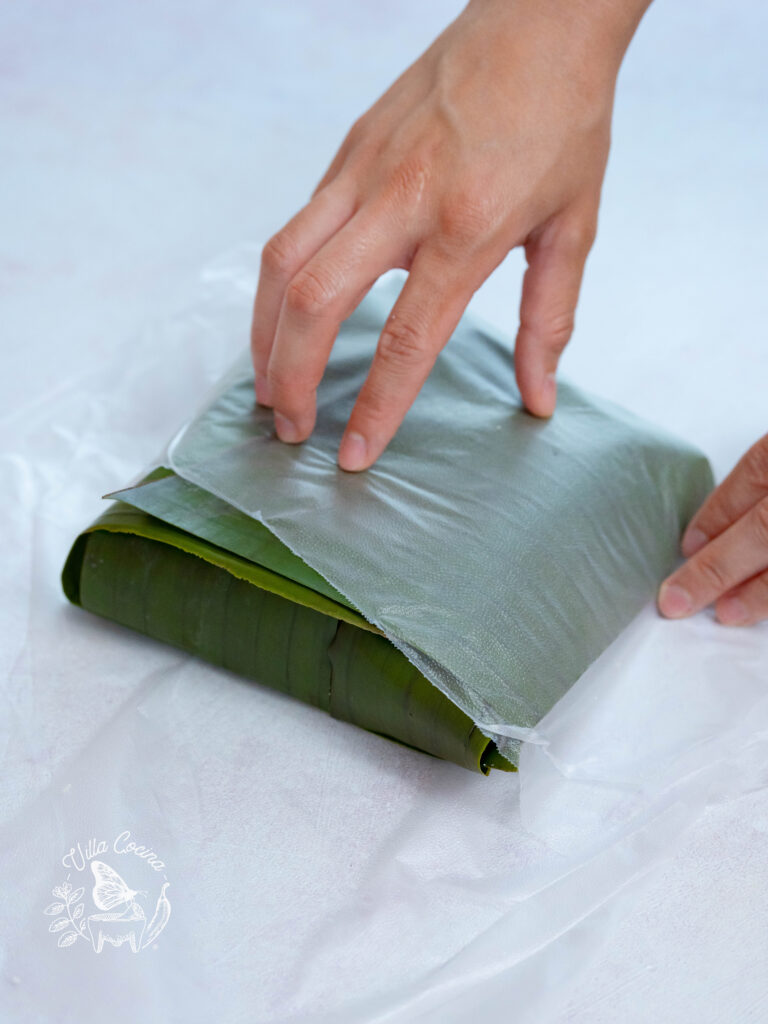
Remove the cheese from the mold and cheesecloth. Wrap it in banana leaves (or parchment paper if preferred) and then wrap it in plastic wrap to keep out odors and prevent further drying.
Refrigerate for 8 hours before serving.
Recipe Video Tutorial
Below is my easy to follow video tutorial on how to make this Queso Fresco.
Enjoyed the video? Subscribe and tap the bell for updates on new recipes. Thank you for your support!
Cheese Consistency
The consistency of the cheese is achieved by kneading the curds together.
- For a more crumbly texture, knead until the curds are still crumbly but can be smoothly pressed into shape. This usually takes about 1-2 minutes.
- For a creamier queso fresco, perfect for spreading or serving as a side to a main course, knead for 4-5 minutes until it reaches a smooth texture with minimal crumble.
How To Use
Queso fresco does not melt but softens and crumbles beautifully, making it ideal for a variety of Mexican recipes. It’s commonly used in or with:

How To Store
- Always wrap the cheese tightly to prevent it from drying out and absorbing odors.
- Always store the wrapped cheese in the refrigerator. Properly stored, homemade queso fresco will last for about 1 week.
- Queso fresco is best enjoyed fresh, as its name suggests. Freezing is not recommended, as it can alter the cheese’s texture.
Periodically inspect the cheese for signs of spoilage, such as an off odor, mold, or excessive moisture. If any of these are present, discard the cheese.
More Condiments To Try

FAQs : Your Questions Answered
Q: Can I make queso fresco with non-dairy milk?
A: Queso fresco relies on whole cow’s milk for its authentic flavor and texture. Non-dairy milk alternatives do not provide the same results and are not recommended.
Q: Can I use queso fresco in cooking or just as a topping?
A: Queso fresco works well both as a topping and in cooking. It’s great crumbled over dishes, and can also be used as a filling in quesadillas, baked dishes, and stews.
Q: Can I use queso fresco in recipes that call for melted cheese?
A: Queso fresco does not melt well. It is best used as a topping, filling, or ingredient where a crumbled texture or softened cheese that holds its shape is desired.
Queso Fresco
Ingredients
- 1 gallon whole milk
- 2/3 cup white distilled vinegar
- To taste iodized salt
Instructions
- Once the milk reaches 185-190°F, remove the pot from the heat. Add the vinegar in two portions, mixing well after each addition to ensure it is evenly distributed. Let the mixture sit undisturbed for 20 minutes.
- Place a fine-mesh strainer inside a large bowl and cover it with a large piece of cheesecloth. Using a skimmer, break apart the firm yet smooth curds and scoop them into the cheesecloth, leaving the whey behind.
- Close and secure the cheesecloth, letting it sit in the strainer for a few minutes to slightly cool down. Then, carefully squeeze out most of the whey by twisting or pressing down while it remains inside the strainer.
- Transfer the curds into a large bowl and break them apart. Add salt to taste and knead by hand for about 2 minutes, until the mixture becomes smooth but maintains a crumbly texture.
- Line a round glass container with the squeezed cheesecloth. Add the cheese in sections, pressing down each time to mold it smoothly until all the cheese is in the container. Use the bottom of a glass to press the top, ensuring a smooth surface.
- Remove the cheese from the mold and cheesecloth. Wrap it in banana leaves (or parchment paper if preferred) and then wrap it in plastic wrap to keep out odors and prevent further drying.
- Refrigerate for 8 hours before serving.
Did you make this recipe?
Show some love! Tag @villacocinaofficial on Instagram and drop a 5-star review. Your support means everything—thanks!


Angie
Looks easy to make but don’t burn the milk. Thanks I am going to make. I have tried to make corn tortillas mine don’t look like yours 😬
Villa Cocina
My pleasure! and Remember! Practice makes perfect. Keep up the good work.
Brett
I started making made queso fresco this year, and have done it probably a dozen times now. Yesterday, for the first time, I made it following your recipe and it came out perfect. I find the extra explanations, the why-this-ways, so helpful. I’d suggest adding a salt measurement to start with – I found 1.5 teaspoons for a gallon of milk recipe is good.
Villa Cocina
Thank you for your feedback! I’m glad to hear the recipe worked well for you. I appreciate your suggestion about including salt measurements; it’s always helpful to have starting points. Happy cheesemaking!
Jorge
I made this recipe and I’m definitely making homemade queso fresco from now on. Any ideas in how to utilize the left over whey?
Villa Cocina
Hi there! I haven’t personally used the whey, but I’ve heard baking is a great way to put it to use. If you decide to try it, let us know how it turns out!
Lee
Made my first queso fresco. It turned out great.
Thank you. It was fast and easy following your recipe.
I added a smoked salt (about half smoked and half salt). I think it tastes wonderful.